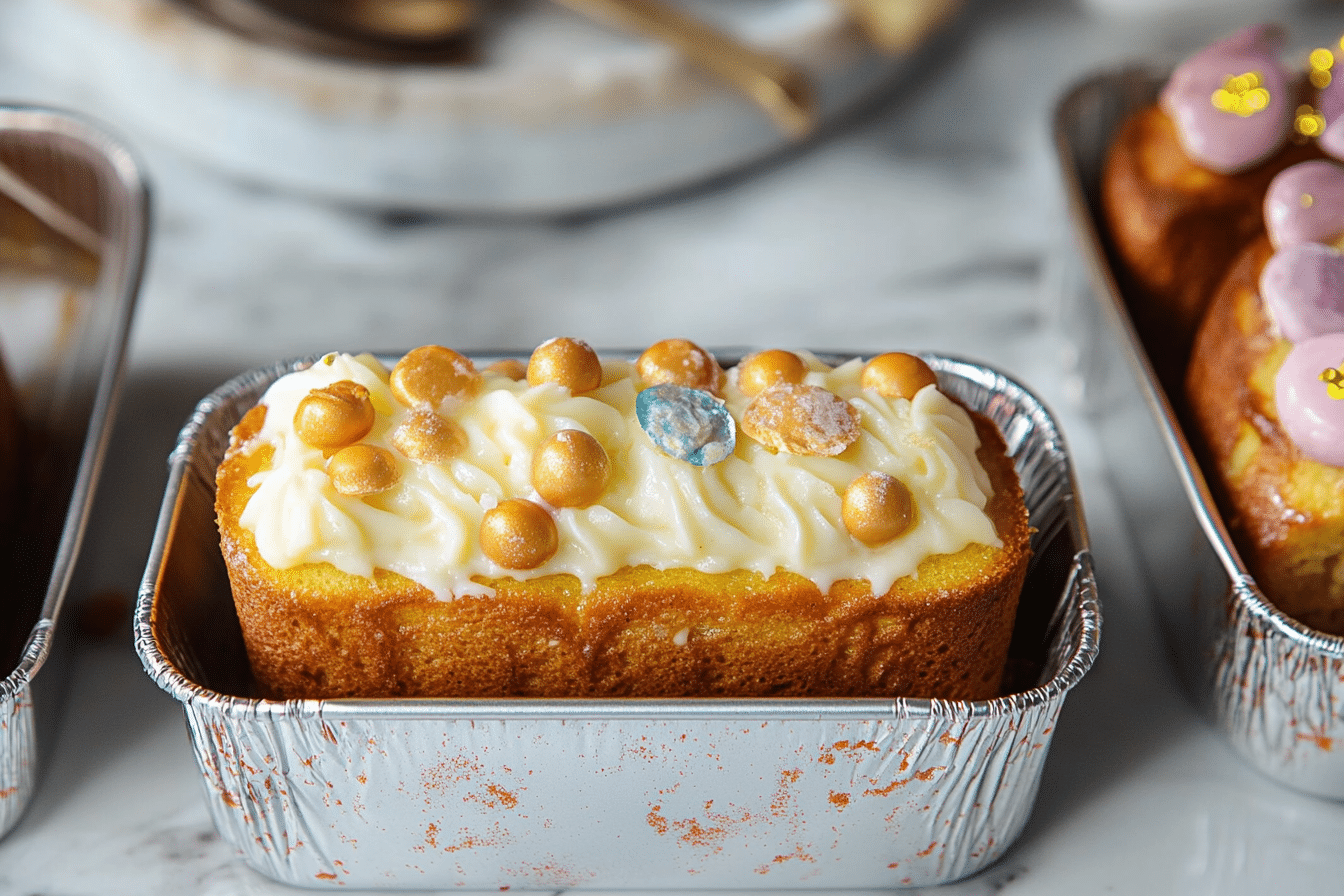
Bake Perfect Mini Loaf Tins for Charming Treats
Discover the joy of baking perfectly portioned treats with Mini Loaf Tins! These handy tins are a game-changer for anyone who loves quick, easy, and charming baked goods that delight every single time. Whether you’re serving up snack-sized breads, cakes, or savory bites, mini loaf tins offer the ideal size for sharing, gifting, or simply enjoying a perfectly sized treat all to yourself. Let’s dive into everything you need to know to bake with these delightful tins flawlessly.
Why You’ll Love This Recipe
- Perfect Portions: Mini Loaf Tins provide individual servings that are easy to handle and share without waste.
- Fast Baking Time: Smaller sizes mean your treats bake quicker, perfect when you’re short on time.
- Versatile Uses: From sweet to savory, these tins accommodate a variety of recipes effortlessly.
- Beautiful Presentation: Each mini loaf looks charming and professional, ideal for special occasions or gifts.
- Easy Storage: Compact loaves freeze and store neatly for whenever a treat craving strikes.
Ingredients You’ll Need
The ingredients for baking with Mini Loaf Tins are delightfully simple but carefully selected to achieve the perfect balance of flavor, texture, and appearance. Each element plays a key role in creating moist, flavorful loaves with just the right crumb and color.
- Flour: Use all-purpose or bread flour for structure and tenderness.
- Sugar: Sweetens your loaf and aids in browning for a gorgeous crust.
- Butter or Oil: Adds moisture and richness necessary for soft, delicious bread.
- Eggs: Provide binding and contribute to the loaf’s texture and rise.
- Baking Powder or Baking Soda: Essential leavening agents that ensure a nice fluffy crumb.
- Milk or Buttermilk: For tenderness and a delicate crumb texture.
- Flavor Add-Ins: Vanilla extract, cocoa powder, nuts, fruits, or spices to customize your loaf.
Variations for Mini Loaf Tins!
One of the best things about baking with Mini Loaf Tins is how easily you can experiment and adapt to suit your taste or dietary needs. Whether you want a classic sweetness, a gluten-free option, or a savory twist, these variations make it fun to customize your mini loaves.
- Fruit & Nut: Add dried cranberries and chopped walnuts for a delightful crunch.
- Chocolate Lover’s: Stir in cocoa powder and chocolate chips for a rich treat.
- Gluten-Free: Substitute a gluten-free flour blend while maintaining moistness with yogurt or applesauce.
- Vegan Option: Use flax eggs and plant-based milk along with coconut oil for a cruelty-free loaf.
- Herb & Cheese: Perfect for savory mini loaves by mixing fresh herbs and grated cheese into the batter.

How to Make Mini Loaf Tins!
Step 1: Prepare Your Mini Loaf Tins
Start by greasing each mini loaf tin thoroughly with butter or non-stick spray. Line with parchment paper if you want an even easier release after baking. This step ensures your mini loaves pop right out without any sticking or breakage.
Step 2: Mix Dry Ingredients
In a large bowl, sift together your flour, baking powder or baking soda, and a pinch of salt. Mixing these ahead guarantees even distribution of the leavening agent so your loaves rise smoothly and consistently.
Step 3: Combine Wet Ingredients
In a separate bowl, whisk eggs, sugar, melted butter or oil, and milk (or buttermilk) together until well blended. Add vanilla or any other liquid flavorings now for the most even taste throughout your batter.
Step 4: Gently Fold Wet and Dry Mixtures
Carefully fold the wet ingredients into the dry until just combined. Avoid overmixing to prevent a dense loaf—it’s okay if the batter is a little lumpy!
Step 5: Add Your Flavor-Inspired Mix-Ins
At this point, gently fold in any fruits, nuts, chocolate chips, or herbs you’ve chosen for your mini loaves, dispersing them evenly throughout the batter.
Step 6: Fill and Bake
Divide the batter evenly among your greased Mini Loaf Tins!, filling each about two-thirds full. Bake in a preheated oven at 350°F (175°C) for 20 to 25 minutes or until a toothpick inserted comes out clean.
Step 7: Cool and Release
Allow the mini loaves to cool in their tins for 10 minutes before carefully removing them to a wire rack to cool completely. This prevents crumbling and keeps your loaves intact.
Pro Tips for Making Mini Loaf Tins!
- Use Room Temperature Ingredients: Helps create a smoother batter and even baking.
- Don’t Overfill: Filling tins about two-thirds full prevents overflow and ensures perfect shape.
- Rotate the Pan: Halfway through baking, rotate your tin to ensure even browning.
- Test for Doneness: A toothpick inserted in the center should come out clean with no wet batter.
- Cool Properly: Let the loaves cool before removing to keep edges intact and avoid crumbling.
How to Serve Mini Loaf Tins!
Garnishes
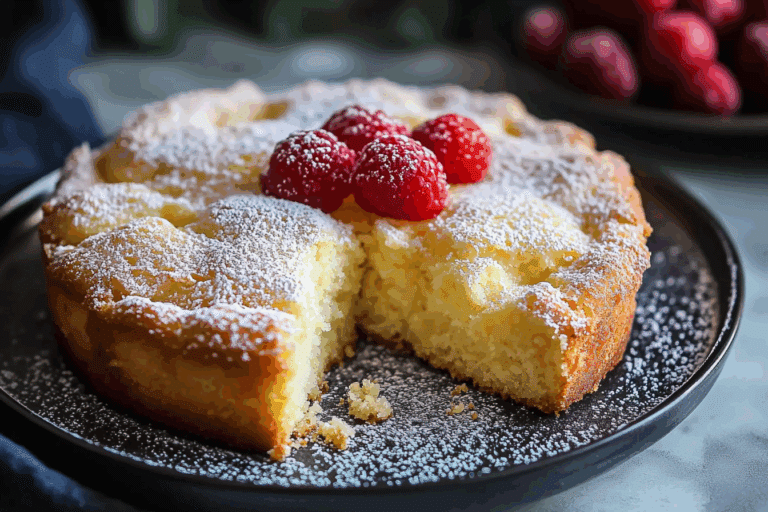
Simple dustings of powdered sugar, a drizzle of glaze, or a sprinkle of chopped nuts transform mini loaves from everyday treats to beautiful showstoppers.
Side Dishes
Pair sweet mini loaves with fresh fruit, whipped cream, or yogurt for breakfast or brunch, while savory versions shine alongside soups and salads for a complete meal.
Creative Ways to Present
Wrap mini loaves individually in parchment paper tied with twine for charming gifts, or serve on tiered trays at parties for an appealing display everyone will love.
Make Ahead and Storage
Storing Leftovers
Store cooled mini loaves in an airtight container at room temperature for up to three days to keep them soft and fresh.
Freezing
Wrap mini loaves tightly in plastic wrap and place in a freezer-safe bag for up to three months. Thaw overnight at room temperature before enjoying.
Reheating
Warm mini loaves in a microwave for 10 to 15 seconds or in a low oven (300°F/150°C) for 5 to 7 minutes to refresh softness and flavor.
FAQs
Can I use regular loaf pans instead of Mini Loaf Tins!?
Yes, but baking times will be longer, and portions will be larger. Mini loaf tins are ideal for consistent, individual servings.
How do I prevent mini loaves from sticking to the tin?
Greasing tins well and using parchment liners make removing mini loaves easy and clean.
Can I make gluten-free versions in Mini Loaf Tins!?
Absolutely! Use a gluten-free flour blend and slightly adjust liquid ingredients as needed for best results.
Are Mini Loaf Tins! dishwasher safe?
Most metal mini loaf tins are, but always check the manufacturer’s instructions for care and cleaning tips.
What are some quick flavor add-ins for mini loaves?
Try cinnamon, lemon zest, chocolate chips, nuts, or dried fruits for simple ways to customize your mini loaves.
Final Thoughts
Baking with Mini Loaf Tins! is a delightful and rewarding experience that turns everyday baking into something special. Whether you’re whipping up a batch of sweet or savory bites, these tins make it easy to enjoy perfectly portioned, irresistibly charming treats every time. So go ahead, gather your ingredients, and give these mini loaves a try—you’ll wonder how you ever baked without them!
Related Posts
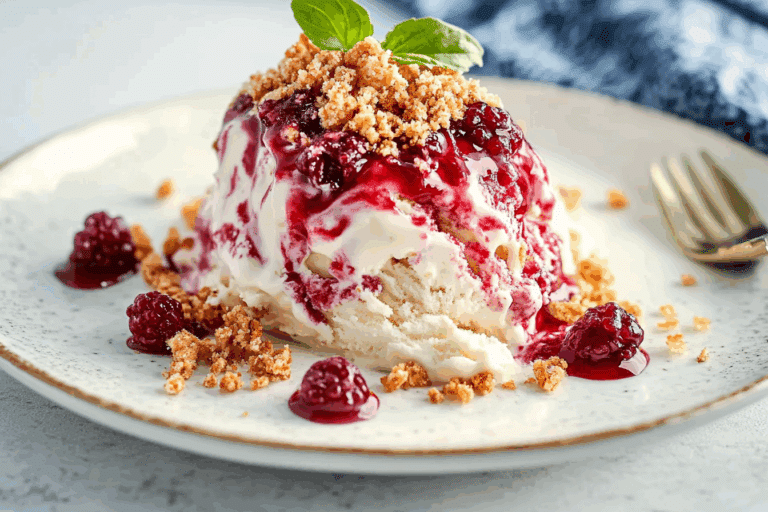
- Light and Zesty Lemon Syllabub Dessert for Summer Days
- Crunchy Chocolate Bites
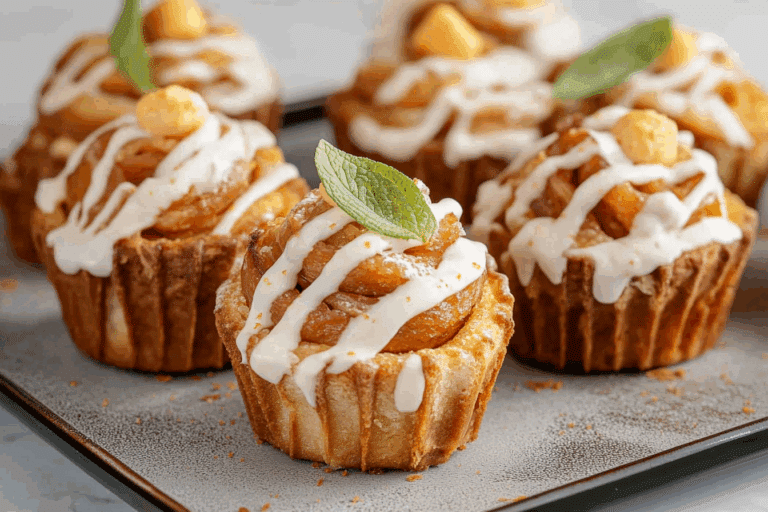
- Carrot Cake Cruffins for a sweet twist on pastries
Mini Loaf Tins!
- Total Time: 35-40 minutes
- Yield: 6-8 mini loaves depending on tin size 1x
Description
This recipe details how to bake perfectly portioned mini loaves using Mini Loaf Tins. These smaller tins are ideal for creating individual servings of sweet or savory breads, cakes, and snacks that bake faster and look beautifully presented. With versatile flavor options and easy storage methods, these mini loaves are perfect for gifting, sharing, or enjoying a personal treat.
Ingredients
Basic Ingredients
- 1 ¾ cups all-purpose or bread flour
- ½ cup sugar
- ¼ cup butter or oil, melted
- 2 large eggs
- 1 teaspoon baking powder or baking soda
- ½ cup milk or buttermilk
- 1 teaspoon vanilla extract (optional)
Flavor Add-Ins (Optional)
- ¼ cup dried cranberries
- ¼ cup chopped walnuts
- 2 tablespoons cocoa powder
- ¼ cup chocolate chips
- 1 tablespoon fresh herbs (such as rosemary or thyme)
- ¼ cup grated cheese
Instructions
- Prepare Your Mini Loaf Tins: Grease each mini loaf tin thoroughly with butter or non-stick spray. Line with parchment paper if desired to ensure easy release after baking.
- Mix Dry Ingredients: In a large bowl, sift together the flour, baking powder or baking soda, and a pinch of salt to ensure even distribution of leavening agents.
- Combine Wet Ingredients: In a separate bowl, whisk eggs, sugar, melted butter or oil, milk or buttermilk, and vanilla extract (if using) until well blended.
- Gently Fold Wet and Dry Mixtures: Carefully fold the wet ingredients into the dry ingredients until just combined, avoiding overmixing. It is okay if the batter is a little lumpy.
- Add Your Flavor-Inspired Mix-Ins: Gently fold in any chosen fruits, nuts, chocolate chips, or herbs, dispersing them evenly throughout the batter.
- Fill and Bake: Divide the batter evenly among the greased mini loaf tins, filling each about two-thirds full. Bake in a preheated oven at 350°F (175°C) for 20 to 25 minutes or until a toothpick inserted comes out clean.
- Cool and Release: Allow the mini loaves to cool in their tins for 10 minutes before carefully removing them to a wire rack to cool completely to prevent crumbling.
Notes
- Use room temperature ingredients to create smoother batter and even baking.
- Do not overfill tins; fill about two-thirds full to prevent overflow and get perfect loaf shape.
- Rotate the pan halfway through baking to ensure even browning.
- Test for doneness by inserting a toothpick in the center; it should come out clean with no wet batter.
- Let the loaves cool properly before removing to keep edges intact and avoid crumbling.
- Prep Time: 15 minutes
- Cook Time: 20-25 minutes
- Category: Appetizers
- Method: Baking
Nutrition
- Serving Size: 1 mini loaf
- Calories: 180
- Sugar: 12g
- Sodium: 150mg
- Fat: 8g
- Saturated Fat: 4g
- Unsaturated Fat: 3g
- Trans Fat: 0g
- Carbohydrates: 24g
- Fiber: 1g
- Protein: 3g
- Cholesterol: 55mg
Keywords: Mini loaf, baking, quick breads, individual portions, sweet and savory, gift idea, snack-sized breads