Homemade Banana Pudding
There’s something deeply nostalgic about a chilled dish of banana pudding, its creamy layers catching the light just right, and that first spoonful melting in your mouth like a memory. Whether it reminds you of family cookouts, church potlucks, or lazy Sunday afternoons, this comforting dessert has a way of wrapping you in warmth with every bite. It’s the kind of treat that tastes like home.
Why This Creamy Classic Never Fails to Please
You know those desserts that vanish faster than you can say “seconds”? This is one of them. Its silky vanilla custard, sweet banana slices, and softened vanilla wafers come together into something downright magical. And the best part? It’s just as welcome on a holiday table as it is on a weeknight.
A Sweet Slice of Southern Heritage
Though its exact origins are a little fuzzy, banana pudding has deep roots in Southern kitchens, where it’s been beloved for generations. Some say it first rose to fame in the early 20th century as banana imports became more common. Over time, it evolved from a stovetop custard to versions made with instant pudding, but the soul of the dish never changed. Today, it stands as a comforting bridge between old-school charm and modern convenience.
What Makes This Dish a Go-To Favorite?
What makes this banana pudding so irresistible isn’t just its flavor, but how effortlessly it fits into any occasion. Here’s why it works every time:
Versatile: Perfect for picnics, potlucks, or a cozy dessert at home.
Budget-Friendly: Uses pantry staples and simple ingredients.
Quick and Easy: Comes together with minimal effort, especially if you prep ahead.
Customizable: Add whipped cream, caramel drizzle, or even chocolate chips.
Crowd-Pleasing: Everyone, from kids to grandparents, loves it.
Make-Ahead Friendly: Chill it overnight for even better texture and flavor.
Great for Leftovers: Stays delicious for a couple of days in the fridge.
Tips to Take It to the Next Level
Before we dive into the layering fun, here are a few insider tips that really elevate your banana pudding game:
- Use ripe but firm bananas to avoid mushy layers.
- Toast the vanilla wafers briefly in the oven for added texture.
- Layer the pudding while the custard is still slightly warm to soften the wafers just right.
- For a fluffier texture, fold whipped cream into your pudding.
- Let it rest in the fridge for at least 4 hours (overnight is even better).
Tools That Make Prep a Breeze
Making banana pudding doesn’t require a fancy setup, but having the right tools on hand makes the process smoother and more enjoyable.
Mixing Bowls: For whisking pudding and folding in whipped cream.
Whisk: Essential for achieving that smooth, lump-free custard.
Measuring Cups and Spoons: For accuracy in flavor and consistency.
Rubber Spatula: Great for scraping every last bit of pudding and gently folding ingredients.
Serving Dish: A clear glass trifle bowl or deep dish lets you showcase those beautiful layers.
Ingredients You’ll Need for That Perfect Spoonful
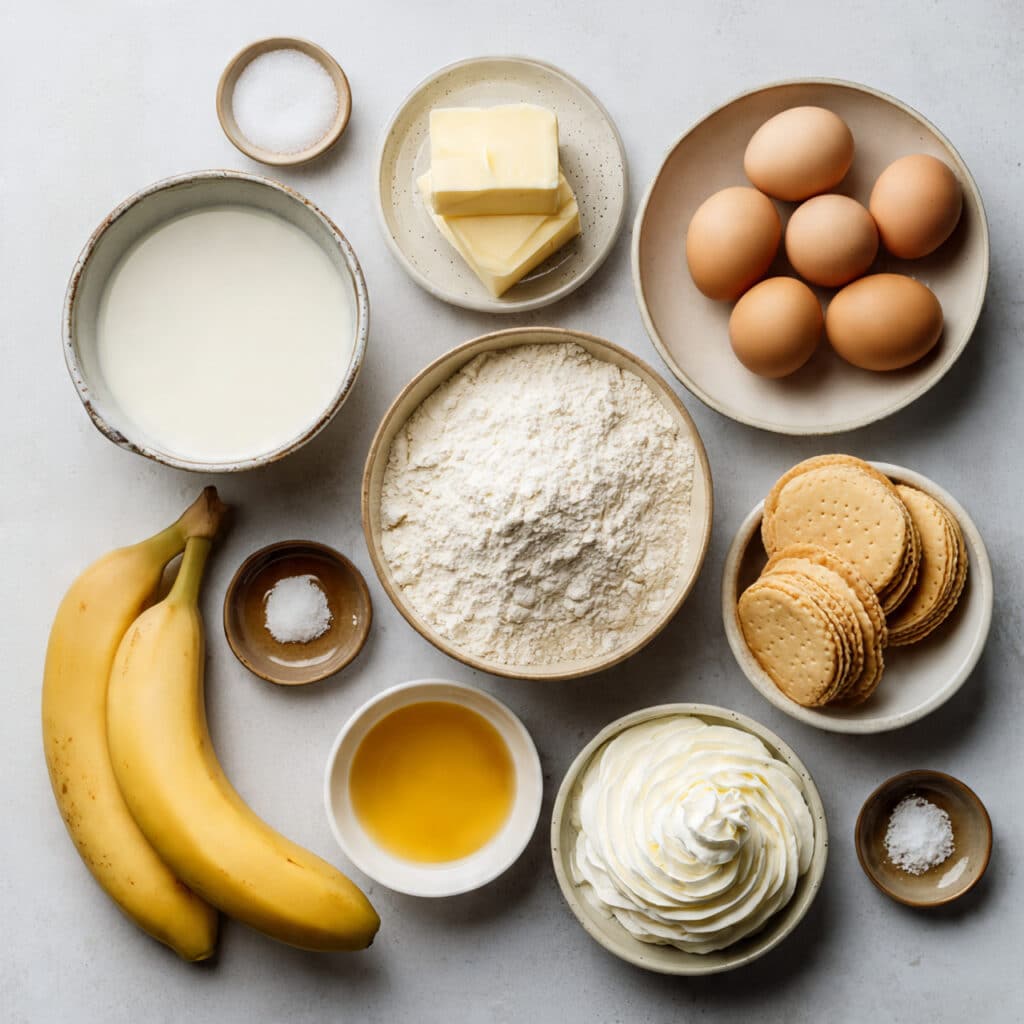
When each layer counts, every ingredient plays a starring role. Here’s what you’ll need and why:
- Whole Milk: 2 ½ cups — the creamy base for your homemade pudding.
- Granulated Sugar: ¾ cup — adds just the right amount of sweetness.
- All-Purpose Flour: ⅓ cup — helps thicken the pudding naturally.
- Salt: ¼ teaspoon — balances the sweetness.
- Egg Yolks: 4 large — richens the custard and gives it a silky texture.
- Vanilla Extract: 2 teaspoons — deepens the flavor with sweet floral notes.
- Unsalted Butter: 2 tablespoons — adds a velvety finish to the pudding.
- Bananas: 4 ripe, sliced — bring the natural sweetness and signature flavor.
- Vanilla Wafers: about 45 cookies — they soften to a cake-like texture when layered.
- Whipped Cream or Meringue (optional): for that soft, cloud-like topping.
Easy Ingredient Swaps You Can Count On
Whether you’re out of something or just feeling creative, here are some great alternatives:
Whole Milk: Almond milk or oat milk for a dairy-free option.
Granulated Sugar: Coconut sugar or maple syrup for a deeper sweetness.
All-Purpose Flour: Cornstarch or arrowroot powder for a gluten-free thickener.
Vanilla Wafers: Graham crackers or shortbread cookies.
Whipped Cream: Coconut whipped topping for a vegan spin.
Star of the Show: Bananas and Wafers
Let’s give a standing ovation to the real MVPs here.
Bananas: Sliced fresh and tucked between the layers, their natural sweetness mellows and blends beautifully with the vanilla custard.
Vanilla Wafers: These aren’t just fillers. They soak up the pudding, soften just right, and give the whole dish a cake-like texture without needing to bake a thing.
Let’s Layer Some Love: Step-by-Step Instructions
Making banana pudding is less about precision and more about building deliciousness. Here’s how it all comes together.
1. Preheat Your Equipment:
No oven needed, but grab your medium saucepan and trifle bowl or dish. Get everything in place so the layering flows smoothly.
2. Combine Ingredients:
In a saucepan over medium heat, whisk together milk, sugar, flour, and salt. Cook until slightly thickened, stirring constantly. In a separate bowl, whisk egg yolks. Slowly add a bit of the warm mixture to temper them, then pour back into the pan. Cook until thick like pudding. Remove from heat, stir in butter and vanilla.
3. Prepare Your Cooking Vessel:
Set out your trifle bowl or dish. Make sure it’s clean and dry. A clear dish really highlights the layers.
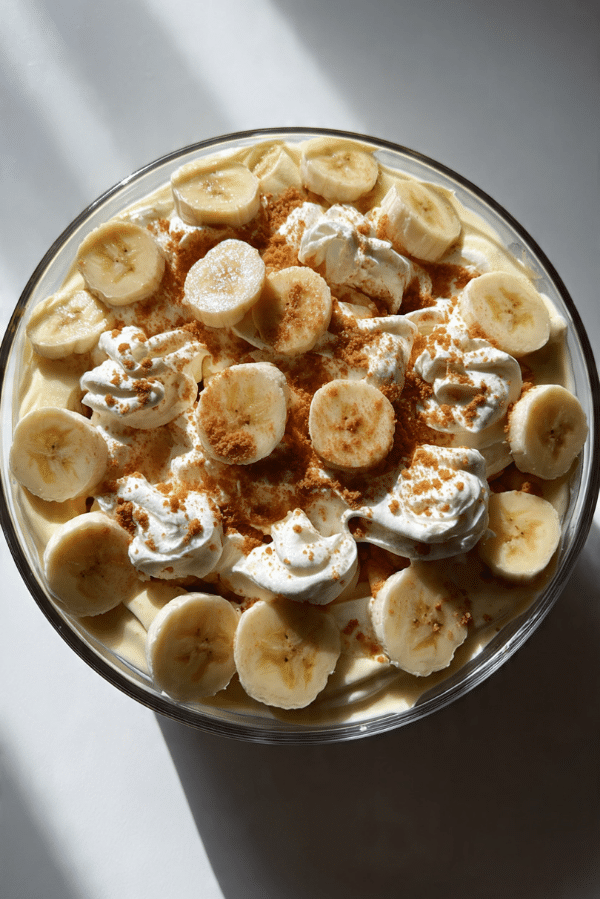
4. Assemble the Dish:
Start with a layer of wafers, then sliced bananas, then a generous layer of warm pudding. Repeat until you reach the top, finishing with pudding.
5. Cook to Perfection:
Technically, you’re done cooking! Let the assembled dish sit for a few minutes at room temp before chilling.
6. Finishing Touches:
Top with whipped cream or meringue if you like. Garnish with extra banana slices or cookie crumbles for flair.
7. Serve and Enjoy:
Chill for at least 4 hours, overnight if you can wait. Then scoop, serve, and enjoy that rich, velvety comfort.
Texture and Taste: Creamy Meets Crunchy
Banana pudding is all about that balance. The custard is smooth and creamy, the bananas are tender but firm, and the wafers are soft with just a hint of chew. Flavor-wise, it’s a mellow mix of vanilla, banana, and cream — comforting, familiar, and irresistible.
Pro Tips for Even Better Results
Want to level up? Here’s how to make your pudding unforgettable:
- Let it chill overnight for maximum flavor melding.
- Sprinkle a touch of cinnamon or nutmeg for warm spice.
- Add a splash of lemon juice to the bananas to keep them fresh.
- Use a piping bag to make your top layer look picture-perfect.
Mistakes to Avoid for Pudding Success
Even a classic can go wrong if you’re not careful. Watch out for these common pitfalls:
- Overripe Bananas: They turn mushy fast and overpower the flavor.
- Skipping the Tempering: Adding eggs directly to hot liquid can scramble them.
- Not Letting It Chill Enough: Warm pudding doesn’t set well and can be runny.
- Under-whisking the Custard: Leads to lumps and uneven texture.
Nutrition Facts
Servings: 8
Calories per serving: 340
Note: These are approximate values.
Time Breakdown You’ll Appreciate
Prep Time: 20 minutes
Cook Time: 15 minutes
Total Time: 35 minutes
Plan Ahead, Store Smart
This dish loves to be made ahead. Prep the pudding the day before and assemble just before serving, or even better, layer it all and let it chill overnight. Store leftovers tightly covered in the fridge for up to 3 days. Freezing isn’t ideal as the bananas may darken and the texture can change. To re-enjoy, just scoop and serve cold.
Serving Ideas to Make It Shine
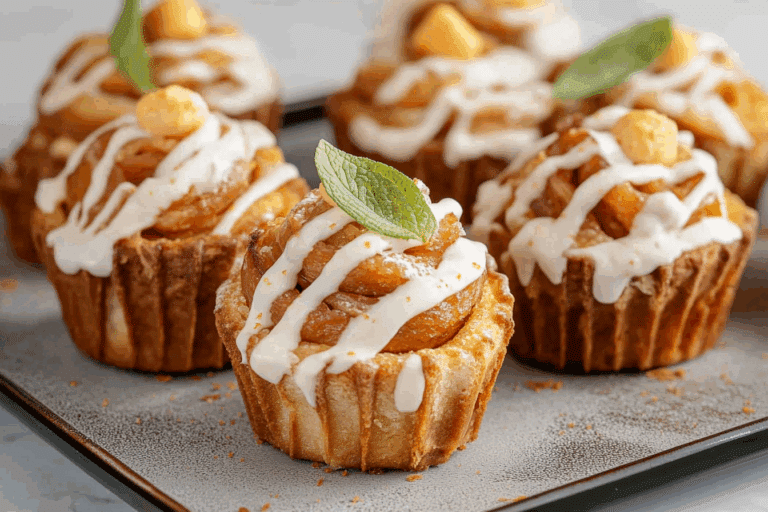
Serve in a trifle dish for visual wow. You can also portion it into individual mason jars for cute single-serves. Add a dollop of whipped cream and a mini wafer on top to dress it up. For extra indulgence, drizzle a bit of caramel over the top.
What to Do with Leftovers
Leftovers rarely last, but if they do, here are some ideas:
- Banana Pudding Parfaits: Layer leftovers with fresh fruit and nuts.
- Banana Pudding Milkshake: Blend with vanilla ice cream and a splash of milk.
- Frozen Banana Bites: Scoop onto a baking sheet and freeze for a chilly snack.
Little Extras That Make a Big Difference
Want your dessert to sing? Try these:
- Use real vanilla beans for a deeper flavor.
- Chill your serving dish before layering for quicker set time.
- Add crushed pecans or toasted coconut between layers for crunch.
Make It a Showstopper
Presentation makes a big difference. Try layering in clear mini cups for parties or swirling whipped cream into soft peaks on top. Garnish with banana coins and cookie crumbles for a rustic yet polished finish.
Variations to Try
Looking to change things up? Here are some fun spins:
- Chocolate Banana Pudding: Add cocoa powder to your custard.
- Peanut Butter Twist: Layer with a dollop of peanut butter in between.
- Berries and Bananas: Add strawberries or blueberries for a fresh burst.
- Coconut Dream: Use coconut milk and shredded coconut layers.
- No-Cook Shortcut: Use instant pudding mix and whipped topping for a quick fix.
FAQ’s
Q1: Can I make this dairy-free?
Yes, use almond or coconut milk and a plant-based butter substitute.
Q2: How long does banana pudding last in the fridge?
Up to 3 days when covered and stored properly.
Q3: Can I use store-bought pudding?
Absolutely, if you’re short on time, it works just fine.
Q4: How do I keep the bananas from browning?
Toss slices in lemon juice before layering.
Q5: Is this freezer-friendly?
Not really, the texture changes too much.
Q6: What type of dish works best?
A glass trifle bowl or a deep 9×13 dish works great.
Q7: Can I skip the eggs?
For a custard-like texture, eggs are essential, but you can use a thick instant pudding for an eggless version.
Q8: Is it okay to assemble in advance?
Yes, and in fact, it’s better if it chills overnight.
Q9: Can I double the recipe?
Definitely, just use a larger dish and double all ingredients.
Q10: What if I don’t have vanilla wafers?
Graham crackers or butter cookies make great substitutes.
Conclusion
There’s something timeless and irresistible about homemade banana pudding. It’s creamy, it’s comforting, and it always leaves people smiling. Whether you’re making it for a family gathering or just because you need a sweet fix, trust me, it’s worth every bite.
Print
Homemade Banana Pudding
Description
This classic homemade banana pudding features layers of creamy vanilla custard, ripe banana slices, and soft vanilla wafers, all topped with a cloud of whipped cream. It’s a nostalgic Southern dessert that’s easy to make and perfect for any gathering.
Ingredients
- 2 ½ cups whole milk
- ¾ cup granulated sugar
- ⅓ cup all-purpose flour
- ¼ teaspoon salt
- 4 large egg yolks
- 2 teaspoons vanilla extract
- 2 tablespoons unsalted butter
- 4 ripe bananas, sliced
- About 45 vanilla wafers
- Whipped cream or meringue (optional, for topping)
Instructions
- In a saucepan over medium heat, whisk together milk, sugar, flour, and salt. Stir constantly until slightly thickened.
- In a separate bowl, whisk egg yolks. Slowly add a bit of the warm milk mixture to temper the eggs, then return the egg mixture to the saucepan.
- Continue cooking and stirring until the mixture becomes thick like pudding. Remove from heat and stir in butter and vanilla extract.
- In a trifle bowl or deep dish, layer vanilla wafers, then banana slices, then pudding. Repeat until the dish is full, ending with a pudding layer on top.
- Let the dish cool at room temperature for a few minutes, then chill in the refrigerator for at least 4 hours or overnight.
- Top with whipped cream or meringue before serving. Garnish with extra banana slices or crushed wafers if desired.
Notes
- Use firm bananas to avoid overly mushy texture.
- Letting the dessert chill overnight improves the flavor and texture.
- Layer while the pudding is still warm to soften the wafers just right.