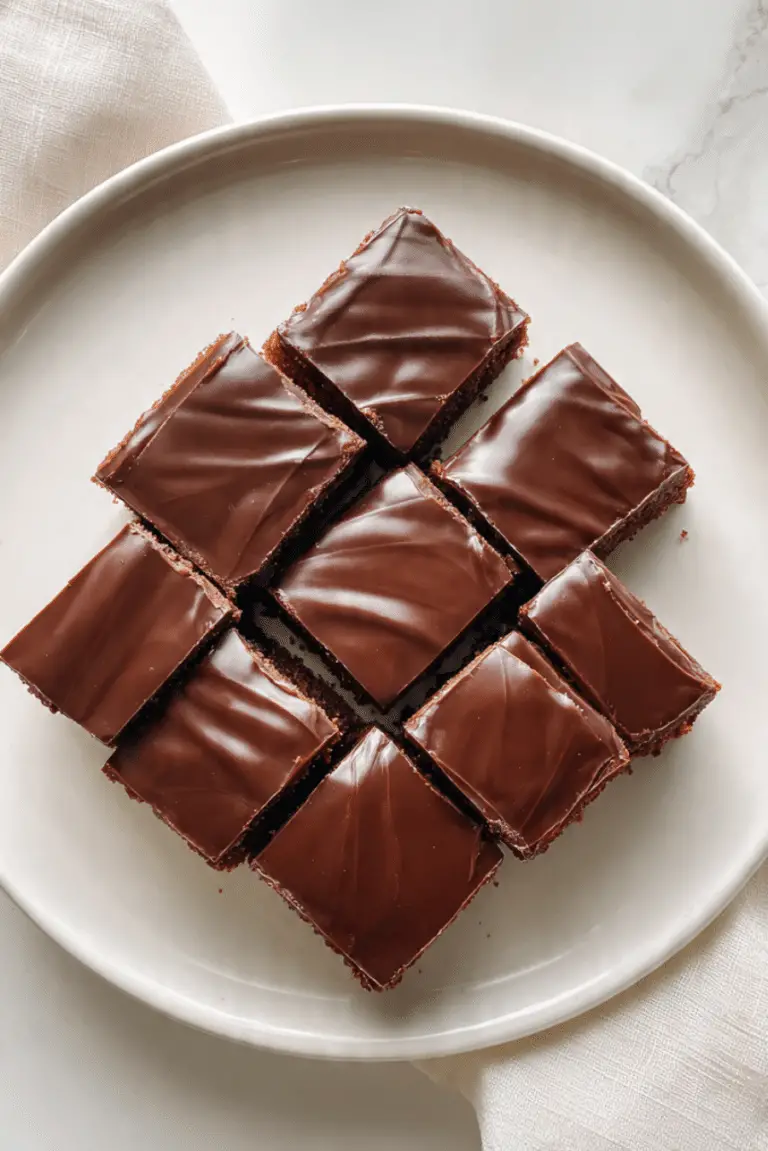
Indulge in Irresistible Kitchen Sink Cookies
Indulge in these Kitchen Sink Cookies, a delightful medley of flavors and textures that’s perfect for satisfying any sweet craving! These cookies combine an array of ingredients, making each bite a unique experience that you won’t soon forget.
Why You’ll Love This Recipe
- Endless Variety: You can mix and match your favorite add-ins for a personal touch.
- Quick and Simple: The recipe comes together easily, perfect for both beginners and seasoned bakers.
- Perfect for Any Occasion: Whether it’s a cozy night in or a party with friends, these cookies are always a hit.
- Charming Texture: With crispy edges and a chewy center, every bite is an irresistible treat.
- Family Friendly: This recipe is a fun way to get kids involved in the kitchen, perfect for creating memories together.
Ingredients You’ll Need
The beauty of Kitchen Sink Cookies lies in their simplicity and versatility. Each ingredient plays a crucial role in creating a wonderful combination of taste and texture.
- Butter: This essential ingredient adds a rich flavor and tender texture to your cookies.
- Brown Sugar: Using brown sugar brings moisture and a delightful caramel-like flavor.
- Granulated Sugar: This sweetener contributes to the crispiness of the cookie edges.
- Eggs: Eggs provide structure and stability, helping the cookies hold together beautifully.
- Vanilla Extract: A splash of vanilla enhances the overall flavor, making each bite more aromatic.
- All-Purpose Flour: This is the backbone of the recipe, providing the necessary structure for your cookies.
- Baking Soda: This leavening agent helps the cookies rise and become fluffy.
- Chocolate Chips: Classic semi-sweet chocolate chips add sweetness and indulgence to your cookies.
- Mix-Ins: Consider adding nuts, dried fruits, or coconut for a delicious crunch and flavor explosion.
Variations for Kitchen Sink Cookies
One of the best parts about Kitchen Sink Cookies is how easy it is to customize the recipe based on your preferences, dietary restrictions, or what you have available in your pantry.
- Gluten-Free Option: Substitute all-purpose flour with a gluten-free flour blend for a similar texture.
- Vegan Alternative: Replace butter with coconut oil and use flax eggs instead of regular eggs.
- Nut-Free Version: Omit nuts or use sunflower seeds for a delightful crunch without allergens.
- Extra Decadence: Add a sprinkle of sea salt on top of the cookies before baking for a gourmet touch.
- Fruit-Inspired: Incorporate dried cranberries or cherries for a tart, fruity contrast.

How to Make Kitchen Sink Cookies
Step 1: Preheat the Oven
Start your baking adventure by preheating your oven to 350°F (175°C) to ensure the cookies bake evenly and perfectly.
Step 2: Cream the Butter and Sugars
In a mixing bowl, combine softened butter, brown sugar, and granulated sugar. Beat them together until the mixture is light and fluffy, about 2-3 minutes. This is crucial for a nice texture!
Step 3: Add Eggs and Vanilla
Mix in the eggs one at a time, followed by the vanilla extract. Beat until everything is well combined, which will help your cookies stay moist.
Step 4: Combine Dry Ingredients
In a separate bowl, whisk together the flour, baking soda, and a pinch of salt. Gradually add this dry mix to your wet ingredients, stirring until just combined to avoid overmixing.
Step 5: Stir in Chocolate Chips and Mix-Ins
Gently fold in the chocolate chips and any additional mix-ins you desire. Get creative here, it adds character to your cookies!
Step 6: Scoop and Bake
Using a cookie scoop or spoon, drop dollops of dough onto a baking sheet lined with parchment paper, leaving enough space between each cookie. Bake for 10-12 minutes until the edges are golden.
Step 7: Cool and Enjoy
Take the cookies out of the oven and allow them to cool on the baking sheet for 5 minutes before transferring them to a wire rack to cool completely. Enjoy your homemade Kitchen Sink Cookies!
Pro Tips for Making Kitchen Sink Cookies
- Room Temperature Ingredients: Allow your butter and eggs to reach room temperature for the best mixing results.
- Do Not Overmix: Stir the dough until just combined to maintain a tender cookie texture.
- Chill the Dough: Refrigerating the dough for 30 minutes can help prevent spreading and enhance the flavor.
- Use Parchment Paper: Bake on parchment paper for seamless removal and easier cleanup.
- Monitor Baking Time: Keep a close eye on your cookies, as every oven varies slightly.
How to Serve Kitchen Sink Cookies
Garnishes
For a touch of elegance, consider drizzling melted chocolate or white chocolate over the cooled cookies. You can also sprinkle a hint of sea salt to balance the sweetness.
Side Dishes
Pair your cookies with a glass of milk, a scoop of vanilla ice cream, or even a warm cup of coffee for a delightful treat experience.
Creative Ways to Present
Display your Kitchen Sink Cookies on a beautiful platter or stack them in a charming glass jar with a cute ribbon. This makes for an adorable gift or an enticing centerpiece on your dessert table.
Make Ahead and Storage
Storing Leftovers
Store leftover cookies in an airtight container at room temperature for up to one week. You can also add a slice of bread to help keep them soft and fresh.
Freezing
If you want to save some cookies for later, freeze them in a single layer on a baking sheet before transferring to a freezer-safe bag or container. They can be stored this way for up to three months.
Reheating
To enjoy your frozen cookies again, simply preheat your oven to 350°F (175°C) and warm them for 5-7 minutes. This will bring back that fresh-baked taste and texture.
FAQs
Can I substitute ingredients in Kitchen Sink Cookies?
Yes, you can definitely substitute ingredients based on your personal taste or dietary restrictions, making this recipe very versatile!
How do I know when my Kitchen Sink Cookies are done?
Your cookies are done when the edges are lightly golden and the centers look slightly underbaked; they will continue to set as they cool.
Can I use different types of chocolate chips?
Absolutely! You can use dark chocolate, milk chocolate, or even white chocolate chips to customize the sweetness and flavor to your liking.
What should I do if my cookie dough is too dry?
If your dough is too dry, add a tablespoon of milk or water at a time until the desired consistency is reached.
Can I make Kitchen Sink Cookies ahead of time?
Yes, you can prepare the dough in advance and refrigerate it for a day or freeze it for longer storage. Just bake them fresh when you’re ready to serve!
Final Thoughts
Now that you have the recipe for Kitchen Sink Cookies, it’s time to gather your ingredients and dive into this delicious adventure. These cookies promise a burst of flavor in every bite, so I hope you’ll indulge in making them soon. Enjoy the sweet moment!
Related Posts
- Decadent Mud Hen Bars for a Sweet Treat
- [Snickerdoodle Cobbler] Warm Cinnamon Snickerdoodle Cobbler Recipe for Cozy Nights
- Easy Moist Date Cake That Everyone Will Love

Kitchen Sink Cookies
- Total Time: 27 minutes
- Yield: 24 cookies
- Diet: Vegetarian
Description
Indulge in these Kitchen Sink Cookies, a delightful medley of flavors and textures that cater to any sweet craving! These cookies are simple to make yet rich in variety, ensuring that each bite is a unique experience.
Ingredients
Butter
- 1 cup (softened)
Brown Sugar
- 1 cup
Granulated Sugar
- 1/2 cup
Eggs
- 2 large
Vanilla Extract
- 1 tsp
All-Purpose Flour
- 2 1/4 cups
Baking Soda
- 1 tsp
Chocolate Chips
- 1 cup semi-sweet
Mix-Ins
- Nuts, dried fruits, or coconut (optional)
Instructions
- Preheat the Oven: Start your baking adventure by preheating your oven to 350°F (175°C) to ensure the cookies bake evenly and perfectly.
- Cream the Butter and Sugars: In a mixing bowl, combine softened butter, brown sugar, and granulated sugar. Beat them together until the mixture is light and fluffy, about 2-3 minutes. This is crucial for a nice texture!
- Add Eggs and Vanilla: Mix in the eggs one at a time, followed by the vanilla extract. Beat until everything is well combined, which will help your cookies stay moist.
- Combine Dry Ingredients: In a separate bowl, whisk together the flour, baking soda, and a pinch of salt. Gradually add this dry mix to your wet ingredients, stirring until just combined to avoid overmixing.
- Stir in Chocolate Chips and Mix-Ins: Gently fold in the chocolate chips and any additional mix-ins you desire. Get creative here, it adds character to your cookies!
- Scoop and Bake: Using a cookie scoop or spoon, drop dollops of dough onto a baking sheet lined with parchment paper, leaving enough space between each cookie. Bake for 10-12 minutes until the edges are golden.
- Cool and Enjoy: Take the cookies out of the oven and allow them to cool on the baking sheet for 5 minutes before transferring them to a wire rack to cool completely. Enjoy your homemade Kitchen Sink Cookies!
Notes
- Allow your butter and eggs to reach room temperature for the best mixing results.
- Stir the dough until just combined to maintain a tender cookie texture.
- Refrigerating the dough for 30 minutes can help prevent spreading and enhance flavor.
- Use parchment paper for seamless removal and easier cleanup.
- Keep a close eye on your cookies, as every oven varies slightly.
- Prep Time: 15 minutes
- Cook Time: 12 minutes
- Category: Desserts
- Method: Baking
- Cuisine: American
Nutrition
- Serving Size: 1 cookie
- Calories: 150
- Sugar: 10g
- Sodium: 80mg
- Fat: 7g
- Saturated Fat: 4g
- Unsaturated Fat: 2g
- Trans Fat: 0g
- Carbohydrates: 20g
- Fiber: 1g
- Protein: 2g
- Cholesterol: 30mg

