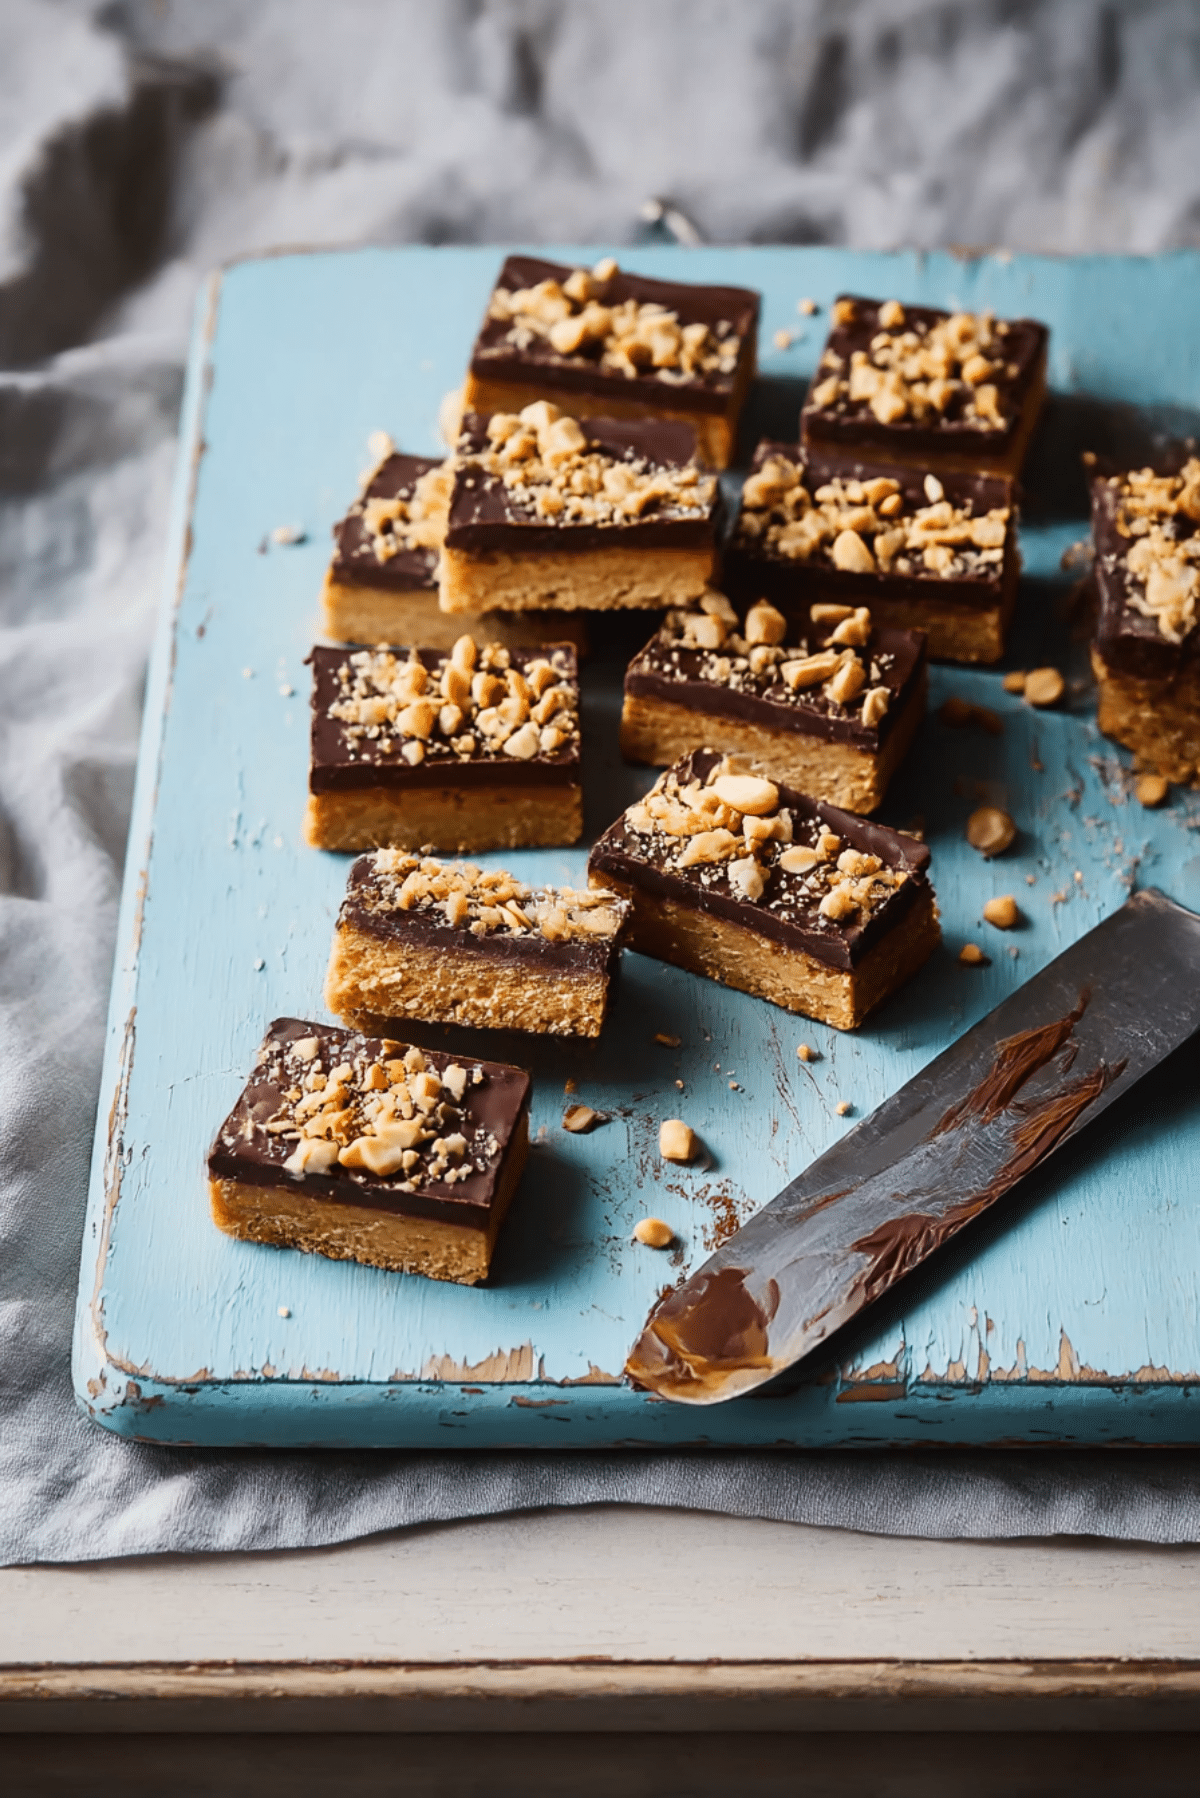
Peanut Butter Fingers
Picture yourself rustling through the dessert drawer after dinner and finding a bar that’s chewy, peanut buttery, chocolate‑topped and utterly irresistible. That’s the magic of Peanut Butter Fingers. A soft oatmeal‑and‑peanut‑butter base, a gooey chocolate layer, and a drizzle (or crunch!) of chopped peanuts — every bite feels nostalgic and indulgent all at once.
Behind the Recipe
I first made these on a rainy weekend when I had a jar of peanut butter, half‑used oats, and a sudden craving for something sweet but sturdy. I baked a thick bar, spread melted chocolate over it, sprinkled chopped peanuts, and got lost in the kitchen trying to cut it before it cooled. Since then, it’s become the dessert I bring to potlucks, because it travels, holds up, and disappears fast.
Recipe Origin or Trivia
This style of bar—oat/peanut‑butter base topped with chocolate—has been around for generations. One version of “Peanut Butter Fingers” lists a base of oats and peanut butter, topped with chocolate chips that melt and spread, then a peanut‑butter glaze drizzled on top. :contentReference[oaicite:0]{index=0} These bars were once standard at school cafeterias and family gatherings—a sweet reminder of simpler times.
Why You’ll Love Peanut Butter Fingers
- Comfort & nostalgia: They taste like childhood and after‑school treats.
- Crowd‑friendly: Ideal for baking in a pan and cutting into bars.
- Flexible: You can use crunchy or smooth peanut butter, dark or milk chocolate.
- Make‑ahead capable: Bake, cool, and slice ahead of time.
- Tick all the boxes: Sweet, chewy, chocolatey, nutty—all in one.
Chef’s Pro Tips for Perfect Results
- Use rolled oats or quick oats for the base—they add texture and chew. :contentReference[oaicite:1]{index=1}
- Don’t over‑bake: Aim for the center to set but still feel slightly soft under your finger. Over‑baking can yield dry bars. :contentReference[oaicite:2]{index=2}
- Spread chocolate when the base is hot so the chips melt smoothly.
- Chop extra roasted peanuts for the top so you get crunch and contrast.
- Let it fully cool before slicing so you get clean edges and the chocolate sets properly.
Kitchen Tools You’ll Need
- 9×13‑inch (or similar size) baking pan, lined with parchment for easy removal.
- Mixing bowl & electric mixer (or strong whisk) to cream butter and sugars.
- Spatula or rubber scraper.
- Knife for slicing the bars.
- Sharp small knife or offset spatula for spreading chocolate and peanut drizzle.
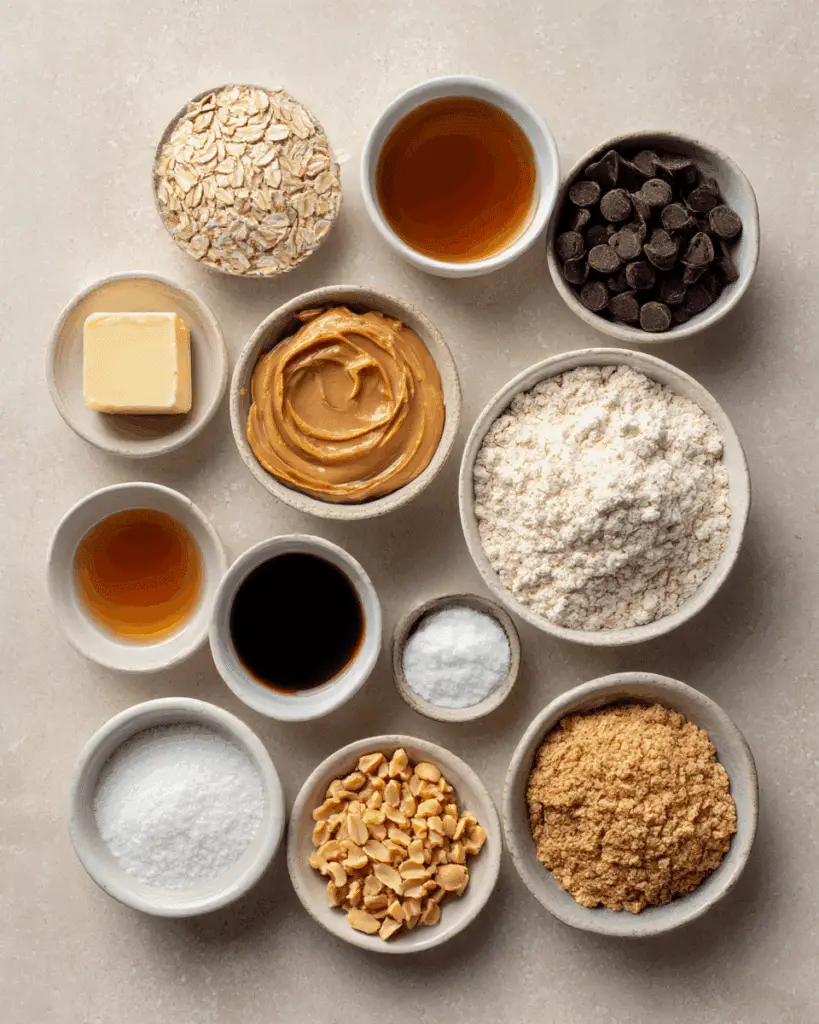
Ingredients in Peanut Butter Fingers
- ½ cup (1 stick) unsalted butter, softened—gives richness and helps bind the base.
- ½ cup granulated sugar—sweetness and texture.
- ½ cup brown sugar, packed—adds depth and chewiness.
- 1 large egg—binds.
- ⅓ cup creamy peanut butter—brings flavor and peanut punch. :contentReference[oaicite:3]{index=3}
- 1 tsp vanilla extract—enhances everything.
- 1 tsp baking soda—lifts slightly, helps texture.
- ½ tsp salt—balances sweetness.
- 1 cup all‑purpose flour—structure.
- 1 cup rolled oats—chew and texture.
- 6 oz semisweet chocolate chips—melts into the bar top.
- ¼ cup peanut butter plus ½ cup powdered sugar plus 2–4 Tbsp milk—for the peanut butter drizzle glaze. :contentReference[oaicite:4]{index=4}
Ingredient Substitutions
- Use crunchy peanut butter if you prefer more texture—or half crunchy/half smooth. :contentReference[oaicite:5]{index=5}
- Swap brown sugar for coconut sugar for a more caramel note.
- Use dark chocolate chips (60% cacao) instead of semisweet for richer chocolate contrast.
- For gluten‑free bars, use a gluten‑free flour blend and certified oats.
- For a nut‑free version, try sunflower‑seed butter and chopped sunflower seeds in place of peanuts.
Instructions for Making Peanut Butter Fingers
- Preheat your equipment: Preheat oven to 350 °F (≈175 °C). Grease or line a 9×13‑inch baking pan. :contentReference[oaicite:6]{index=6}
- Combine ingredients: In a bowl, cream butter, granulated sugar, and brown sugar until light. Add the egg, peanut butter, vanilla, salt and mix. In a separate bowl whisk flour, oats, baking soda and then stir into wet mixture until combined.
- Prepare your cooking vessel: Spread the batter evenly into the prepared pan. The base will be relatively thin. Bake until edges are golden and center looks set but still slightly soft (about 20–25 minutes). :contentReference[oaicite:7]{index=7}
- Assemble the dish: Remove from oven. Sprinkle chocolate chips over top while still warm, let sit ~5 minutes to melt, then spread the melted chocolate into a smooth layer.
- Finishing touches: Make the peanut butter glaze by mixing peanut butter, powdered sugar and milk until smooth, drizzle over the chocolate layer. Optionally sprinkle chopped peanuts at this point. Allow the bars to cool completely for clean slicing.
- Serve and enjoy: Slice into “fingers” (bars) – often ~24 pieces. Serve with a glass of milk or coffee.
Texture & Flavor Secrets
You’ve got a chewy oat‑peanut base, a silky chocolate cap, and a peanut glaze that gives smoothness and nutty sweetness. The oats add chew and rustic texture, the peanut butter adds richness, while the chocolate and glaze finish bring contrast and indulgence. It’s a flavor trifecta.
Cooking Tips & Tricks
- Chill the bars slightly after topping before slicing—this helps firmness.
- Use parchment with excess overhang for easy removal.
- For extra flair: swirl the peanut glaze into the melted chocolate before it sets.
- Store in airtight container at room temp for up to 3 days, or refrigerate for firmer texture.
What to Avoid
- Baking too long—bars will dry out.
- Spreading the chocolate too early—the heat matters so it melts evenly.
- Cutting before fully cooled—bars may crumble or the chocolate may smear.
Nutrition Facts
Servings: 24 bars
Calories per bar: ~184 (as per one original version) :contentReference[oaicite:8]{index=8}
Preparation Time
Prep Time: ~15 minutes
Cook Time: ~20–25 minutes
Total Time: ~35–45 minutes
Make‑Ahead and Storage Tips
These are perfect for make‑ahead. Once cooled and sliced, store in airtight container for up to 3 days. They freeze beautifully—wrap individually or layer with parchment and freeze up to 1 month. Thaw at room temperature or warm slightly before serving.
How to Serve
Serve as dessert bars, snack with coffee or milk, or pack into lunchboxes. For an extra treat, warm a bar briefly and top with a scoop of vanilla ice cream.
Creative Leftover Transformations
- Crumble the bars over vanilla yogurt or ice cream for crunchy topping.
- Cube leftover bars and use as mix‑in for homemade granola or snack mix.
- Use as a base for a layered dessert—bars at bottom, dessert filling on top.
Additional Tips
- Try sprinkling coarse sea salt on top of the chocolate before the glaze sets for an elevated sweet‑salt balance.
- For flavor variety, add ½ tsp cinnamon or ¼ tsp espresso powder to the oat base.
- If you like almonds, swap chopped peanuts for toasted almonds.
Variations to Try
- Double Chocolate Peanut Butter Fingers: Use dark chocolate and drizzle white chocolate on top.
- Salted Caramel Peanut Butter Fingers: Add a layer of salted caramel between the base and the chocolate.
- Nut‑Free Seed Butter Fingers: Use sunflower seed butter and pumpkin seeds instead of peanuts.
- Vegan Version: Use flax eggs, dairy‑free butter, and vegan chocolate chips.
FAQ’s
Q1: Can I use quick oats instead of rolled oats?
Yes—quick oats work and make the texture slightly finer. Just don’t use steel‑cut. :contentReference[oaicite:9]{index=9}
Q2: What if I don’t have a 9×13‑inch pan?
You can use an 8×8‑inch pan for a thicker bar, but baking time may increase slightly.
Q3: Can I skip the glaze?
You can—bars will still be delicious with just the melted chocolate topping.
Q4: Are these bars gluten‑free?
Not by default—but you can use gluten‑free flour blend and certified oats.
Q5: Can I make them ahead?
Yes—they’re even easier after they’ve set and sliced. Perfect for gifting or potlucks.
Conclusion
Peanut Butter Fingers are pure bar dessert joy—chewy, rich, chocolatey, and peanut‑buttery in every bite. They’re simple to make, big on flavor, and perfect for sharing or keeping all to yourself. Whether it’s for a cozy night in or a gathering with friends, these bars have your sweet craving covered. Grab that baking pan and let the peanut butter‑chocolate magic unfold.
Print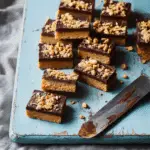
Peanut Butter Fingers
Description
These Peanut Butter Fingers are chewy oat bars topped with melted chocolate and a creamy peanut butter drizzle. Perfectly sweet, crunchy, and satisfying, they’re ideal for snacking, dessert trays, or make-ahead treats.
Ingredients
- 1/2 cup unsalted butter, softened
- 1/2 cup granulated sugar
- 1/2 cup brown sugar, packed
- 1 large egg
- 1/3 cup creamy peanut butter
- 1 tsp vanilla extract
- 1 tsp baking soda
- 1/2 tsp salt
- 1 cup all-purpose flour
- 1 cup rolled oats
- 6 oz semisweet chocolate chips
- 1/4 cup peanut butter (for glaze)
- 1/2 cup powdered sugar
- 2–4 Tbsp milk
- Optional: chopped roasted peanuts for topping
Instructions
- Preheat oven to 350°F. Grease or line a 9×13-inch baking pan.
- Cream butter, granulated sugar, and brown sugar until light and fluffy.
- Mix in egg, 1/3 cup peanut butter, and vanilla until smooth.
- In a separate bowl, whisk flour, oats, baking soda, and salt. Gradually stir into wet ingredients.
- Spread batter evenly into prepared pan. Bake for 20–25 minutes until set but still soft in the center.
- Remove from oven and sprinkle chocolate chips over hot bars. Let melt for 5 minutes, then spread evenly.
- Mix remaining 1/4 cup peanut butter, powdered sugar, and milk to form glaze. Drizzle over chocolate layer.
- Sprinkle with chopped peanuts if desired. Let cool completely before slicing into bars.
Notes
- For best results, let bars cool fully before cutting.
- Use crunchy peanut butter for added texture.
- Bars freeze well and are great for make-ahead treats.