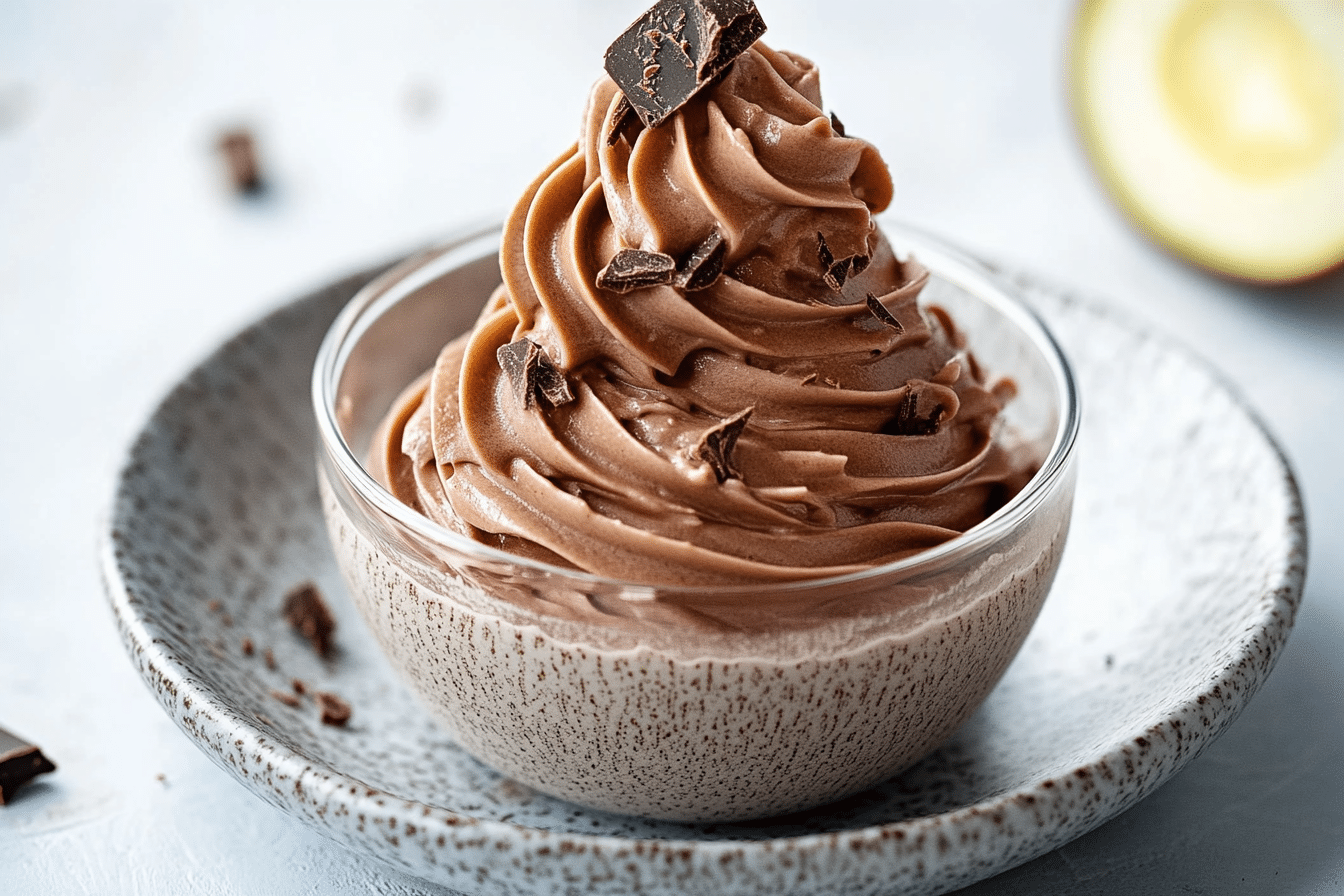
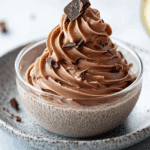
Chocolate Stabilized Whipped Cream Keeps Its Shape Perfectly
Chocolate Stabilized Whipped Cream is the ultimate fluffy, rich topping that not only tastes incredible but also keeps its shape perfectly, making your desserts look professionally finished every time. Whether you’re dressing cakes, cupcakes, or pies, this luscious and stable whipped cream adds a decadent chocolate twist that holds up beautifully without melting away or losing volume.
Why You’ll Love This Recipe
- Deliciously Rich Flavor: The perfect balance of cocoa and sweet cream creates an irresistible chocolate taste that elevates any dessert.
- Stable and Long-Lasting: Unlike regular whipped cream, this stabilized version maintains its shape for hours, perfect for parties and long events.
- Easy to Make: Simple ingredients and straightforward steps mean anyone can whip it up quickly without fuss.
- Versatile Usage: Works great as a topping, filling, or even a standalone dessert layer.
- Elegant Presentation: Keeps its peaks and swirls intact for stunning plating every single time.
Ingredients You’ll Need
These ingredients are simple yet essential, each contributing to the perfect texture, flavor, and stability of your Chocolate Stabilized Whipped Cream. From creamy dairy to rich cocoa, every component plays a key role.
- Heavy Whipping Cream: The base that provides a smooth, fluffy texture and rich taste.
- Powdered Sugar: Adds sweetness and helps with the stabilization process.
- Cocoa Powder: Unsweetened, for intense chocolate flavor and dark color.
- Gelatin or Agar Agar: The secret stabilizer that keeps your whipped cream firm without stiffness.
- Vanilla Extract: Adds depth and balances the chocolate’s richness.
- Cold Water: Used to dissolve gelatin for smooth integration.
Variations for Chocolate Stabilized Whipped Cream
Create your signature version easily by tweaking a few ingredients or swapping them to suit dietary preferences without losing that perfect fluff and stability.
- Dairy-Free Alternative: Use coconut cream and agar agar instead of gelatin for a vegan-friendly version.
- Sweetener Swap: Replace powdered sugar with maple syrup or agave for a natural sweetness boost.
- Flavor Boosts: Add a pinch of espresso powder for a mocha twist or cinnamon for warmth.
- White Chocolate Variation: Melt white chocolate into the cream before whipping for a creamy, lighter chocolate taste.
- Spiked Version: Mix in a splash of liqueur like Baileys or Kahlúa for an adult-friendly treat.

How to Make Chocolate Stabilized Whipped Cream
Step 1: Prepare the Gelatin
Start by sprinkling your gelatin powder over a small amount of cold water and let it bloom for about 5 minutes. This step ensures it dissolves evenly without lumps.
Step 2: Heat the Gelatin
Gently warm the bloomed gelatin over low heat or in a microwave for a few seconds until fully melted, making sure it does not boil. Let it cool slightly but don’t let it set.
Step 3: Combine Cocoa and Sugar
In a large mixing bowl, sift together the powdered sugar and cocoa powder. This prevents clumps and ensures a smooth, chocolatey whip later.
Step 4: Whip the Cream
Begin whipping the cold heavy cream on medium speed until soft peaks start to form. Then add vanilla extract for that subtle aroma boost.
Step 5: Add Sugar and Gelatin
Slowly add the cocoa and sugar mixture while continuing to whip. Once combined, drizzle in the melted gelatin and whip until stiff peaks form and the cream is glossy yet stable.
Step 6: Chill and Use
Refrigerate your Chocolate Stabilized Whipped Cream for at least 30 minutes before serving to help it set fully and hold its shape beautifully.
Pro Tips for Making Chocolate Stabilized Whipped Cream
- Chill Everything: Make sure your bowl, beaters, and cream are well chilled for faster whipping and better volume.
- Don’t Overwhip: Stop mixing once stiff peaks form to avoid turning your cream grainy or buttery.
- Gelatin Timing: Add the melted gelatin while whipping slowly to incorporate evenly without clumps.
- Use Quality Cocoa: Opt for unsweetened natural cocoa powder for deeper flavor and smooth texture.
- Store Properly: Keep your stabilized whipped cream covered in the fridge to maintain freshness and prevent drying out.
How to Serve Chocolate Stabilized Whipped Cream
Garnishes
Top off your stabilized whipped cream with shavings of dark chocolate, fresh berries, or a dusting of cocoa powder for an irresistible visual and flavor boost.
Side Dishes
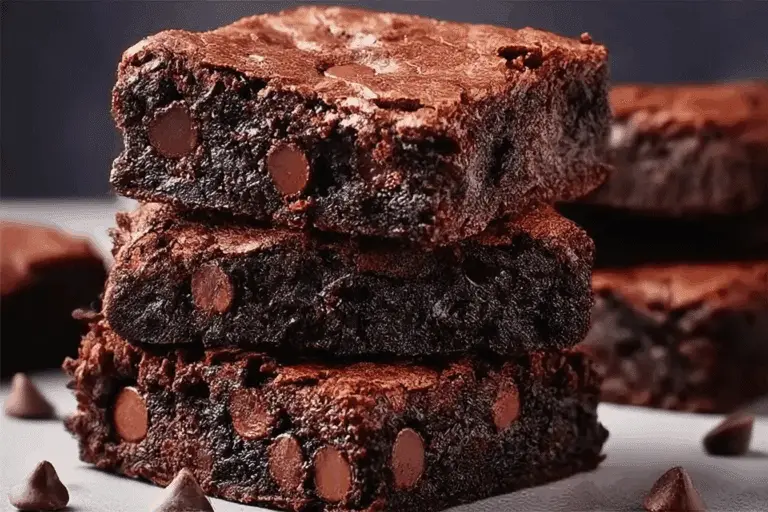
This whipped cream pairs beautifully with warm desserts like molten chocolate cake, freshly baked brownies, or fruit pies, creating balance between warmth and refreshing creaminess.
Creative Ways to Present
Pipe your Chocolate Stabilized Whipped Cream into elegant rosettes, peaks, or swirls on cupcakes and cakes, or use it as a decadent dip for fruit skewers for a visually stunning dessert.
Make Ahead and Storage
Storing Leftovers
Keep any leftover Chocolate Stabilized Whipped Cream covered tightly in an airtight container in the refrigerator for up to 3 days, preserving its texture and flavor.
Freezing
While not ideal, you can freeze the stabilized whipped cream in small portions. Thaw gently in the fridge and give it a quick stir before serving, though texture might be slightly affected.
Reheating
Reheating isn’t recommended since it can break down the cream’s structure, but if needed, just bring to room temperature briefly and whisk lightly to restore some fluffiness.
FAQs
What makes whipped cream stabilized?
Stabilizers like gelatin or agar agar help the whipped cream hold its shape longer by reinforcing the air bubbles, preventing it from melting or collapsing quickly.
Can I use fresh cream instead of heavy whipping cream?
For the best results and proper whipping structure, heavy whipping cream is recommended due to its higher fat content compared to fresh cream.
Is gelatin the only stabilizer option?
No, you can substitute gelatin with agar agar for a vegetarian alternative or commercial stabilizers like cream of tartar, though gelatin tends to provide the best texture and stability.
Can I make this ahead of time for a party?
Absolutely! Make your Chocolate Stabilized Whipped Cream a few hours or even a day before serving, storing it in the fridge to save time and ensure perfect presentation.
How long will Chocolate Stabilized Whipped Cream last?
Stored properly in the refrigerator, it stays fresh and stable for up to 3 days, making it ideal for prepping desserts in advance.
Final Thoughts
Chocolate Stabilized Whipped Cream is truly a game changer in dessert decorating and flavor enhancement. With its silky chocolatey richness and long-lasting fluffiness, this recipe will quickly become your go-to for making every dessert shine. Give it a try—you’ll wonder how you ever enjoyed whipped cream without it!
Related Posts
- Filipino Mango Float: Sweet, Creamy, and Refreshingly Delightful
- Lemon Curd Tartlets That Melt in Your Mouth
- Lemon-blueberry Puff Pastry Tart
Chocolate Stabilized Whipped Cream
- Total Time: 45 minutes (including chilling time)
- Yield: Approximately 2 cups
- Diet: Vegetarian (vegan option available using agar agar and coconut cream)
Description
Chocolate Stabilized Whipped Cream is a rich, fluffy topping that perfectly holds its shape for hours, ideal for cakes, cupcakes, and pies. This recipe combines heavy whipping cream with cocoa powder, powdered sugar, and gelatin to create a luscious, stable whipped cream with an irresistible chocolate flavor and elegant presentation.
Ingredients
Main Ingredients
- 1 cup Heavy Whipping Cream (cold)
- 2 tablespoons Powdered Sugar
- 2 tablespoons Unsweetened Cocoa Powder
- 1 teaspoon Vanilla Extract
- 1 teaspoon Gelatin Powder or Agar Agar
- 2 tablespoons Cold Water
Instructions
- Prepare the Gelatin: Sprinkle the gelatin powder over 2 tablespoons of cold water and let it bloom for 5 minutes to dissolve evenly without lumps.
- Heat the Gelatin: Gently warm the bloomed gelatin over low heat or a few seconds in the microwave until fully melted. Make sure it does not boil. Let it cool slightly but do not allow it to set.
- Combine Cocoa and Sugar: Sift together the powdered sugar and unsweetened cocoa powder in a large mixing bowl to prevent clumps and ensure a smooth whipped cream.
- Whip the Cream: Using cold heavy whipping cream, whip on medium speed until soft peaks form. Add vanilla extract to enhance the aroma and flavor.
- Add Sugar and Gelatin: Slowly add the cocoa and sugar mixture while continuing to whip. Drizzle in the melted gelatin gradually and continue whipping until stiff, glossy peaks form and the whipped cream is stable.
- Chill and Use: Refrigerate the stabilized whipped cream for at least 30 minutes to fully set and maintain its shape before serving.
Notes
- Chill your bowl, beaters, and cream beforehand for faster whipping and better volume.
- Stop whipping after stiff peaks form to avoid grainy or buttery texture.
- Add melted gelatin slowly during whipping to avoid clumping and ensure even distribution.
- Use high-quality unsweetened cocoa powder for deeper chocolate flavor and smooth texture.
- Store covered in the refrigerator to maintain freshness and prevent drying out.
- Prep Time: 10 minutes
- Cook Time: 5 minutes
- Category: Dessert Topping
- Method: Whipping
- Cuisine: International
Nutrition
- Serving Size: 2 tablespoons
- Calories: 60
- Sugar: 3g
- Sodium: 10mg
- Fat: 5g
- Saturated Fat: 3.5g
- Unsaturated Fat: 1g
- Trans Fat: 0g
- Carbohydrates: 3g
- Fiber: 1g
- Protein: 0.5g
- Cholesterol: 20mg