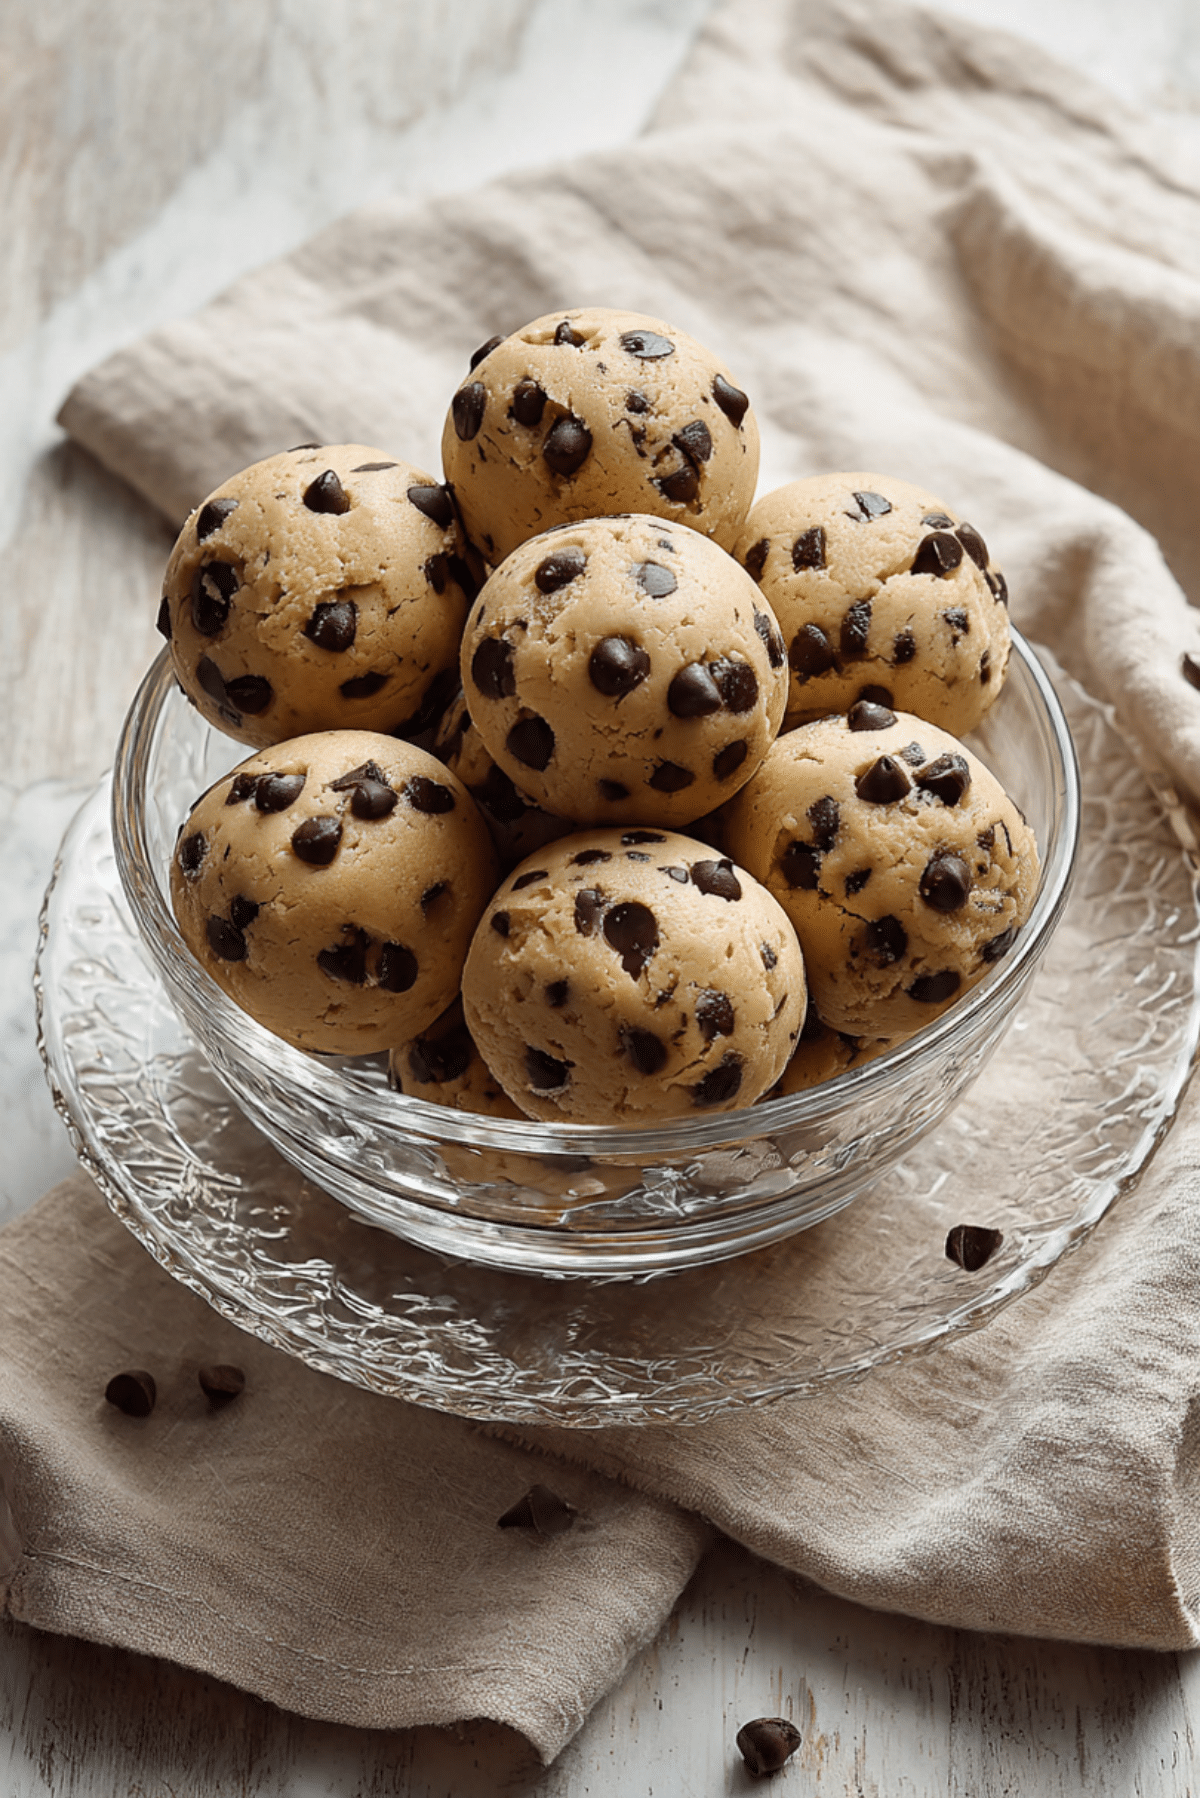
Cookie Dough Ball
There’s something undeniably nostalgic about cookie dough. The buttery aroma, the little crunch of sugar, and those melty chocolate chips just take you back to simpler times. Now imagine rolling all that goodness into bite-sized balls you can pop right from the fridge. That’s what we’re diving into today. These cookie dough balls are safe to eat raw, absolutely addictive, and come together faster than you can say “just one more.”
Behind the Recipe
This recipe came from my deep craving for something sweet but effortless. I remembered how as a kid, I’d sneak spoonfuls of dough while baking with my grandma. Of course, she’d scold me gently, but we both knew that dough was the best part. So, I decided to make that the star of the show. No baking, no waiting for the oven to preheat, just pure cookie dough joy.
Recipe Origin or Trivia
Edible cookie dough started gaining traction when people realized they loved the dough even more than the baked cookie. Commercial brands began popping up offering safe-to-eat versions without eggs or raw flour. It quickly became a dessert trend and eventually a staple in sweet shops and home kitchens alike.
Why You’ll Love Cookie Dough Ball
Here’s why these little treats are totally worth making:
Versatile: Great as a snack, party treat, or even topping for ice cream.
Budget-Friendly: Made with pantry staples you likely already have.
Quick and Easy: No baking needed, ready in under 20 minutes.
Customizable: Swap in nuts, sprinkles, or peanut butter chips.
Crowd-Pleasing: Everyone from kids to adults adores them.
Make-Ahead Friendly: They keep well in the fridge for days.
Great for Leftovers: Freeze them for later or crumble over desserts.
Chef’s Pro Tips for Perfect Results
Let me share a few tips that will take your cookie dough balls from good to absolutely unforgettable.
- Toast the flour first to kill bacteria. Just spread it on a baking sheet and bake at 350°F for 5 minutes.
- Use mini chocolate chips for better distribution and texture.
- Chill before rolling to firm up the dough and avoid sticky hands.
- Don’t overmix once the chips go in, or the dough might get greasy.
- Use a cookie scoop for even portions and a prettier finish.
Kitchen Tools You’ll Need
You won’t need much, which is part of the charm.
- Mixing Bowl: For combining everything smoothly.
- Rubber Spatula: Helps fold and mix without overworking.
- Baking Sheet: To chill the rolled balls evenly.
- Measuring Cups and Spoons: For accuracy and balance.
- Cookie Scoop: Optional, but great for uniform size.
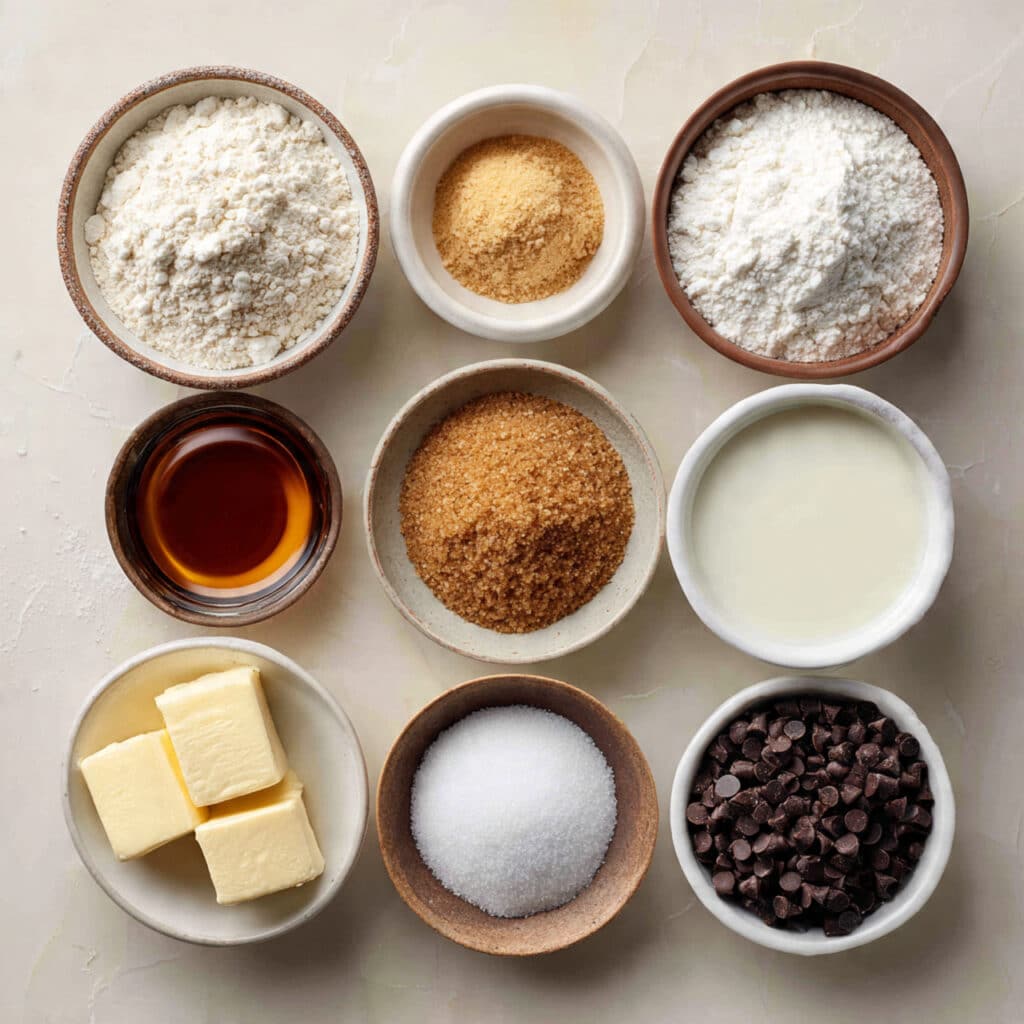
Ingredients in Cookie Dough Ball
The harmony between these ingredients creates that classic cookie dough flavor you know and love.
- All-purpose flour: 1 cup (heat-treated) – Creates the structure and chew.
- Unsalted butter: 1/2 cup (softened) – Adds richness and that melt-in-your-mouth texture.
- Brown sugar: 1/3 cup – Provides sweetness and a subtle molasses depth.
- Granulated sugar: 2 tablespoons – Adds a little crunch and contrast.
- Vanilla extract: 1 teaspoon – Enhances all the flavors and brings it together.
- Milk: 2 tablespoons – Moistens the dough and helps it come together.
- Salt: 1/4 teaspoon – Balances the sweetness.
- Mini chocolate chips: 1/2 cup – Delivers that perfect burst of chocolate in every bite.
Ingredient Substitutions
Here are a few easy swaps if you’re missing something:
Butter: Coconut oil or vegan butter.
Milk: Almond, oat, or soy milk work well.
Brown Sugar: Coconut sugar for a richer, slightly caramel taste.
Chocolate Chips: White chocolate, peanut butter chips, or chopped dark chocolate.
Flour: Gluten-free flour blend if needed.
Ingredient Spotlight
Brown Sugar: This ingredient gives the dough its caramel-like sweetness and chewy bite. It’s key to that cookie dough authenticity.
Mini Chocolate Chips: These ensure every small bite is packed with chocolate without overwhelming the dough.
Instructions for Making Cookie Dough Ball
These come together so fast, you’ll be snacking before you know it. Here’s how to make them step-by-step:
-
Preheat Your Equipment:
If you haven’t heat-treated your flour yet, preheat your oven to 350°F. Spread flour on a baking sheet and bake for 5 minutes to make it safe for eating raw. Let it cool. -
Combine Ingredients:
In a mixing bowl, beat the butter, brown sugar, and granulated sugar until creamy. Add vanilla, salt, and milk. Mix well. -
Prepare Your Cooking Vessel:
Stir in the cooled flour gradually until the dough is smooth. Then fold in the mini chocolate chips. -
Assemble the Dish:
Chill the dough in the refrigerator for about 15 minutes so it’s easier to roll. -
Cook to Perfection:
(There’s no cooking here, just chilling. That’s the magic.) -
Finishing Touches:
Use a cookie scoop or spoon to portion out the dough and roll it into balls. -
Serve and Enjoy:
Keep them chilled or at room temperature for a softer bite. Store extras in an airtight container in the fridge.
Texture & Flavor Secrets
The magic lies in the contrast. Soft, creamy dough meets tiny pops of chocolate in every bite. The brown sugar deepens the flavor while a pinch of salt keeps everything balanced and craveable.
Cooking Tips & Tricks
Let me help you make these like a pro:
- Chill the dough before rolling for easy handling.
- Toasting the flour is essential for safety and adds a nutty note.
- Don’t skip the salt. It’s tiny but mighty in flavor.
What to Avoid
These are common pitfalls. Avoid them and you’re golden:
- Using untreated flour. It’s unsafe and can ruin the texture.
- Overmixing after adding chips. You’ll end up with greasy dough.
- Skipping the chill time. Your dough will be sticky and hard to handle.
Nutrition Facts
Servings: 12
Calories per serving: 140
Note: These are approximate values.
Preparation Time
Prep Time: 10 minutes
Cook Time: 0 minutes
Total Time: 10 minutes
Make-Ahead and Storage Tips
These cookie dough balls are perfect for planning ahead. You can make them in advance and store in the fridge for up to a week. They also freeze beautifully. Just pop them into a zip-top bag and keep for up to 3 months. To enjoy later, let them thaw for a few minutes at room temperature.
How to Serve Cookie Dough Ball
These little bites are great straight from the fridge. Try rolling them in sprinkles or crushed nuts for fun texture. Or serve on a dessert board with fresh fruit and mini brownies. You can even crumble them into a milkshake or on top of warm brownies.
Creative Leftover Transformations
If you find yourself with extra dough balls (hard to imagine!), here’s what to do:
- Crumbled over yogurt or oatmeal.
- Stuffed into cupcakes for a surprise center.
- Blended into homemade ice cream.
Additional Tips
- For a firmer bite, add a touch more flour.
- Keep a stash in the freezer for sudden sweet cravings.
- Want a pop of color? Toss in mini M&Ms or rainbow sprinkles.
Make It a Showstopper
Presentation makes it even better. Serve these in mini cupcake liners on a white ceramic tray for contrast. Add a few chocolate chips around the edges and dust with cocoa powder for a bakery-style vibe.
Variations to Try
- Peanut Butter Swirl: Add 2 tablespoons of peanut butter to the mix.
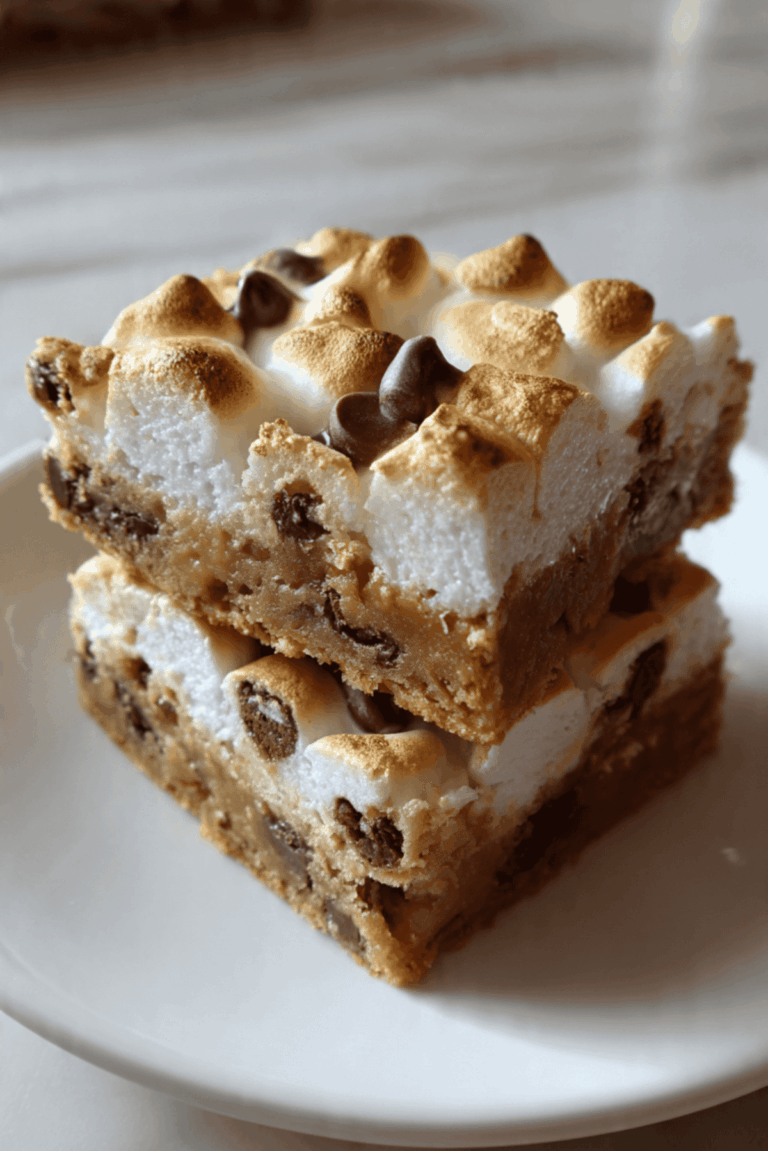
- S’mores Inspired: Mix in crushed graham crackers and mini marshmallows.
- Cookies & Cream: Fold in crushed chocolate sandwich cookies.
- Birthday Cake: Add rainbow sprinkles and almond extract.
- Nutty Delight: Mix in chopped pecans or walnuts.
FAQ’s
Q1: Can I use regular flour without baking it?
A1: No, you should always heat-treat the flour to make it safe to eat raw.
Q2: How long do these cookie dough balls last?
A2: They last up to 7 days in the fridge or 3 months in the freezer.
Q3: Can I make this vegan?
A3: Absolutely, just use plant-based butter and dairy-free milk.
Q4: Can I bake these?
A4: This recipe is meant to be eaten raw. If you want to bake, try a standard cookie dough recipe.
Q5: Is it safe for kids?
A5: Yes, as long as you heat-treat the flour, it’s perfectly safe.
Q6: Can I double the batch?
A6: Yes, just double every ingredient. No other changes needed.
Q7: Can I use coconut sugar?
A7: Definitely. It adds a lovely caramel-like flavor.
Q8: Do I need to chill the dough?
A8: It helps with rolling and texture but isn’t mandatory.
Q9: Are mini chips necessary?
A9: Not at all. You can use any kind of chocolate you love.
Q10: Can I dip them in chocolate?
A10: Yes, and they’re amazing that way! Just melt chocolate and dip away.
Conclusion
These cookie dough balls are a sweet treat that’s ready in minutes, full of flavor, and so fun to make. Whether you’re sneaking one between meetings or serving them at a party, they’re guaranteed to bring smiles. Trust me, you’re going to love this. Ready to roll?
Print
Cookie Dough Ball
Description
These no-bake cookie dough balls are a quick, nostalgic treat made with safe-to-eat ingredients. Soft, sweet, and loaded with chocolate chips, they’re perfect for snacking or dessert boards.
Ingredients
- 1 cup all-purpose flour (heat-treated)
- 1/2 cup unsalted butter (softened)
- 1/3 cup brown sugar
- 2 tablespoons granulated sugar
- 1 teaspoon vanilla extract
- 2 tablespoons milk
- 1/4 teaspoon salt
- 1/2 cup mini chocolate chips
Instructions
- Preheat your oven to 350°F. Spread the flour on a baking sheet and bake for 5 minutes to make it safe to eat. Let it cool completely.
- In a mixing bowl, cream together the butter, brown sugar, and granulated sugar until smooth and fluffy.
- Add in the vanilla extract, salt, and milk. Mix until combined.
- Gradually stir in the cooled flour until a dough forms.
- Fold in the mini chocolate chips evenly throughout the dough.
- Chill the dough in the fridge for 15 minutes.
- Use a cookie scoop or spoon to form the dough into balls and place them on a baking sheet.
- Serve immediately or store in an airtight container in the fridge.
Notes
- Toasting flour is essential for safety and flavor.
- Use a cookie scoop for consistent size and shape.
- Chill the dough to make rolling easier and reduce stickiness.