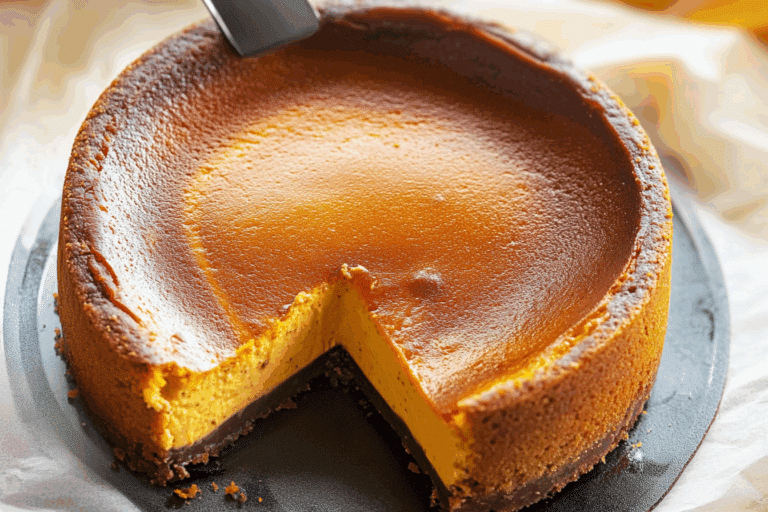
Healthy Greek Yogurt Cheesecake
There is something incredibly comforting about a dessert that feels indulgent yet light at the same time. This healthy Greek yogurt cheesecake brings that perfect balance, creamy, slightly tangy, and gently sweet with every bite. The texture is smooth and rich, yet it leaves you feeling satisfied without being too heavy. Trust me, you are going to love this one.
A lighter twist that still feels like a treat
This dessert feels like a quiet little secret in the kitchen. You get all the creamy richness you expect, but with a refreshing lightness that keeps you coming back for another slice. The Greek yogurt adds a subtle tang that lifts the flavor, while the crust gives just the right amount of crunch.
A little story behind this creamy favorite
Cheesecake has been around for centuries, with roots going back to ancient Greece where simple versions were served to athletes. Over time, it evolved into the rich dessert we know today. This version brings things full circle, using Greek yogurt to create something that feels both traditional and modern.
Why this recipe truly works every time
This is one of those recipes you can rely on, whether it is your first time baking or your hundredth.
Versatile: You can dress it up with fruits, drizzle it with honey, or keep it simple.
Budget-Friendly: The ingredients are simple and easy to find without stretching your budget.
Quick and Easy: The steps are straightforward and beginner friendly.
Customizable: You can adjust sweetness or toppings based on your taste.
Crowd-Pleasing: Everyone loves a creamy dessert that feels light.
Make-Ahead Friendly: It actually tastes better after chilling.
Great for Leftovers: The texture holds beautifully for days.
A few chef secrets before you begin
Getting that perfect creamy texture is easier than you think, especially with a few small tricks.
- Use room temperature ingredients for a smoother batter
- Do not overmix, it keeps the texture soft and prevents cracks
- Bake gently and avoid sudden temperature changes
- Let it cool slowly before chilling
Tools that make everything easier
Before we dive into the ingredients, let us make sure your kitchen is ready.
Mixing Bowl: For combining everything smoothly
Hand Mixer: Helps achieve a creamy consistency
Springform Pan: Makes removing the cheesecake much easier
Spatula: Perfect for folding and smoothing the batter
Oven: A steady temperature is key for even baking
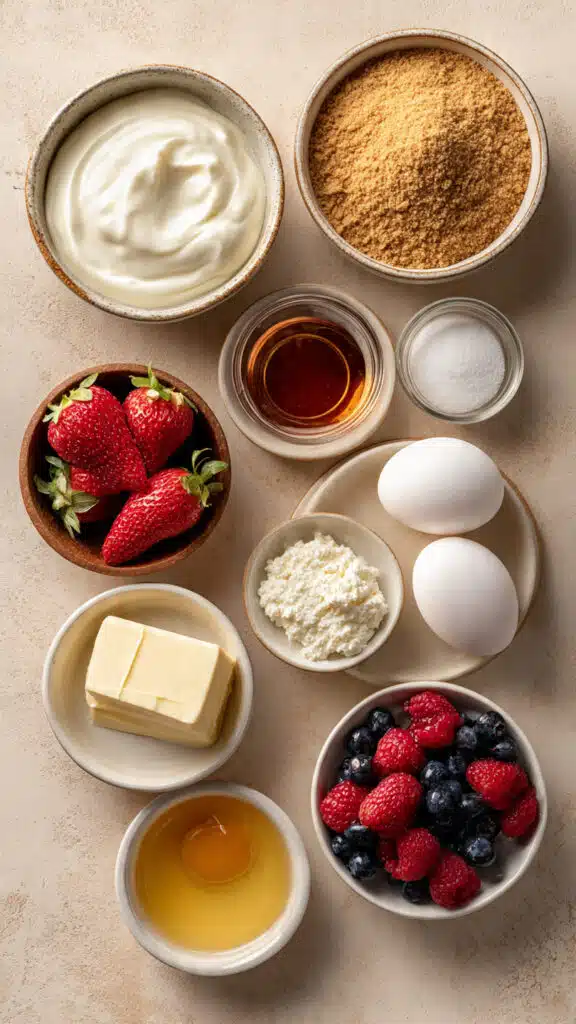
Ingredients that bring it all together
Each ingredient plays a role in creating that perfect bite.
- Greek Yogurt: 2 cups, thick and creamy, it gives the cheesecake its light texture
- Cream Cheese: 200 grams, softened, adds richness and structure
- Eggs: 2 large, helps bind everything together
- Honey: 1/3 cup, natural sweetness with a gentle flavor
- Vanilla Extract: 1 teaspoon, enhances the overall aroma
- Graham Cracker Crumbs: 1 1/2 cups, forms the base
- Butter: 1/4 cup melted, binds the crust together
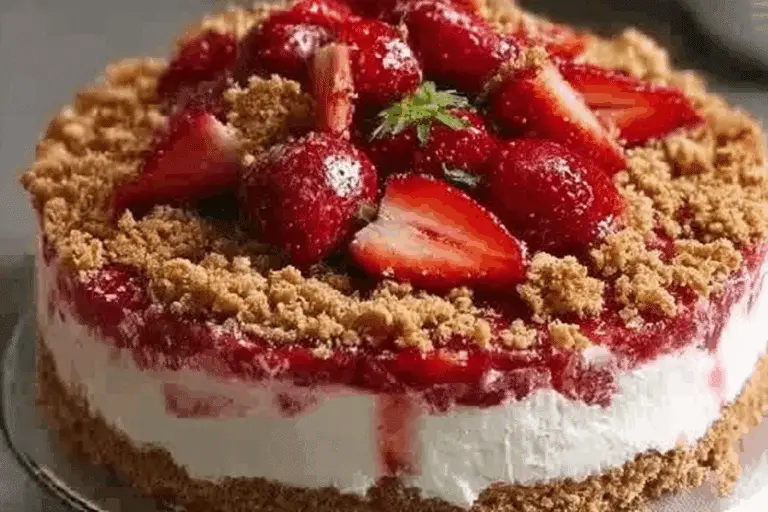
- Fresh Berries: 1 cup, for topping and freshness
Easy swaps if you want to experiment
You can tweak this recipe based on what you have at home.
Honey: Maple syrup works just as well
Graham Cracker Crumbs: Try oat biscuits for a different texture
Cream Cheese: Use low fat for a lighter version
Fresh Berries: Any seasonal fruit can be used
The stars of the show
Some ingredients really shine here.
Greek Yogurt: It creates that signature light and tangy flavor
Cream Cheese: Balances the texture with a smooth richness
Let’s get into the cooking process
Now it is time to bring everything together step by step.
- Preheat Your Equipment: Set your oven to 170°C and prepare your pan
- Combine Ingredients: Mix yogurt, cream cheese, honey, eggs, and vanilla until smooth
- Prepare Your Cooking Vessel: Press crumbs mixed with butter into the pan
- Assemble the Dish: Pour the filling over the crust evenly
- Cook to Perfection: Bake for 40 minutes until set but slightly jiggly
- Finishing Touches: Let it cool, then chill for at least 3 hours
- Serve and Enjoy: Top with fresh berries and slice gently
The texture and flavor journey
As it bakes, the cheesecake transforms into something silky and soft. The crust stays slightly crisp, creating a contrast with the creamy filling. The tanginess from the yogurt blends beautifully with the mild sweetness, giving each bite a balanced and refreshing taste.
Helpful tips to get it just right
- Chill long enough for the best texture
- Use a water bath if you want an ultra smooth finish
- Slice with a warm knife for clean edges
What to avoid while making it
- Overbaking can make it dry
- Skipping the chilling step affects the texture
- Mixing too fast can introduce air bubbles
Nutrition snapshot
Servings: 8
Calories per serving: 210
Note: These are approximate values.
Time breakdown
Prep Time: 15 minutes
Cook Time: 40 minutes
Total Time: 55 minutes
Make ahead and storage ideas
You can prepare this a day in advance and keep it in the fridge. It stays fresh for up to 4 days when covered well. You can also freeze slices and thaw them slowly in the fridge when needed.
How to serve it beautifully
Serve chilled with a handful of fresh berries or a drizzle of honey. A light dusting of powdered sugar also adds a nice touch.
Creative ways to use leftovers
Turn leftover slices into parfait layers with granola and fruit. You can even blend a piece into a creamy dessert smoothie.
Extra little tips
Use high quality yogurt for the best flavor. Always taste your mixture before baking to adjust sweetness.
Make it look irresistible
Keep the topping simple and neat. Arrange berries carefully and slice evenly for a clean presentation.
Fun variations to try
Try adding lemon zest for a citrus twist. Swap berries for mango slices. Add a light chocolate drizzle. Mix in crushed nuts for texture.
FAQ’s
1. Can I use low fat yogurt?
Yes, but the texture will be slightly less creamy.
2. Why is my cheesecake cracking?
It may have been overbaked or cooled too quickly.
3. Can I skip the crust?
Yes, but it will be softer and more delicate.
4. How long should I chill it?
At least 3 hours for best results.
5. Can I freeze it?
Yes, wrap slices tightly and freeze.
6. What fruits work best?
Berries, mango, or peaches are great choices.
7. Can I make it sweeter?
Yes, add a bit more honey to taste.
8. Is it good for breakfast?
It can be a lighter dessert option.
9. Can I use a different pan?
Yes, but adjust baking time accordingly.
10. How do I get clean slices?
Use a warm knife and wipe between cuts.
Conclusion
This healthy Greek yogurt cheesecake is one of those desserts that feels both comforting and refreshing at the same time. It is simple to make, easy to love, and honestly, it is worth every bite. Once you try it, it might just become your go to treat.
Print
Healthy Greek Yogurt Cheesecake
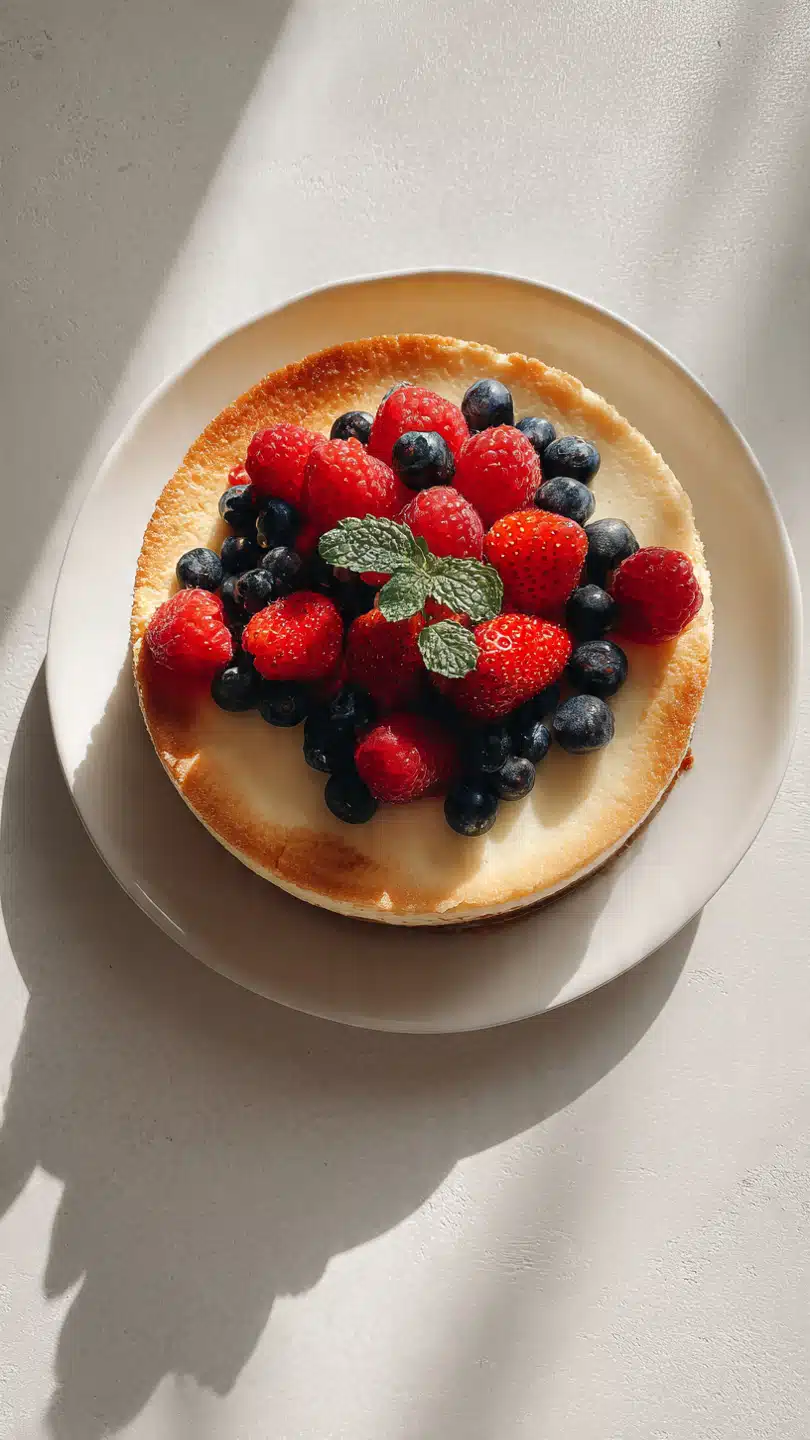
Description
A creamy and light Greek yogurt cheesecake that feels indulgent yet healthy, with a smooth texture and fresh berry topping.
Ingredients
- 2 cups Greek yogurt
- 200 grams cream cheese
- 2 large eggs
- 1/3 cup honey
- 1 teaspoon vanilla extract
- 1 1/2 cups graham cracker crumbs
- 1/4 cup melted butter
- 1 cup fresh berries
Instructions
- Preheat oven to 170°C and prepare a springform pan.
- Mix Greek yogurt, cream cheese, honey, eggs, and vanilla until smooth.
- Combine graham cracker crumbs with melted butter and press into the pan.
- Pour filling over the crust evenly.
- Bake for 40 minutes until set but slightly jiggly.
- Cool completely, then chill for at least 3 hours.
- Top with fresh berries and serve.
Notes
- Use room temperature ingredients for best texture
- Do not overmix to avoid cracks
- Chill well before slicing