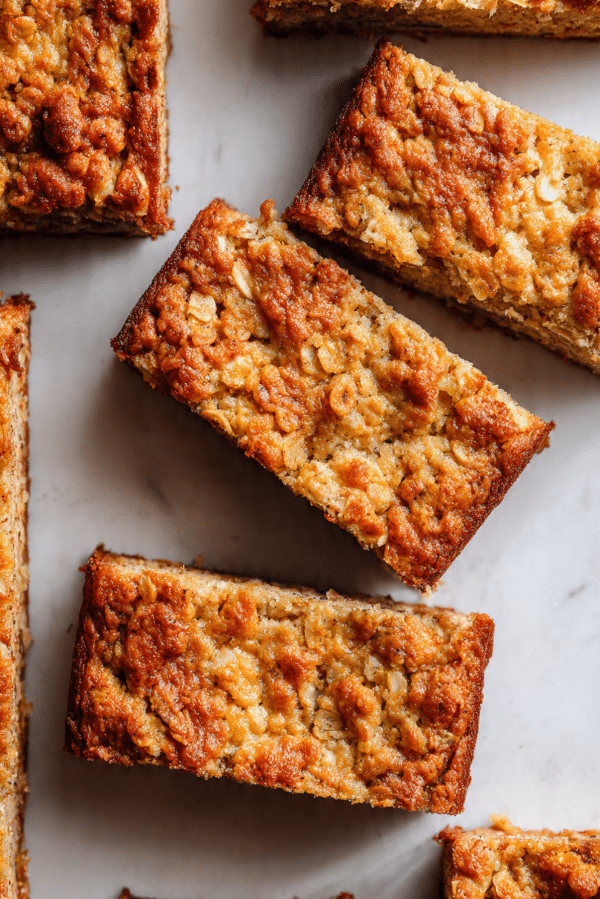
Salt Bread Rolls
Warm, pillowy, and kissed with just the right hint of salt, these Salt Bread Rolls are the kind of comforting bake that turns a regular meal into something unforgettable. Imagine pulling apart a soft, golden roll still warm from the oven, the aroma wrapping around you like a cozy blanket. They’re simple, but they’re the kind of simple that feeds the soul.
Behind the Recipe
Growing up, there was always a batch of fresh bread rolls on the table during Sunday dinners. My grandmother had this magic touch, and while she never wrote her recipes down, the memory of her salt bread rolls stayed with me. This version is my heartfelt tribute to those dinners, a recipe that carries the warmth of family and the irresistible pull of freshly baked bread.
Recipe Origin or Trivia
Salt bread rolls have humble beginnings, often baked in European and Mediterranean homes where simplicity met necessity. Unlike sweeter rolls, salt bread focuses on a subtle savory note, perfect for pairing with soups, stews, or just a pat of butter. Their popularity grew for a reason—they’re fuss-free, filling, and wildly satisfying.
Why You’ll Love Salt Bread Rolls
These rolls are more than just bread. They’re a mealtime upgrade waiting to happen.
Versatile: Whether served with soup, salad, or breakfast eggs, these rolls fit every occasion.
Budget-Friendly: Basic pantry ingredients come together to make something truly special.
Quick and Easy: Minimal kneading and no complicated steps, perfect even for baking beginners.
Customizable: Add herbs, garlic, or cheese to make them your own.
Crowd-Pleasing: Soft inside, golden outside—everyone reaches for seconds.
Make-Ahead Friendly: Prepare the dough ahead and bake when needed.
Great for Leftovers: They reheat like a dream and even freeze beautifully.
Chef’s Pro Tips for Perfect Results
Want bakery-style rolls from your home kitchen? Here’s how.
- Let your dough rise in a warm, draft-free area. If your kitchen is chilly, your oven with just the light on is perfect.
- Don’t skip the brushing with butter at the end—it adds flavor and keeps them soft.
- Use bread flour for chewier texture, but all-purpose works fine too.
- Handle the dough gently during shaping to keep the rolls airy.
- A sprinkle of coarse salt before baking enhances flavor and adds a little crunch.
Kitchen Tools You’ll Need
All you need is a handful of basics.
Mixing Bowl: For combining and kneading your dough.
Measuring Cups and Spoons: Accuracy makes all the difference.
Baking Dish or Tray: Choose one that gives the rolls room to rise and touch.
Pastry Brush: For that final butter glaze.
Kitchen Towel or Wrap: To cover the dough as it rises.
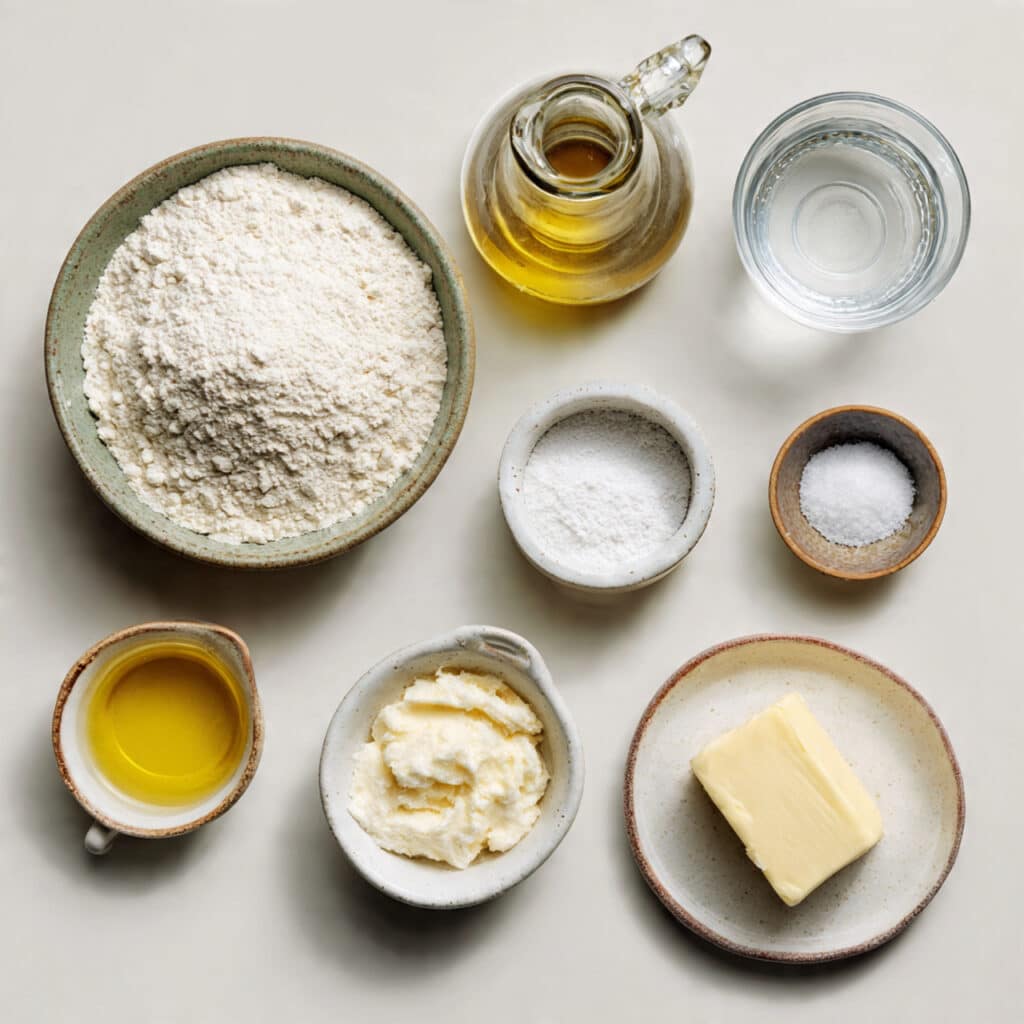
Ingredients in Salt Bread Rolls
These simple ingredients come together in the most comforting way.
- All-Purpose Flour: 3 ½ cups. This forms the soft, tender base of the dough.
- Warm Water: 1 cup. Activates the yeast and hydrates the flour.
- Active Dry Yeast: 2 ¼ teaspoons. Helps the dough rise into soft, fluffy rolls.
- Sugar: 1 tablespoon. Just enough to feed the yeast and balance the salt.
- Salt: 1 ½ teaspoons. Brings out the flavor and gives the signature salty kick.
- Olive Oil or Melted Butter: 2 tablespoons. Adds moisture and a hint of richness.
- Butter (for brushing): 2 tablespoons, melted. For that golden, glossy finish.
- Coarse Salt (optional): For sprinkling on top, adds texture and flavor.
Ingredient Substitutions
Making do with what you have? Here’s how.
All-Purpose Flour: Bread flour for a chewier bite.
Active Dry Yeast: Instant yeast, just skip the proofing.
Sugar: Honey or maple syrup in equal measure.
Olive Oil: Melted butter or neutral oil like canola.
Butter for Brushing: Olive oil for a dairy-free option.
Ingredient Spotlight
Active Dry Yeast: This tiny powerhouse is what gives your rolls that light, airy texture. When activated properly, it creates beautiful lift.
Coarse Salt: Not just for taste—it gives texture and a little sparkle to the top of your rolls.
Instructions for Making Salt Bread Rolls
Get ready to roll up your sleeves—these steps are as soothing as the rolls are delicious.
-
Preheat Your Equipment:
If you’re baking right away, preheat your oven to 375°F (190°C) while your rolls are doing their final rise. -
Combine Ingredients:
In a large bowl, mix the warm water, sugar, and yeast. Let sit for 5–10 minutes until frothy. Stir in the olive oil, salt, and flour gradually. Mix until a soft dough forms. -
Prepare Your Cooking Vessel:
Lightly grease a baking dish or tray with butter or oil to prevent sticking. -
Assemble the Dish:
Divide the dough into 12 equal pieces. Gently shape each into a ball and place in your prepared dish, leaving a little space between each roll. -
Cook to Perfection:
Cover the dish with a clean towel and let rise for 30–40 minutes until puffy. Bake in the preheated oven for 18–22 minutes, until golden on top. -
Finishing Touches:
Brush the hot rolls with melted butter and sprinkle with coarse salt if using. -
Serve and Enjoy:
Serve warm with butter, soup, or anything you love. They’re best enjoyed fresh but just as lovely the next day.
Texture & Flavor Secrets
These rolls strike a perfect balance. The crust is tender with a buttery sheen, while the inside is soft, airy, and slightly chewy. The salt brings out the mild dough flavor, giving each bite a cozy, satisfying finish.
Cooking Tips & Tricks
Every baker has a few tricks up their sleeve—here are yours.
- Let your dough double in size for light, fluffy rolls.
- Oil your hands lightly when shaping to prevent sticking.
- For extra golden tops, bake the last 5 minutes uncovered if using foil.
What to Avoid
Avoid these common baking stumbles.
- Skipping the proofing step—yeast needs time to work its magic.
- Using hot water instead of warm—it can kill the yeast.
- Over-kneading, which can make the rolls tough.
Nutrition Facts
Servings: 12
Calories per serving: 170
Note: These are approximate values.
Preparation Time
Prep Time: 20 minutes
Cook Time: 20 minutes
Total Time: 1 hour (including rising time)
Make-Ahead and Storage Tips
You can prep the dough a day ahead and let it rise in the fridge overnight. Just bring to room temp before baking. Store baked rolls in an airtight container for up to 3 days or freeze for up to a month. Reheat in a warm oven wrapped in foil to keep them soft.
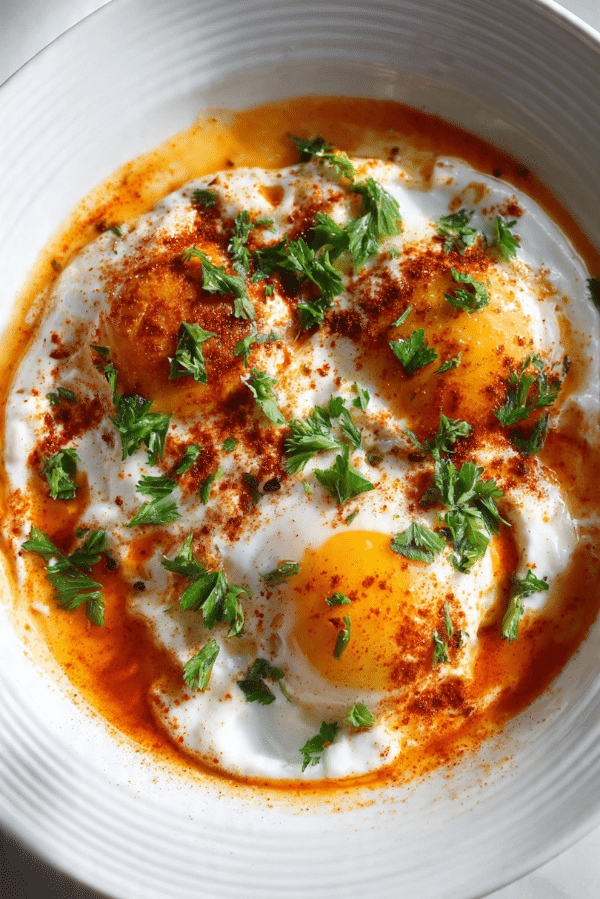
How to Serve Salt Bread Rolls
These rolls shine beside a bowl of soup, tucked into a lunchbox, or served with eggs at brunch. Try them with herbed butter or a swipe of hummus for a simple but satisfying bite.
Creative Leftover Transformations
Leftover rolls? Don’t worry, they won’t go to waste.
- Mini Sandwiches: Fill with egg salad, tuna, or deli slices.
- Bread Pudding: Cube and use in a savory breakfast bake.
- Crispy Croutons: Toast and toss into soups or salads.
Additional Tips
- Use a kitchen scale for equal-sized rolls.
- Add herbs like rosemary or thyme into the dough for a twist.
- Let the baked rolls sit for 10 minutes before serving for the best texture.
Make It a Showstopper
Place the rolls in a round dish for a flower-like shape, or brush with herb-infused butter before baking for an aromatic finish. Sprinkle flaky sea salt on top for sparkle and crunch.
Variations to Try
- Cheesy Rolls: Fold in shredded cheddar or parmesan.
- Garlic Herb Rolls: Mix minced garlic and herbs into the dough.
- Whole Wheat Version: Substitute half the flour for whole wheat.
- Sweet Twist: Add a touch of honey and skip the salt topping.
- Stuffed Rolls: Tuck in cubes of mozzarella or cooked mushrooms.
FAQ’s
Q1: Can I use whole wheat flour instead?
Whole wheat flour works, but use half white flour to keep them soft.
Q2: Do I need a stand mixer?
Not at all. You can easily knead this dough by hand.
Q3: Can I freeze the dough?
Yes, shape the rolls, freeze on a tray, then bag them. Thaw and bake fresh.
Q4: What’s the best yeast to use?
Active dry yeast or instant both work. Just adjust the proofing.
Q5: Why are my rolls dense?
Likely due to under-proofing or too much flour. Let the dough rise well and measure carefully.
Q6: Can I add herbs to the dough?
Absolutely. Dried or fresh herbs both work well.
Q7: Can I double the recipe?
Yes, just use a larger dish or bake in two batches.
Q8: How long do they stay fresh?
Up to 3 days in an airtight container, or freeze for longer.
Q9: Can I make them vegan?
Yes, swap butter with plant-based butter and use olive oil.
Q10: Why is salt added on top too?
It adds texture and enhances flavor contrast—it’s what makes them “salt rolls.”
Conclusion
Salt Bread Rolls may sound simple, but they have a quiet magic. They’re the kind of bread that disappears fast, the kind people ask for seconds of, and the kind that feels like home. Try them once, and you’ll see—they’re a game-changer. Trust me, you’re going to love this.
Print
Salt Bread Rolls
Description
These soft and fluffy Salt Bread Rolls are the ultimate comfort bake. Perfectly golden on the outside and warm and pillowy on the inside, they’re easy to make and impossible to resist.
Ingredients
- 3 ½ cups all-purpose flour
- 1 cup warm water
- 2 ¼ teaspoons active dry yeast
- 1 tablespoon sugar
- 1 ½ teaspoons salt
- 2 tablespoons olive oil or melted butter
- 2 tablespoons butter (for brushing)
- Coarse salt (optional, for topping)
Instructions
- Preheat your oven to 375°F (190°C) if baking immediately.
- In a large bowl, combine warm water, sugar, and yeast. Let sit for 5–10 minutes until frothy.
- Stir in olive oil, salt, and flour gradually to form a soft dough.
- Grease a baking dish or tray lightly with oil or butter.
- Divide dough into 12 equal pieces, shape into balls, and arrange in the dish with space between each.
- Cover with a towel and let rise for 30–40 minutes until puffy.
- Bake for 18–22 minutes until golden brown on top.
- Brush hot rolls with melted butter and sprinkle with coarse salt if desired.
- Serve warm and enjoy!
Notes
- Use a warm, draft-free area for proofing the dough.
- Swap olive oil with melted butter for a richer taste.
- Freeze leftover rolls in a sealed bag for up to one month.
- To reheat, wrap in foil and warm in the oven.