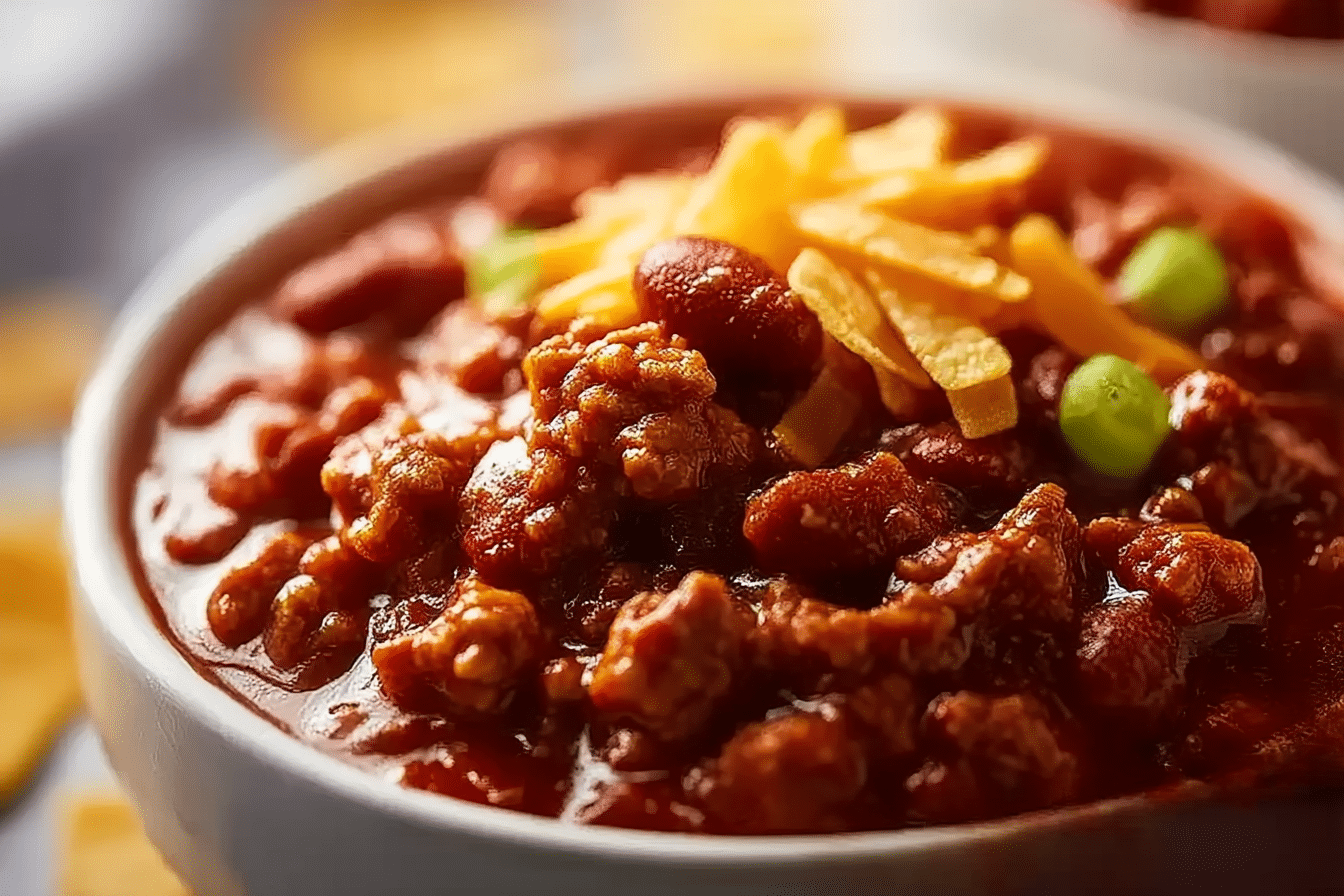
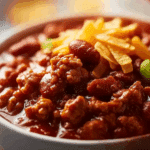
Wendy’s Chili
Few dishes capture the heart of comfort food quite like a bowl of Wendy’s Chili. It’s rich, chunky, full of tender beans and beef, and layered with that signature spice blend that warms you from the inside out. Whether it’s game day, a cozy night in, or just a craving for something hearty, this copycat version delivers everything you love—right from your own kitchen.
Behind the Recipe
I’ve always had a soft spot for the little cup of chili tucked beside my Wendy’s order. It was thick, meaty, and somehow always just right—whether I was battling winter’s chill or nursing a cold. That unforgettable blend of spices and slow-simmered flavor inspired me to recreate it at home. After a few tries (and a few very happy taste testers), I found the perfect balance. Now, it’s a staple in my household.
Recipe Origin or Trivia
Wendy’s Chili debuted in 1969 as a way to reduce food waste by repurposing leftover hamburger patties. Over time, it became more than a thrifty side—it became iconic. Its secret lies in simplicity: ground beef, two types of beans, a savory tomato base, and a perfectly seasoned kick. It’s a fast-food classic with a homemade soul.
Why You’ll Love Wendy’s Chili
This dish is a cozy crowd-pleaser that hits every mark.
Versatile: Great as a main dish, side, topping for fries, or stuffed in baked potatoes.
Budget-Friendly: Uses pantry staples and stretches across multiple meals.
Quick and Easy: Comes together with minimal prep and simmers to perfection.
Customizable: Adjust spice levels, swap in veggies, or make it meatless.
Crowd-Pleasing: Everyone loves a hearty, flavorful bowl of chili.
Make-Ahead Friendly: Tastes even better the next day.
Great for Leftovers: Freeze or reinvent in tacos, nachos, or casseroles.
Wendy’s Chili
- Total Time: 1 hour 45 minutes
- Yield: 8 servings
- Diet: Gluten Free
Description
A hearty, comforting bowl of Wendy’s Chili made at home—packed with ground beef, beans, tomatoes, and spices for that classic slow-simmered flavor everyone loves.
Ingredients
- Ground Beef: 2 pounds – The hearty base of the chili.
- Yellow Onion: 1 large, diced – Adds sweetness and depth.
- Celery: 3 ribs, diced – For mild bitterness and body.
- Green Bell Pepper: 1 medium, diced – Brings brightness and crunch.
- Canned Diced Tomatoes: 2 (14.5 oz) cans – Juicy and rich.
- Tomato Sauce: 1 (15 oz) can – For thick, smooth body.
- Canned Kidney Beans: 1 (15 oz) can, drained – Earthy, bold flavor.
- Canned Pinto Beans: 1 (15 oz) can, drained – Creamy, soft texture.
- Water: 1 cup – Helps simmer and meld flavors.
- Chili Powder: 2 tablespoons – The heart of the spice profile.
- Ground Cumin: 1 teaspoon – Adds smoky, nutty warmth.
- Garlic Powder: 1 teaspoon – Layers in savory depth.
- Salt: 1 teaspoon – Essential for balance.
- Black Pepper: ½ teaspoon – Subtle heat.
- Sugar: 1 tablespoon – Smooths and rounds the acidity.
- Oregano: 1 teaspoon – Adds herbal undertones.
- Cayenne Pepper: ¼ teaspoon – For a gentle heat that lingers.
Instructions
- Preheat Your Equipment: Heat a large pot or Dutch oven over medium heat.
- Combine Ingredients: Add the ground beef and cook until browned, breaking it up with a spoon. Add onions, celery, and green pepper. Sauté for 5–7 minutes until softened.
- Prepare Your Cooking Vessel: Add the canned tomatoes (with juice), tomato sauce, and water. Stir to combine.
- Assemble the Dish: Add both types of beans, then stir in all spices: chili powder, cumin, garlic powder, oregano, salt, pepper, sugar, and cayenne.
- Cook to Perfection: Bring the mixture to a gentle boil, then reduce heat and simmer uncovered for 1–1½ hours, stirring occasionally.
- Finishing Touches: Use the back of your spoon to mash a few beans to thicken. Adjust seasoning to taste.
- Serve and Enjoy: Ladle into bowls and top with shredded cheese, sour cream, green onions, or crackers if desired.
Notes
- Note: Simmer longer for deeper flavor.
- Note: Mash a few beans for a naturally thicker chili.
- Note: Store leftovers in the fridge or freezer for easy meals.
- Prep Time: 15 minutes
- Cook Time: 90 minutes
- Category: Soup
- Method: Simmering
- Cuisine: American
Nutrition
- Serving Size: 1 cup
- Calories: 290
- Sugar: 6g
- Sodium: 620mg
- Fat: 12g
- Saturated Fat: 5g
- Unsaturated Fat: 6g
- Trans Fat: 0g
- Carbohydrates: 27g
- Fiber: 8g
- Protein: 22g
- Cholesterol: 55mg
Chef’s Pro Tips for Perfect Results
Here’s how to make this chili taste just like the original—maybe even better:
- Use freshly browned beef and don’t drain all the fat—it carries flavor.
- Let the chili simmer for at least an hour to deepen the spices.
- Mash a few beans in the pot to naturally thicken the chili.
- Use canned tomatoes with juice for richness and depth.
- Add a touch of sugar to balance acidity and round out the flavor.
Kitchen Tools You’ll Need
Keep things simple with these essentials:
Large Pot or Dutch Oven: For browning and simmering in one vessel.
Wooden Spoon: To stir and break up beef evenly.
Can Opener: You’ll need this for beans and tomatoes.
Measuring Spoons and Cups: Ensure the spice blend hits the mark.
Ladle: For easy, mess-free serving.
Ingredients in Wendy’s Chili
This ingredient list mirrors the original but lets you tweak to taste at home:
- Ground Beef: 2 pounds – The hearty base of the chili.
- Yellow Onion: 1 large, diced – Adds sweetness and depth.
- Celery: 3 ribs, diced – For mild bitterness and body.
- Green Bell Pepper: 1 medium, diced – Brings brightness and crunch.
- Canned Diced Tomatoes: 2 (14.5 oz) cans – Juicy and rich.
- Tomato Sauce: 1 (15 oz) can – For thick, smooth body.
- Canned Kidney Beans: 1 (15 oz) can, drained – Earthy, bold flavor.
- Canned Pinto Beans: 1 (15 oz) can, drained – Creamy, soft texture.
- Water: 1 cup – Helps simmer and meld flavors.
- Chili Powder: 2 tablespoons – The heart of the spice profile.
- Ground Cumin: 1 teaspoon – Adds smoky, nutty warmth.
- Garlic Powder: 1 teaspoon – Layers in savory depth.
- Salt: 1 teaspoon – Essential for balance.
- Black Pepper: ½ teaspoon – Subtle heat.
- Sugar: 1 tablespoon – Smooths and rounds the acidity.
- Oregano: 1 teaspoon – Adds herbal undertones.
- Cayenne Pepper: ¼ teaspoon – For a gentle heat that lingers.
Ingredient Substitutions
Looking to switch things up or work with what you have?
Ground Beef: Ground turkey or plant-based meat.
Pinto Beans: Black beans or chickpeas.
Green Bell Pepper: Red or yellow for a sweeter profile.
Tomato Sauce: Crushed tomatoes or passata.
Cayenne Pepper: Red pepper flakes or leave out for mild heat.
Ingredient Spotlight
Chili Powder: This powerhouse blend of dried chilies, garlic, and oregano creates the unmistakable chili flavor—don’t skimp!
Kidney Beans: Their firm texture and slightly sweet flavor balance the boldness of the spices beautifully.
Instructions for Making Wendy’s Chili
Once the chopping’s done, it’s smooth simmering from here:
-
Preheat Your Equipment:
Heat a large pot or Dutch oven over medium heat. -
Combine Ingredients:
Add the ground beef and cook until browned, breaking it up with a spoon. Add onions, celery, and green pepper. Sauté for 5–7 minutes until softened. -
Prepare Your Cooking Vessel:
Add the canned tomatoes (with juice), tomato sauce, and water. Stir to combine. -
Assemble the Dish:
Add both types of beans, then stir in all spices: chili powder, cumin, garlic powder, oregano, salt, pepper, sugar, and cayenne. -
Cook to Perfection:
Bring the mixture to a gentle boil, then reduce heat and simmer uncovered for 1–1½ hours, stirring occasionally. -
Finishing Touches:
Use the back of your spoon to mash a few beans to thicken. Adjust seasoning to taste. -
Serve and Enjoy:
Ladle into bowls and top with shredded cheese, sour cream, green onions, or crackers if desired.
Texture & Flavor Secrets
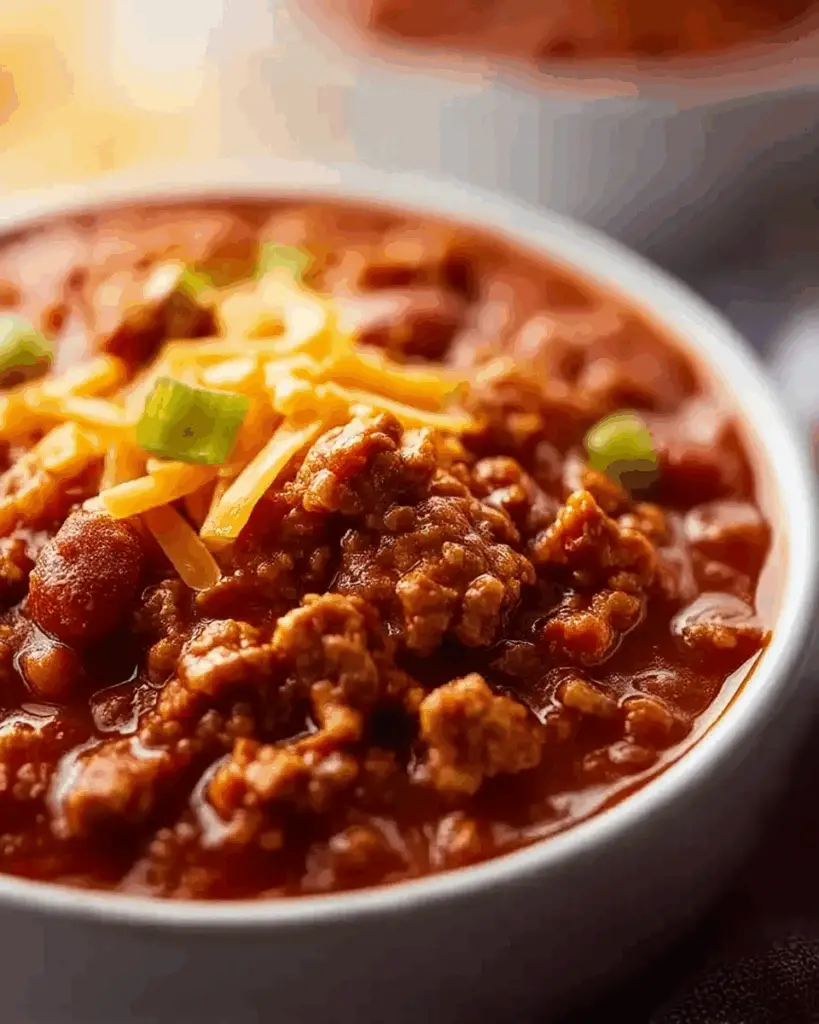
The beauty of this chili lies in its contrast—meaty chunks, tender beans, silky sauce, and the occasional bite of sweet peppers. Spices infuse every spoonful, and slow simmering gives it that rich, layered flavor Wendy’s fans know and crave.
Cooking Tips & Tricks
Here’s how to nail it every time:
- Simmer longer for deeper flavor.
- Mash a few beans for natural thickening.
- Taste often and adjust seasoning as it cooks.
- For a smoky twist, add a pinch of smoked paprika.
What to Avoid
A few easy mistakes can throw off your chili:
- Boiling instead of simmering: It can dry out the meat and muddy the flavor.
- Using un-drained beans: Can make the chili overly starchy or watery.
- Skipping the sugar: It balances the acidity from tomatoes.
Nutrition Facts
Servings: 8
Calories per serving: 290
Note: These are approximate values.
Preparation Time
Prep Time: 15 minutes
Cook Time: 90 minutes
Total Time: 1 hour 45 minutes
Make-Ahead and Storage Tips
Wendy’s Chili is ideal for meal prep. Make it ahead and refrigerate for up to 4 days—it gets better each day. Freeze in airtight containers for up to 3 months. To reheat, thaw in the fridge overnight and warm gently on the stove or microwave.
How to Serve Wendy’s Chili
Spoon into bowls with your favorite toppings: shredded cheddar, sour cream, jalapeños, or crushed tortilla chips. Serve with warm cornbread, crusty bread, or even over a baked potato or fries for a chili-cheese twist.
Creative Leftover Transformations
Make leftovers exciting with these ideas:
- Spoon over hot dogs for homemade chili dogs.
- Use as a topping for loaded nachos.
- Stuff into bell peppers and bake.
- Mix into mac and cheese for a bold twist.
Additional Tips
To get the most out of your chili:
- Let it cool slightly before serving for thicker consistency.
- Stir often to prevent sticking or burning.
- Add a splash of beef broth if it thickens too much.
Make It a Showstopper
Serve in rustic bowls with a dollop of sour cream, a sprinkle of green onions, and a wedge of cornbread on the side. A drizzle of hot sauce adds color and kick. Presentation turns hearty into gourmet.
Variations to Try
Change it up without losing the essence:
- Spicy Kick: Add chopped jalapeños or hot sauce.
- Veggie-Loaded: Add zucchini, carrots, or mushrooms.
- Sweet Heat: Toss in a dash of cinnamon and a square of dark chocolate.
- Tex-Mex Style: Mix in corn, black beans, and cumin.
- Chili Mac: Stir into elbow pasta for the ultimate comfort meal.
FAQ’s
Q1: Can I make this in a slow cooker?
Yes! Brown the meat and veggies first, then transfer everything to the slow cooker and cook on low for 6–8 hours.
Q2: Can I freeze Wendy’s Chili?
Absolutely. Cool completely, then freeze in portions for up to 3 months.
Q3: Can I make it vegetarian?
Yes—use plant-based crumbles or lentils instead of beef and skip the meat browning step.
Q4: What beans does Wendy’s use?
Kidney and pinto beans are the classic combo.
Q5: Is Wendy’s Chili gluten-free?
This version is gluten-free if your canned products and spices are certified.
Q6: What’s the best topping for chili?
Shredded cheddar, sour cream, and crushed crackers or chips.
Q7: Can I double the recipe?
Definitely—just use a larger pot and adjust simmer time slightly.
Q8: How spicy is it?
Mild with a gentle warmth, but easy to customize with cayenne or hot sauce.
Q9: Can I add corn?
Sure! Adds sweetness and texture—great in Tex-Mex variations.
Q10: How do I thicken chili?
Mash some beans or simmer uncovered longer until desired thickness.
Conclusion
Wendy’s Chili is a beloved classic for good reason—it’s hearty, flavorful, and endlessly adaptable. Whether you’re serving it on a chilly evening or meal-prepping for the week, this recipe promises that familiar comfort in every bite. Trust me, it’s worth every spoonful.