
Cheesy Herb Croissant Roll-ups
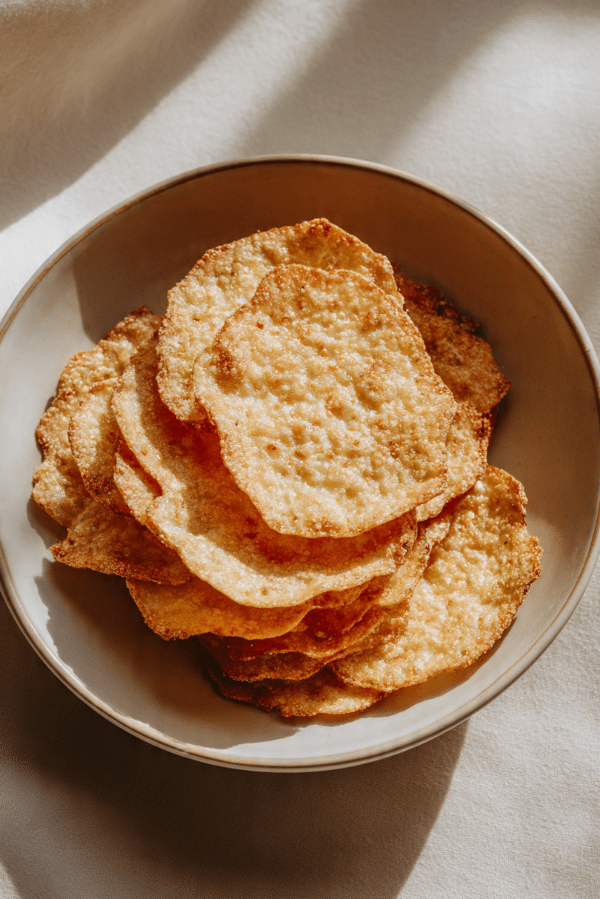
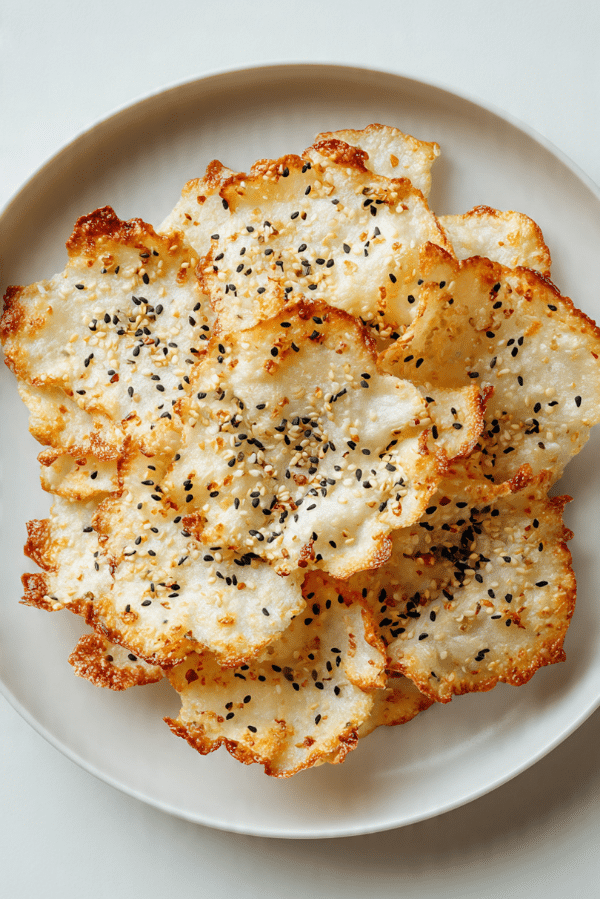
Fresh from the oven and impossible to resist, these flaky croissant roll-ups are packed with melted cheese and fragrant herbs in every bite. The buttery layers turn golden and crisp while the cheesy center stays warm and gooey, creating the perfect contrast of textures. Whether you’re serving them for brunch, a quick snack, or a party appetizer, they disappear fast from the table.
What Makes These Roll-ups So Hard to Resist?
There is something special about the combination of buttery pastry, melted cheese, and fresh herbs. As soon as these roll-ups come out of the oven, the aroma fills the kitchen and makes everyone curious about what’s baking. The flaky exterior gives way to a soft cheesy center, creating a bite that feels comforting and satisfying.
They are also incredibly versatile. You can serve them for breakfast, brunch, lunch, or even as a simple party snack. Trust me, you’re going to love this because it delivers maximum flavor with very little effort.
A Little Story Behind Croissant-Inspired Roll-ups
Croissants trace their roots back to Europe, where buttery laminated dough became a beloved bakery staple. Over time, home cooks discovered creative ways to use ready-made croissant dough for quick and delicious recipes.
These cheesy herb roll-ups take inspiration from classic French pastry flavors while offering a simple homemade twist. The combination of cheese and herbs has long been a favorite pairing in European baking, bringing richness and freshness together in perfect balance.
Reasons This Recipe Earns a Spot in Your Rotation
This recipe quickly becomes a favorite once you try it.
Versatile: Serve it for breakfast, brunch, snacks, appetizers, or alongside soup and salad.
Budget-Friendly: The ingredients are simple and easy to find without stretching your grocery budget.
Quick and Easy: Minimal prep and a short baking time make this ideal for busy days.
Customizable: Different cheeses and herbs can create entirely new flavor profiles.
Crowd-Pleasing: Kids and adults alike love the flaky pastry and cheesy filling.
Make-Ahead Friendly: Assemble them ahead of time and bake when needed.
Great for Leftovers: They reheat beautifully and stay delicious the next day.
Insider Secrets for Bakery-Style Results
A few simple tricks can make these even better.
- Use freshly shredded cheese for smoother melting.
- Do not overfill the dough or the cheese may leak excessively.
- Roll tightly to help maintain a beautiful shape while baking.
- Brush lightly with egg wash for a richer golden finish.
- Allow them to cool for a few minutes before serving.
Kitchen Essentials That Make the Job Easy
Before getting started, gather a few helpful tools.
Baking Sheet: Supports even baking.
Parchment Paper: Prevents sticking and simplifies cleanup.
Mixing Bowl: Used for combining cheese and herbs.
Pastry Brush: Helps apply the egg wash evenly.
Sharp Knife or Pizza Cutter: Makes cutting and portioning easy.
Ingredients That Create the Magic
Every ingredient plays an important role in creating the perfect balance of flavor and texture.
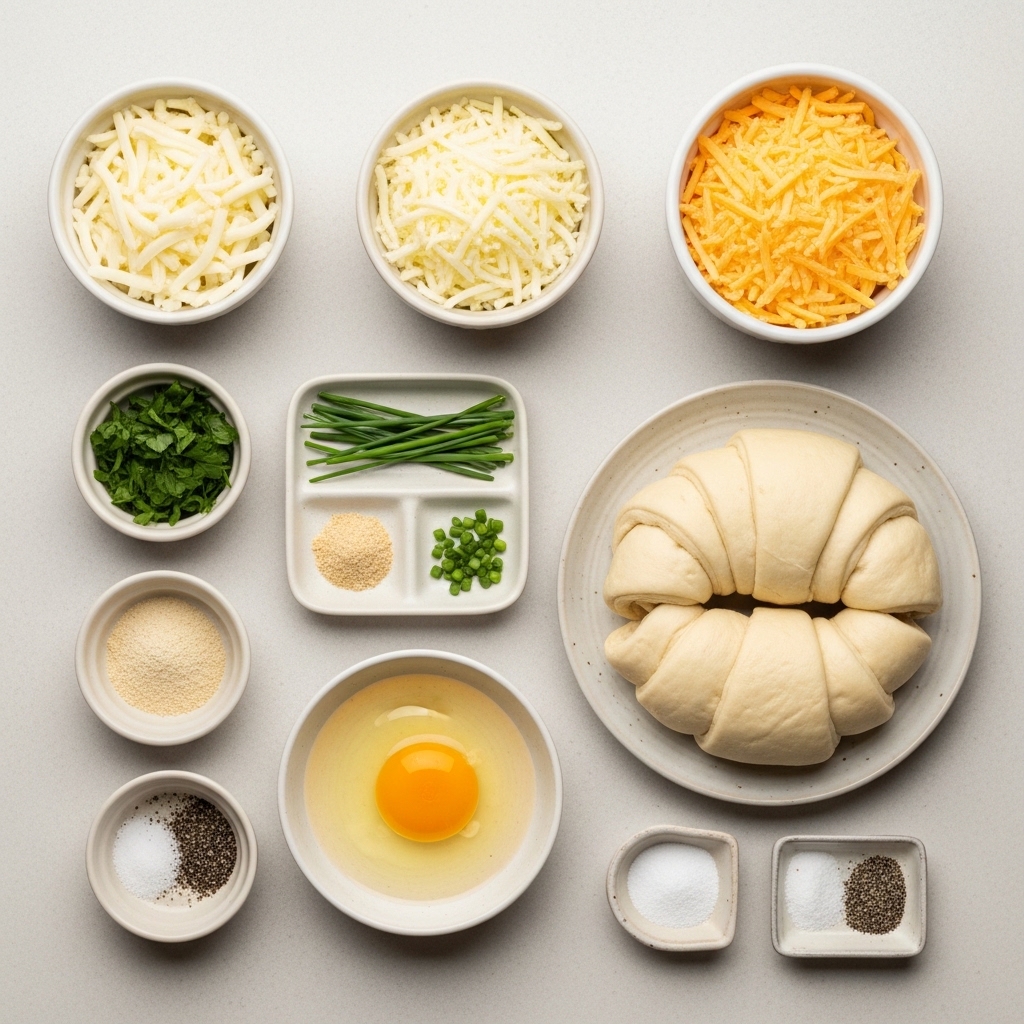
- Refrigerated Croissant Dough: 1 can (8 ounces), provides buttery flaky layers.
- Mozzarella Cheese: 1 cup shredded, creates a creamy stretchy filling.
- Cheddar Cheese: 1/2 cup shredded, adds sharp savory flavor.
- Fresh Parsley: 2 tablespoons finely chopped, brings freshness.
- Fresh Chives: 1 tablespoon finely chopped, adds mild onion notes.
- Garlic Powder: 1 teaspoon, enhances savory depth.
- Egg: 1 large, beaten for brushing.
- Salt: 1/4 teaspoon, balances flavors.
- Black Pepper: 1/4 teaspoon, adds gentle warmth.
Easy Ingredient Swaps for Flexibility
Cooking should always work with what you have on hand.
Mozzarella Cheese: Monterey Jack.
Cheddar Cheese: Gouda.
Fresh Parsley: Fresh basil.
Fresh Chives: Green onions.
Garlic Powder: Minced fresh garlic.
Croissant Dough: Puff pastry.
The Star Ingredients Worth Talking About
Some ingredients truly shine here.
Mozzarella Cheese: Creates the irresistible melt and stretch that makes every bite satisfying.
Fresh Herbs: Add brightness that balances the richness of the pastry and cheese.
Let’s Roll and Bake Something Delicious
Now comes the fun part.
- Preheat Your Equipment: Preheat the oven to 375°F (190°C) and line a baking sheet with parchment paper.
- Combine Ingredients: In a bowl, mix mozzarella, cheddar, parsley, chives, garlic powder, salt, and pepper.
- Prepare Your Cooking Vessel: Arrange the prepared baking sheet nearby for easy transfer.
- Assemble the Dish: Unroll the croissant dough, separate into triangles, add a portion of filling to each piece, then roll tightly.
- Cook to Perfection: Place on the baking sheet, brush with beaten egg, and bake for 15 minutes until golden brown.
- Finishing Touches: Allow the roll-ups to cool for 5 minutes before serving.
- Serve and Enjoy: Serve warm while the cheese is still wonderfully melty.
Every Bite Brings Layers of Flavor
As these bake, the croissant dough develops a beautifully crisp exterior while staying tender inside. The cheeses melt together into a creamy filling that contrasts perfectly with the flaky pastry. Fresh herbs weave their aroma throughout every layer, creating a balance that feels rich without becoming heavy.
Helpful Tips for Consistent Success
A few extra tips can make a big difference.
- Chill the dough briefly if it becomes too soft.
- Use freshly grated cheese whenever possible.
- Avoid overstuffing the croissants.
- Rotate the baking sheet halfway through baking.
Mistakes to Skip for Better Results
Even simple recipes benefit from a little guidance.
- Overfilling can cause the cheese to leak excessively.
- Skipping parchment paper may lead to sticking.
- Underbaking can leave the centers doughy.
- Serving immediately can cause the filling to be overly hot.
Nutrition Snapshot
Servings: 8
Calories per serving: 230
Note: These are approximate values.
Timing at a Glance
Prep Time: 10 minutes
Cook Time: 15 minutes
Total Time: 25 minutes
Smart Make-Ahead and Storage Ideas
These roll-ups fit nicely into busy schedules. You can assemble them several hours ahead and keep them refrigerated until baking time.
Store leftovers in an airtight container in the refrigerator for up to 3 days. Freeze baked roll-ups for up to 2 months. Reheat in a 350°F oven for about 8 minutes to restore crispness.
Delicious Ways to Serve Them
These pair wonderfully with tomato soup, fresh green salads, roasted vegetables, or a simple fruit platter. They also make a great addition to brunch spreads and party trays.
Turn Leftovers Into Something New
Leftover roll-ups can be sliced and added to lunch boxes. They can also be served alongside scrambled eggs for breakfast or paired with soup for a quick meal.
Extra Tricks for Even Better Flavor
Try adding a pinch of Italian seasoning for extra herb flavor. Freshly grated cheese provides better melting characteristics, and serving warm delivers the best texture experience.
Presentation Ideas That Impress
Arrange the roll-ups on a large white platter and sprinkle a small amount of chopped fresh parsley over the top. The golden crust and green herbs create a beautiful contrast that looks bakery-worthy.
Fun Variations to Explore
- Add spinach for extra color and nutrition.
- Use pepper jack cheese for a spicy kick.
- Mix in sun-dried tomatoes for extra flavor.
- Add sautéed mushrooms for a heartier filling.
- Use puff pastry for an even flakier result.
FAQ’s
Q1: Can I make these ahead of time?
Yes, assemble them several hours before baking and refrigerate.
A1:
This helps save time and works well for entertaining.
Q2: Can I freeze them?
Absolutely.
A2:
Freeze baked roll-ups in an airtight container for up to two months.
Q3: What cheese melts best?
Mozzarella is excellent.
A3:
It provides the stretchy texture many people love.
Q4: Can I use dried herbs?
Yes.
A4:
Use about one-third the amount compared to fresh herbs.
Q5: How do I prevent leaks?
Do not overfill.
A5:
A moderate amount of filling stays neatly contained.
Q6: Can I use puff pastry instead?
Yes.
A6:
Puff pastry creates a slightly different but equally delicious texture.
Q7: Are these good for parties?
Definitely.
A7:
They are easy to serve and always popular.
Q8: Can I add vegetables?
Yes.
A8:
Spinach and mushrooms work particularly well.
Q9: How should leftovers be reheated?
Use the oven.
A9:
This helps maintain crispness better than microwaving.
Q10: Can children help make these?
Yes.
A10:
They can assist with rolling and filling under supervision.
Conclusion
Cheesy Herb Croissant Roll-ups bring together buttery pastry, melted cheese, and fresh herbs in a way that feels comforting and special all at once. They are simple enough for busy weekdays yet impressive enough for gatherings. Let me tell you, it’s worth every bite. Once you try them warm from the oven, this one might just become a regular favorite in your kitchen.
Print
Cheesy Herb Croissant Roll-ups
Description
Flaky croissant roll-ups filled with mozzarella, cheddar, and fresh herbs, baked until golden brown and perfectly melty.
Ingredients
- 1 can (8 ounces) refrigerated croissant dough
- 1 cup shredded mozzarella cheese
- 1/2 cup shredded cheddar cheese
- 2 tablespoons finely chopped fresh parsley
- 1 tablespoon finely chopped fresh chives
- 1 teaspoon garlic powder
- 1 large egg, beaten
- 1/4 teaspoon salt
- 1/4 teaspoon black pepper
Instructions
- Preheat oven to 375°F (190°C) and line a baking sheet with parchment paper.
- Combine mozzarella, cheddar, parsley, chives, garlic powder, salt, and pepper in a bowl.
- Unroll croissant dough and separate into triangles.
- Add a portion of the cheese mixture to each triangle and roll tightly.
- Arrange on the baking sheet and brush with beaten egg.
- Bake for 15 minutes until golden brown.
- Cool for 5 minutes and serve warm.
Notes
- Use freshly shredded cheese for best melting.
- Do not overfill the dough.
- Store leftovers refrigerated for up to 3 days.
- Reheat in the oven for best texture.