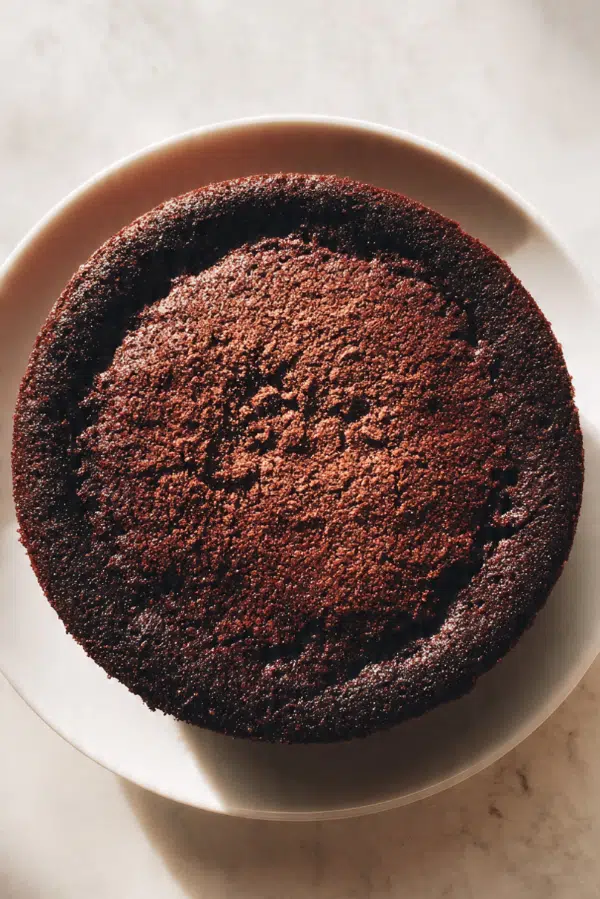
Crunchy Chocolate Cake
There is something instantly comforting about the smell of chocolate baking in the oven, and this one takes it a step further. The moment you slice into it, you get that delicate crunch on top followed by a rich, soft center that almost melts in your mouth. Trust me, you’re going to love this, it feels like a little celebration in every bite.
Why This Cake Feels Like Pure Comfort
It is the kind of dessert that fits both quiet evenings and joyful gatherings. The contrast between textures keeps every bite interesting, while the deep cocoa flavor wraps everything in warmth. This one’s a total game-changer if you love simple ingredients turning into something unforgettable.
A Little Story Behind Chocolate Cakes
Chocolate cakes have been around for generations, evolving from simple cocoa desserts to the indulgent versions we know today. Originally, chocolate was a luxury ingredient, reserved for special occasions. Over time, it became more accessible, and now it is a staple in home baking across the world. This version leans into that tradition while adding a satisfying crisp top that makes it stand out.
What Makes This Recipe Worth Keeping
Before we jump in, let me tell you why this recipe deserves a permanent spot in your kitchen.
Versatile: It works as a casual dessert or a celebration centerpiece with just a few tweaks.
Budget-Friendly: Uses pantry staples that are easy to find and affordable.
Quick and Easy: No complicated steps, just simple mixing and baking.
Customizable: You can add nuts, chocolate chips, or even a hint of coffee.
Crowd-Pleasing: That crunchy top and soft center combo is hard to resist.
Make-Ahead Friendly: It stays delicious even the next day.
Great for Leftovers: The texture holds up beautifully, making it perfect for later.
Tips From the Kitchen That Make a Difference
A few small details can take this from good to unforgettable.
- Use good quality cocoa powder for a richer flavor.
- Do not overmix the batter, it keeps the texture tender.
- Let the cake cool slightly before slicing to keep the structure intact.
- A light sprinkle of sugar on top before baking helps create that crisp finish.
Tools That Help You Get It Right
You do not need anything fancy, just a few basics.
Mixing Bowl: For combining all ingredients smoothly.
Whisk: Helps create a light and even batter.
Baking Pan: A standard round or square pan works perfectly.
Oven: Preheated for even baking.
Ingredients That Come Together Beautifully
Every ingredient plays its role in creating that perfect balance.
- All-Purpose Flour: 1 cup, gives structure and body to the cake
- Unsweetened Cocoa Powder: 1/2 cup, delivers deep chocolate flavor
- Granulated Sugar: 1 cup, adds sweetness and helps form the crisp top
- Baking Powder: 1 teaspoon, helps the cake rise evenly
- Salt: 1/2 teaspoon, enhances the chocolate notes
- Eggs: 2 large, bind everything together
- Milk: 1/2 cup, keeps the cake moist
- Vegetable Oil: 1/2 cup, adds softness and richness
- Vanilla Extract: 1 teaspoon, rounds out the flavor
Easy Swaps If You Want to Experiment
Sometimes you want to play around a bit.
Milk: Use almond milk or oat milk
Vegetable Oil: Replace with melted butter
Sugar: Swap with brown sugar for a deeper taste
Spotlight on the Stars of the Recipe
Let’s take a moment to appreciate the key players.
Cocoa Powder: This is where all that deep chocolate flavor comes from, so choose a good one.
Sugar: Not just for sweetness, it also helps create that irresistible crunchy top.

Let’s Get Baking Step by Step
And now let’s dive into the process, it is easier than you might think.
- Preheat Your Equipment: Set your oven to 180°C and prepare your baking pan.
- Combine Ingredients: In a bowl, whisk together flour, cocoa powder, sugar, baking powder, and salt.
- Prepare Your Cooking Vessel: Lightly grease the baking pan to prevent sticking.
- Assemble the Dish: Add eggs, milk, oil, and vanilla to the dry ingredients and mix until smooth.
- Cook to Perfection: Pour the batter into the pan and bake for 30 minutes until set.
- Finishing Touches: Let the cake cool slightly so the top stays crisp.
- Serve and Enjoy: Slice and enjoy the contrast of crunchy and soft textures.
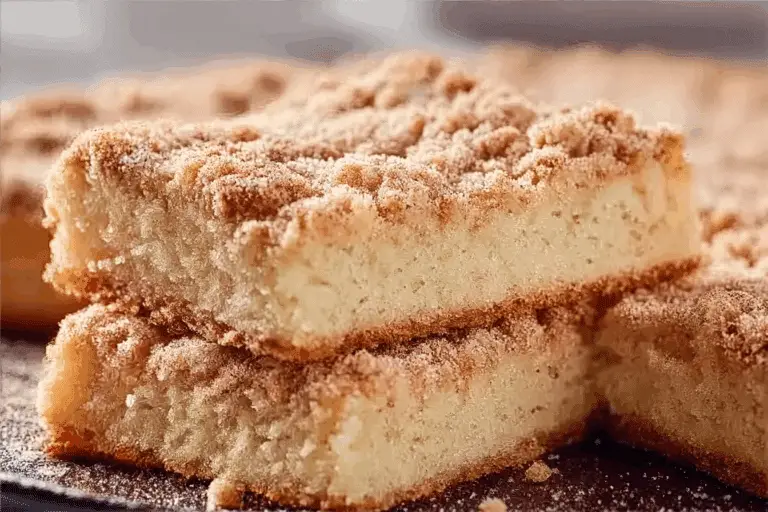
That Perfect Balance of Crunch and Softness
The magic happens in the oven. The top forms a delicate crisp layer while the inside stays soft and rich. Each bite starts with a slight crackle and ends with a melt-in-your-mouth finish.
Helpful Tips for Best Results
Here are a few extra tips to keep in mind.
- Use room temperature ingredients for smoother mixing
- Do not open the oven too early
- Let it rest before cutting
Common Mistakes and How to Avoid Them
Even simple recipes can go wrong, so keep an eye on these.
- Overmixing the batter can make it dense
- Baking too long can dry it out
- Skipping preheating affects texture
Nutritional Snapshot
Servings: 8
Calories per serving: 280
Note: These are approximate values.
Timing Breakdown
Prep Time: 10 minutes
Cook Time: 30 minutes
Total Time: 40 minutes
Storing and Making Ahead
You can prepare the batter ahead and refrigerate it for a few hours. Once baked, store the cake in an airtight container at room temperature for up to two days. For longer storage, refrigerate and gently reheat before serving.
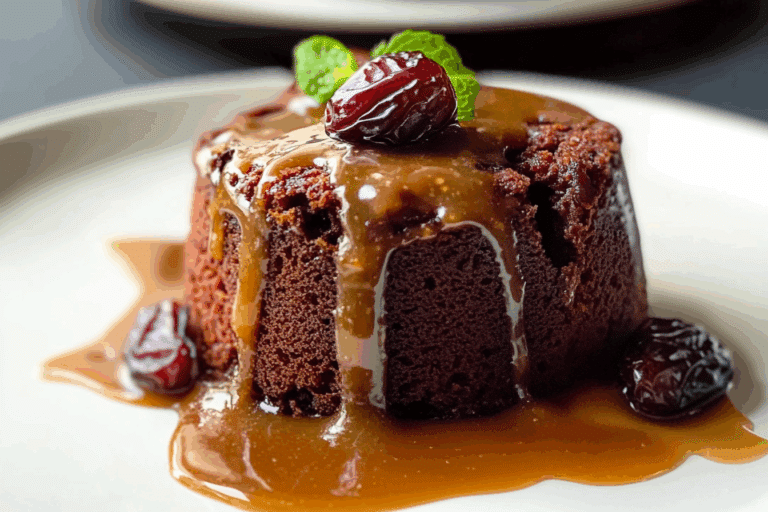
Serving Ideas That Elevate It
Serve it warm with a scoop of vanilla ice cream or a drizzle of chocolate sauce. Fresh berries on the side add a nice contrast.
Turning Leftovers Into Something New
Leftover slices can be turned into cake crumbs for parfaits or layered with cream for a quick dessert.
Extra Tips You Will Appreciate
Keep the cake covered to maintain moisture, and always slice with a sharp knife for clean edges.
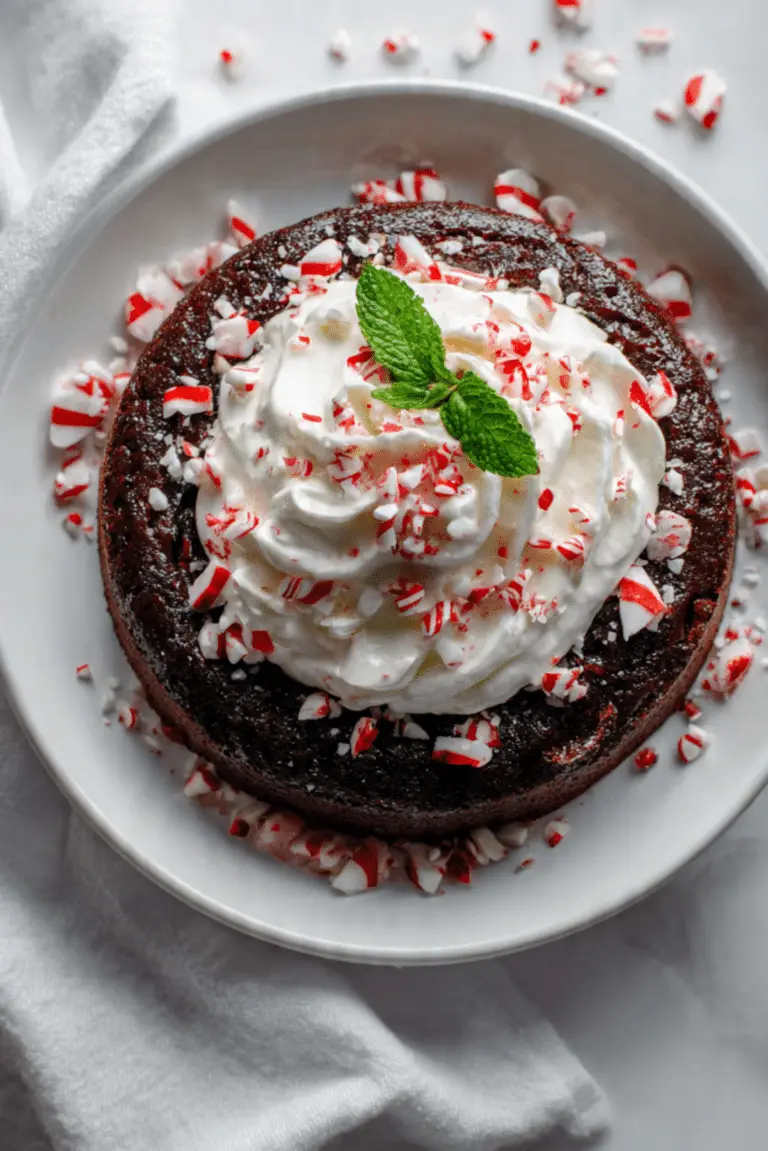
Make It Look Amazing
Dust with powdered sugar or add a light glaze for a beautiful finish that makes it look bakery-worthy.
Fun Variations to Try
- Add chopped nuts for extra crunch
- Mix in chocolate chips for richness
- Add a hint of coffee for depth
- Use orange zest for a fresh twist
FAQ’s
Q1: Can I make this cake without eggs?
Yes, you can use yogurt or a plant-based substitute.
Q2: Why is my cake not crunchy on top?
Make sure you used enough sugar and did not cover it while cooling.
Q3: Can I freeze this cake?
Yes, wrap it tightly and freeze for up to one month.
Q4: What pan size works best?
An 8-inch pan is ideal for even baking.
Q5: Can I use butter instead of oil?
Yes, melted butter works well.
Q6: How do I know it is done?
Insert a toothpick, it should come out clean.
Q7: Can I add frosting?
Absolutely, but it is delicious on its own.
Q8: Why is my cake dry?
It may have been baked too long.
Q9: Can I make it gluten free?
Use a gluten-free flour blend.
Q10: Is it very sweet?
It is balanced, not overly sweet.
Conclusion
This cake brings together simplicity and indulgence in the best way. From the crisp top to the soft center, every bite feels special. Let me tell you, it’s worth every bite, and once you try it, it might just become your go-to dessert.
Print
Crunchy Chocolate Cake
- Total Time: 40 minutes
- Yield: 8 servings
- Diet: Vegetarian
Description
A rich chocolate cake with a crispy top and soft moist interior, perfect for any occasion.
Ingredients
- 1 cup all-purpose flour
- 1/2 cup unsweetened cocoa powder
- 1 cup granulated sugar
- 1 teaspoon baking powder
- 1/2 teaspoon salt
- 2 large eggs
- 1/2 cup milk
- 1/2 cup vegetable oil
- 1 teaspoon vanilla extract
Instructions
- Preheat oven to 180°C.
- Mix flour, cocoa powder, sugar, baking powder, and salt.
- Grease baking pan.
- Add eggs, milk, oil, and vanilla, then mix until smooth.
- Pour batter into pan.
- Bake for 30 minutes.
- Cool slightly before serving.
Notes
- Use high-quality cocoa powder for best flavor
- Do not overmix batter
- Let cake cool before slicing
- Prep Time: 10 minutes
- Cook Time: 30 minutes
- Category: Dessert
- Method: Baking
- Cuisine: International
Nutrition
- Serving Size: 1 slice
- Calories: 280
- Sugar: 22g
- Sodium: 150mg
- Fat: 14g
- Saturated Fat: 3g
- Unsaturated Fat: 10g
- Trans Fat: 0g
- Carbohydrates: 35g
- Fiber: 2g
- Protein: 5g
- Cholesterol: 45mg