Microwave Potato Chips
There is something oddly satisfying about turning a simple potato into a crispy snack in just minutes. The moment you hear that light crunch, you know you have created something special right at home. This one is simple, quick, and honestly, a total game changer when those snack cravings hit.
A crispy snack made in minutes that feels like magic
It all starts with a humble potato, yet the result feels like something straight out of a snack aisle. The thin slices transform into golden, crunchy bites with almost no effort. Trust me, you are going to love this, especially when you realize how quick it comes together.
A quick look at how this clever idea came to life
Microwave chips became popular as a shortcut for busy kitchens, especially when people wanted something crispy without deep frying. Over time, home cooks started experimenting with seasoning and slicing techniques, turning this into a reliable go to snack that feels both modern and nostalgic.
Why this simple snack always works
This recipe stands out for so many reasons, and once you try it, you will see why it becomes a regular favorite.
Versatile: You can switch up the seasonings easily, from simple salt to bold spices, making it fit any craving.
Budget-Friendly: Potatoes are affordable and accessible, so this snack costs very little to make.
Quick and Easy: It takes just minutes from start to finish, perfect for busy days.
Customizable: You can adjust thickness, seasoning, and even cooking time to get your perfect crunch.
Crowd-Pleasing: Everyone loves a crispy snack, especially when it is fresh and homemade.
Make-Ahead Friendly: You can slice the potatoes in advance and store them in water until ready.
Great for Leftovers: Extra chips can be stored and enjoyed later with dips or sandwiches.
Little tricks that make a big difference
Getting the perfect crisp is all about a few small details that make a huge impact.
- Slice the potatoes as thin as possible for even cooking.
- Pat the slices completely dry before cooking.
- Avoid overlapping slices in the microwave.
- Keep a close eye during the final minutes to prevent burning.
Tools that make the process smooth
You do not need much, but having the right tools makes everything easier.
Sharp Knife or Mandoline: Helps achieve thin, even slices for consistent cooking.
Microwave-Safe Plate: Provides a flat surface for even heat distribution.
Paper Towels: Useful for removing excess moisture from the slices.
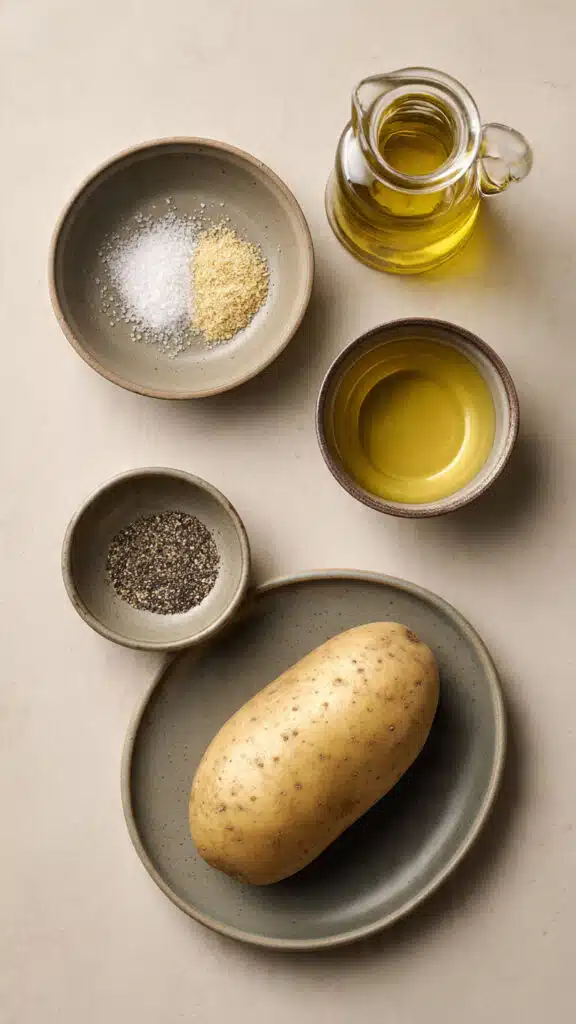
Ingredients that come together perfectly
Each ingredient plays its part, creating that perfect balance of crisp texture and flavor.
- Potato: 1 large potato, thinly sliced, this is the star that turns crispy and golden.
- Olive Oil: 1 teaspoon, adds a light richness and helps with crisping.
- Salt: 1/4 teaspoon, enhances the natural flavor of the potato.
- Black Pepper: 1/8 teaspoon, adds a gentle warmth.
Easy swaps if you want to switch things up
You can tweak this recipe based on what you have on hand.
Olive Oil: Use avocado oil for a neutral taste.
Black Pepper: Try paprika for a smoky twist.
The ingredient that really makes it shine
Sometimes, one ingredient carries the whole experience.
Potato: The type and freshness of the potato directly affect the texture, giving you that perfect crunch when sliced thin.
Let’s get cooking step by step
Now it all comes together, and you will see just how simple this is.
- Preheat Your Equipment: No preheating needed, just prepare your microwave and plate.
- Combine Ingredients: Toss the potato slices with olive oil, salt, and pepper in a bowl.
- Prepare Your Cooking Vessel: Line a microwave-safe plate with paper towels.
- Assemble the Dish: Arrange the slices in a single layer without overlapping.
- Cook to Perfection: Microwave on high for 4 to 6 minutes, checking frequently until golden and crisp.
- Finishing Touches: Let them cool for a minute so they crisp up even more.
- Serve and Enjoy: Enjoy immediately while warm and crunchy.
The magic of texture and flavor
As the slices cook, the moisture evaporates and leaves behind a light, crisp structure. The edges turn slightly golden while the center stays delicately crunchy. The seasoning clings to the surface, giving each bite a burst of flavor.
Helpful tips to get it just right
- Slice evenly so all chips cook at the same pace
- Do not overcrowd the plate
- Adjust cooking time based on your microwave power
What to watch out for
- Slices that are too thick may stay soft
- Overcooking can lead to burnt edges
- Skipping the drying step can make them soggy
Quick nutrition snapshot
Servings: 2
Calories per serving: 120
Note: These are approximate values.
Time breakdown for planning
Prep Time: 10 minutes
Cook Time: 6 minutes
Total Time: 16 minutes
Make ahead and storage ideas
You can slice the potatoes ahead of time and keep them in water to prevent browning. Once cooked, store leftover chips in an airtight container at room temperature for up to two days. Reheat briefly in the microwave to bring back some crispness.
Fun ways to serve
Serve these chips with your favorite dips like yogurt sauce or hummus. They also pair well with sandwiches or as a quick movie night snack.
Turning leftovers into something new
Crush leftover chips and use them as a crunchy topping for salads or soups. They also make a fun coating for baked vegetables.
Extra tips for even better results
Keep experimenting with seasoning blends, and always watch the last minute of cooking closely. That final moment decides the crunch level.
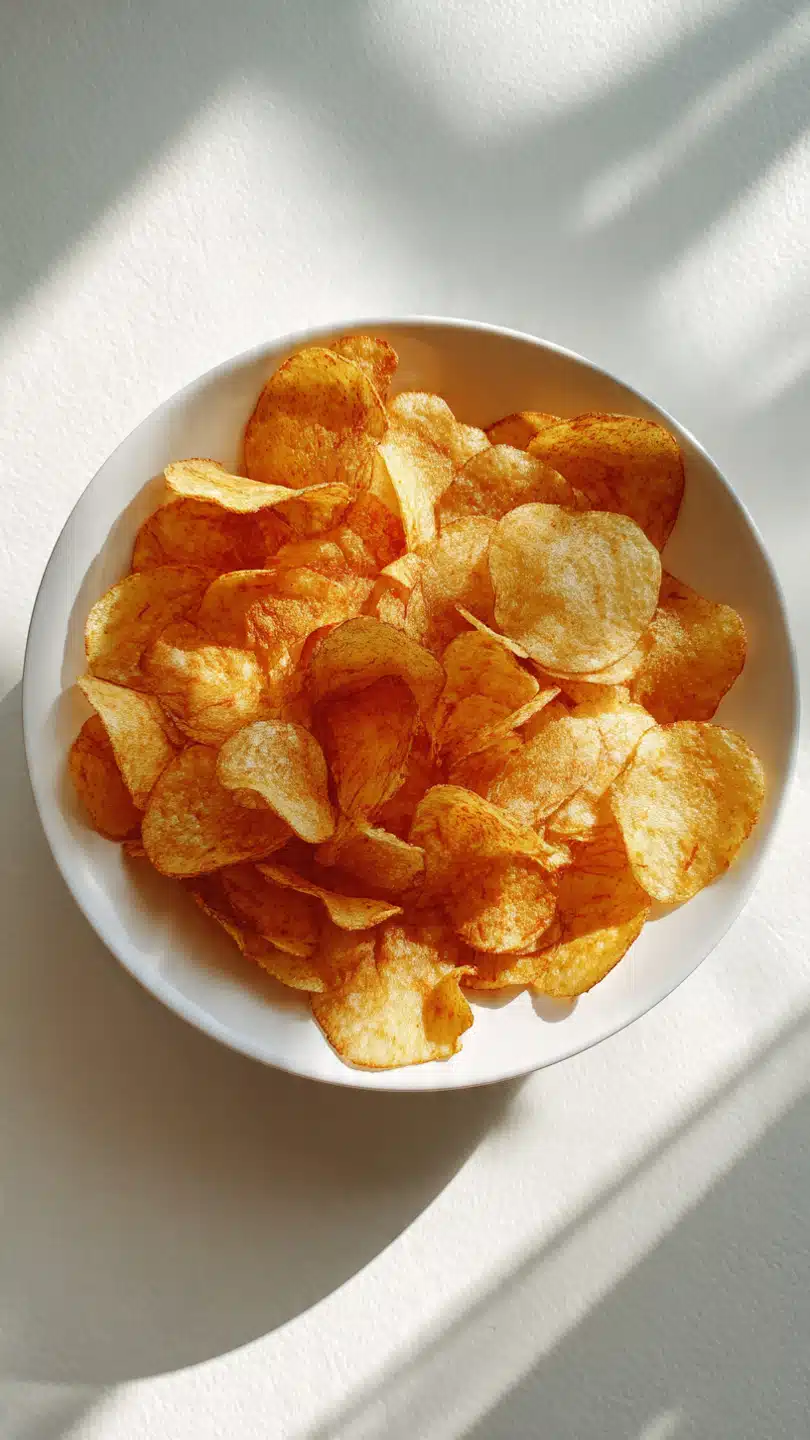
Make it look irresistible
Serve the chips in a simple white bowl with a sprinkle of herbs for contrast. The golden color really pops against a clean background.
Variations to try next
- Add garlic powder for extra flavor
- Sprinkle chili flakes for a spicy kick
- Use sweet potatoes for a sweeter version
- Try rosemary for a fragrant twist
FAQ’s
1. Can I skip the oil?
Yes, but the chips may be less crispy.
2. Why are my chips soft?
They may be too thick or not cooked long enough.
3. Can I use other potatoes?
Yes, different varieties work but may vary in texture.
4. Do I need to flip them?
Not always, but flipping can help even cooking.
5. Can I store them?
Yes, in an airtight container for a couple of days.
6. What seasoning works best?
Simple salt works great, but you can experiment.
7. Can I make a large batch?
Cook in batches for best results.
8. Are they healthy?
They are lighter than fried chips.
9. Can kids help make this?
Yes, with supervision for slicing.
10. What if they burn quickly?
Reduce cooking time and monitor closely.
Conclusion
This simple snack proves that great things come from simple ingredients. With just a few steps, you get a crispy, satisfying treat that feels homemade and comforting. Let me tell you, it is worth every bite.
Print
Microwave Potato Chips
Description
Crispy homemade potato chips made quickly in the microwave with simple ingredients.
Ingredients
- 1 large potato, thinly sliced
- 1 teaspoon olive oil
- 1/4 teaspoon salt
- 1/8 teaspoon black pepper
Instructions
- Slice the potato thinly and pat dry.
- Toss slices with olive oil, salt, and pepper.
- Line a microwave-safe plate with paper towels.
- Arrange slices in a single layer.
- Microwave on high for 4 to 6 minutes until crisp.
- Let cool slightly before serving.
Notes
- Watch closely during the last minute to prevent burning.
- Do not overlap slices for even cooking.
- Adjust time based on microwave power.