Vanilla Bean Ice Cream Rolls
There is something almost magical about watching a smooth vanilla cream mixture transform into delicate frozen rolls. Each bite delivers a rich, creamy texture infused with real vanilla bean flavor, creating a dessert that feels both nostalgic and luxurious. Trust me, you’re going to love this. Whether you’re making them for a family gathering or simply treating yourself on a warm afternoon, these ice cream rolls bring a little bit of fun and a whole lot of flavor to the table.
Why These Frozen Vanilla Swirls Win Every Time
One of the reasons people fall in love with this dessert is the perfect balance of simplicity and elegance. The creamy base freezes into beautiful rolls that look impressive yet require only a handful of ingredients.
The real vanilla bean adds tiny specks throughout the ice cream, giving every bite a deep and authentic flavor. Combined with the silky texture and playful presentation, this one is a total game-changer for homemade frozen desserts.
A Sweet Story Behind Rolled Ice Cream
Before we start making our own batch, it is worth appreciating where this fun dessert style comes from.
Rolled ice cream originated in Thailand, where street vendors perfected the technique of spreading a liquid ice cream base across an ultra-cold metal surface. Once frozen, the thin sheet is scraped into beautiful rolls and served immediately. The method quickly became popular worldwide because it combines dessert making with visual entertainment.
Today, rolled ice cream continues to delight dessert lovers with endless flavor possibilities, and vanilla remains one of the most beloved classics.
What Makes This Recipe Worth Keeping
This recipe has become a favorite for many good reasons.
Versatile: Enjoy it on its own or pair it with fresh fruit, chocolate drizzle, or cookies for a customized dessert experience.
Budget-Friendly: A few simple ingredients create a dessert that feels like it came from a specialty ice cream shop.
Quick and Easy: Once the mixture is prepared and chilled, the freezing process comes together surprisingly fast.
Customizable: Add toppings, mix-ins, or flavored extracts to create your own signature version.
Crowd-Pleasing: The beautiful rolled presentation instantly grabs attention at parties and gatherings.
Make-Ahead Friendly: The base can be prepared in advance and chilled until you’re ready to freeze it.
Great for Leftovers: Extra rolls can be stored in the freezer for future sweet cravings.
Insider Secrets for Better Ice Cream Rolls
Making perfect rolls becomes easier with a few helpful tricks.
- Chill the mixture thoroughly before freezing.
- Use a very cold metal surface for faster freezing.
- Spread the mixture as thinly as possible.
- Work quickly once frozen to maintain smooth rolls.
- Use a flat scraper with steady pressure for clean curls.
Kitchen Essentials You’ll Want Nearby
A few simple tools help create the best results.
Mixing Bowl: For combining the ice cream base.
Whisk: Helps create a smooth and lump-free mixture.
Freezer-Safe Container: Used for chilling the mixture before freezing.
Cold Metal Tray or Freezing Plate: Essential for creating the rolled texture.
Flat Scraper: Used to form the frozen sheet into rolls.
The Ingredients That Make the Magic Happen
The beauty of this dessert lies in how a few ingredients come together to create something unforgettable.
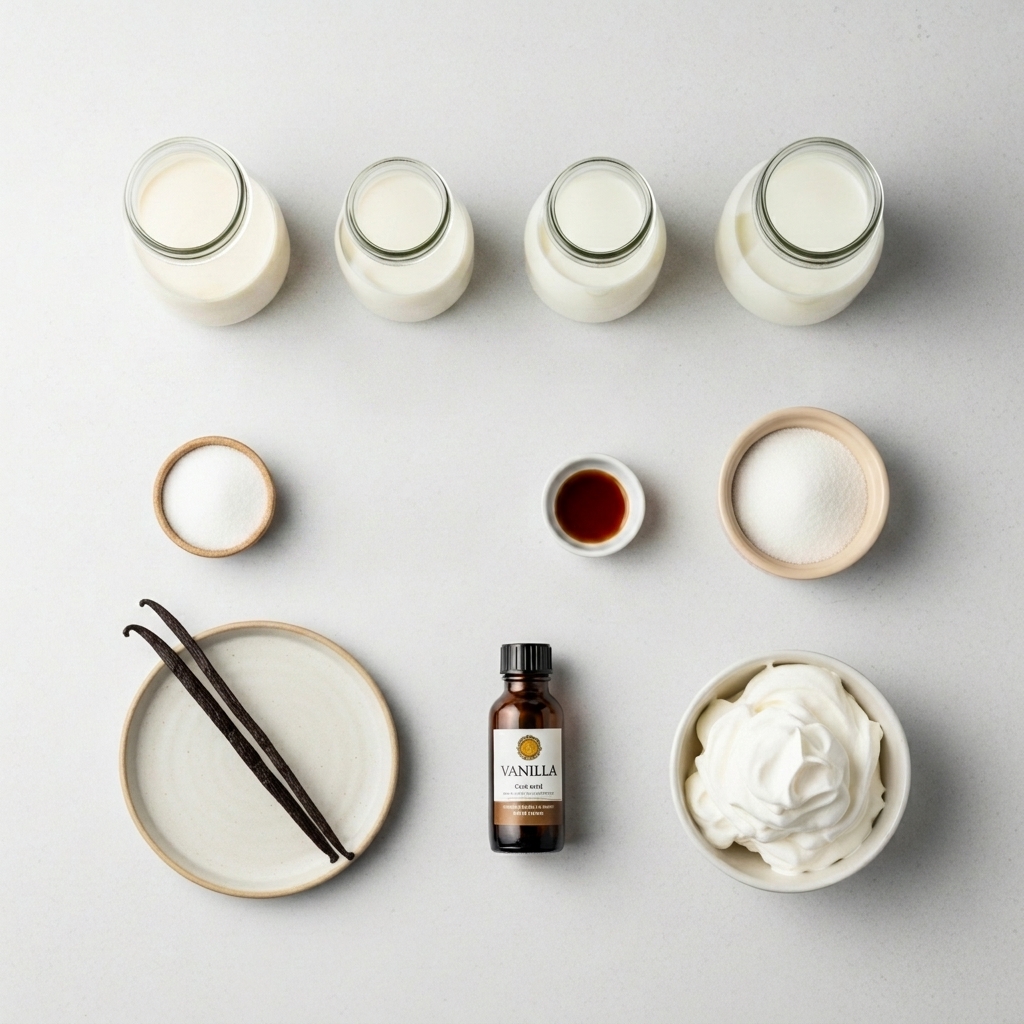
- Heavy Cream: 1 cup, provides richness and creamy texture.
- Whole Milk: 1 cup, balances the richness while keeping the mixture smooth.
- Granulated Sugar: 3 tablespoons, adds sweetness.
- Vanilla Bean: 1 whole bean, seeds scraped, delivers authentic vanilla flavor.
- Vanilla Extract: 1 teaspoon, enhances the vanilla profile.
- Whipped Cream: ½ cup, optional topping for serving.
Easy Ingredient Swaps for Flexibility
Sometimes a few substitutions can save the day.
Heavy Cream: Full-fat coconut cream.
Whole Milk: Oat milk or almond milk.
Granulated Sugar: Honey or maple syrup.
Vanilla Bean: Additional vanilla extract.
Whipped Cream: Coconut whipped topping.
The Star Ingredients Worth Celebrating
A couple of ingredients truly make this dessert shine.
Vanilla Bean: Tiny seeds create a bold, floral vanilla flavor that cannot be replicated completely with extract alone.
Heavy Cream: The foundation of the luxurious texture that makes every bite melt beautifully.
Let’s Roll Some Ice Cream
Now comes the fun part. Gather your ingredients and get ready to create those signature curls.
- Preheat Your Equipment: Place your metal freezing tray in the freezer for at least 30 minutes.
- Combine Ingredients: Whisk together heavy cream, whole milk, sugar, vanilla bean seeds, and vanilla extract until smooth.
- Prepare Your Cooking Vessel: Pour the mixture into a freezer-safe container and chill for 1 hour.
- Assemble the Dish: Pour a thin layer of the chilled mixture onto the frozen metal tray.
- Cook to Perfection: Allow the mixture to freeze completely for about 2 to 3 minutes.
- Finishing Touches: Use a flat scraper to gently roll the frozen sheet into tight curls.
- Serve and Enjoy: Transfer the rolls to a chilled dish and top with whipped cream if desired.
A Texture and Flavor Experience You Will Remember
The first thing you’ll notice is the silky smooth texture. As the rolls melt, the rich creaminess unfolds while the vanilla bean adds aromatic depth and tiny bursts of flavor throughout. The contrast between the cold, delicate curls and the luxurious mouthfeel makes every spoonful satisfying.
Helpful Tricks for Consistently Great Results
A few small details can make a big difference.
- Chill all ingredients before mixing.
- Freeze the tray thoroughly before pouring the mixture.
- Spread the mixture evenly for uniform rolls.
- Serve immediately for the best texture.
Common Mistakes and How to Avoid Them
Even simple recipes can have a few pitfalls.
- Using a warm tray can prevent proper freezing.
- Spreading the mixture too thick makes rolling difficult.
- Waiting too long before rolling can cause cracking.
- Overmixing toppings into the base can affect texture.
Nutrition Information at a Glance
Servings: 4
Calories per serving: 280
Note: These are approximate values.
Time Breakdown for Planning Ahead
Prep Time: 15 minutes
Cook Time: 5 minutes
Total Time: 20 minutes
Smart Storage and Make-Ahead Ideas
If you want to prepare ahead, mix the base the night before and keep it refrigerated. Finished rolls can be frozen in an airtight container for up to one week. Allow them to soften for a minute or two before serving. Avoid repeated thawing and refreezing to maintain texture.
Delicious Ways to Serve These Ice Cream Rolls
Serve them with fresh strawberries, chocolate sauce, crushed cookies, or toasted nuts. A drizzle of caramel also pairs beautifully with the vanilla flavor. For a special occasion, add colorful sprinkles and extra whipped cream.
Turn Leftovers Into Something New
Extra rolls can become the base for creative desserts.
- Layer them into a sundae parfait.
- Blend them into a milkshake.
- Serve alongside warm brownies.
- Add them to an ice cream sandwich.
Extra Tips for Maximum Flavor
Using high-quality vanilla makes a noticeable difference. Chill serving bowls before plating for a longer-lasting frozen texture. If possible, use fresh vanilla beans for the most aromatic result.
Presentation Ideas That Impress
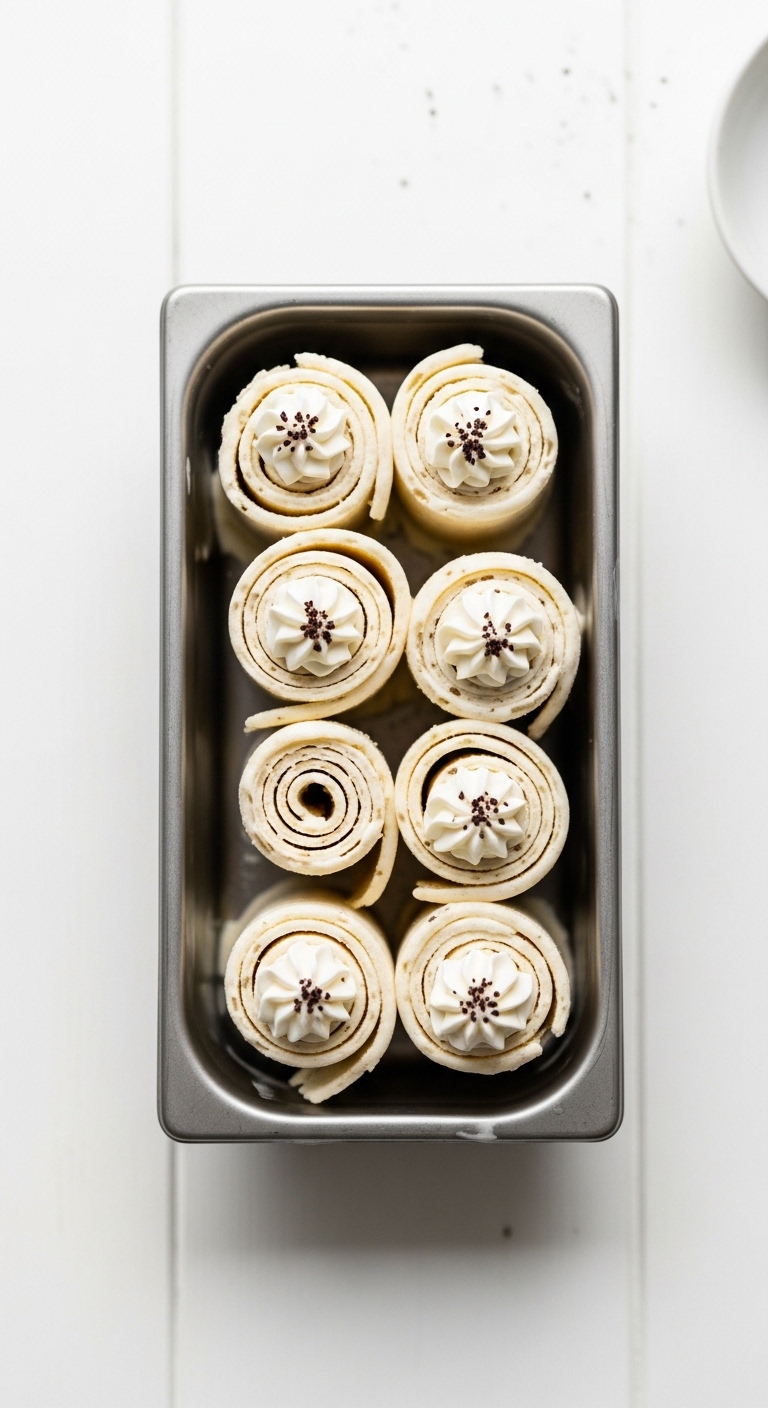
Arrange the rolls in neat rows or a spiral pattern. Garnish lightly with whipped cream and a few visible vanilla bean specks. The contrast between the creamy rolls and a chilled serving dish creates a beautiful presentation that feels straight from an ice cream shop.
Fun Variations to Experiment With
- Add crushed chocolate cookies to the base.
- Swirl in caramel before freezing.
- Mix in finely chopped strawberries.
- Add a touch of cinnamon for warmth.
- Create a vanilla almond version with almond extract.
FAQ’s
Q1: Can I make these without a vanilla bean?
Yes, use additional vanilla extract for flavor.
Q2: Do I need a special freezing plate?
A very cold metal tray can work well.
Q3: Can I make them dairy-free?
Yes, substitute coconut cream and plant-based milk.
Q4: How long do they last in the freezer?
About one week when stored properly.
Q5: Why won’t my rolls form?
The mixture may not be frozen enough or spread thinly enough.
Q6: Can I add mix-ins?
Yes, finely chopped additions work best.
Q7: Are they overly sweet?
No, the sweetness is balanced and moderate.
Q8: Can children help make them?
Absolutely, the rolling process is fun to watch.
Q9: What toppings work best?
Fresh fruit, chocolate sauce, nuts, and whipped cream.
Q10: Can I double the recipe?
Yes, simply double all ingredients proportionally.
Conclusion
Vanilla Bean Ice Cream Rolls prove that a handful of simple ingredients can create something truly special. From the creamy texture to the rich vanilla flavor and eye-catching presentation, every bite feels like a little celebration. Let me tell you, it’s worth every bite. Gather your ingredients, chill that tray, and enjoy making a frozen treat that is just as fun to create as it is to eat.
Print
Vanilla Bean Ice Cream Rolls
Description
Creamy homemade vanilla bean ice cream rolls with rich vanilla flavor, delicate frozen curls, and a smooth melt-in-your-mouth texture.
Ingredients
- 1 cup heavy cream
- 1 cup whole milk
- 3 tablespoons granulated sugar
- 1 whole vanilla bean, seeds scraped
- 1 teaspoon vanilla extract
- 1/2 cup whipped cream (optional topping)
Instructions
- Place a metal freezing tray in the freezer for at least 30 minutes.
- Whisk together heavy cream, whole milk, sugar, vanilla bean seeds, and vanilla extract until smooth.
- Chill the mixture in the refrigerator for 1 hour.
- Pour a thin layer of the chilled mixture onto the frozen tray.
- Freeze for 2 to 3 minutes until solid.
- Use a flat scraper to roll the frozen sheet into curls.
- Transfer to a chilled serving dish and top with whipped cream if desired.
Notes
- Use real vanilla bean for the best flavor.
- Freeze the tray thoroughly before use.
- Spread the mixture very thin for easy rolling.
- Serve immediately for the creamiest texture.