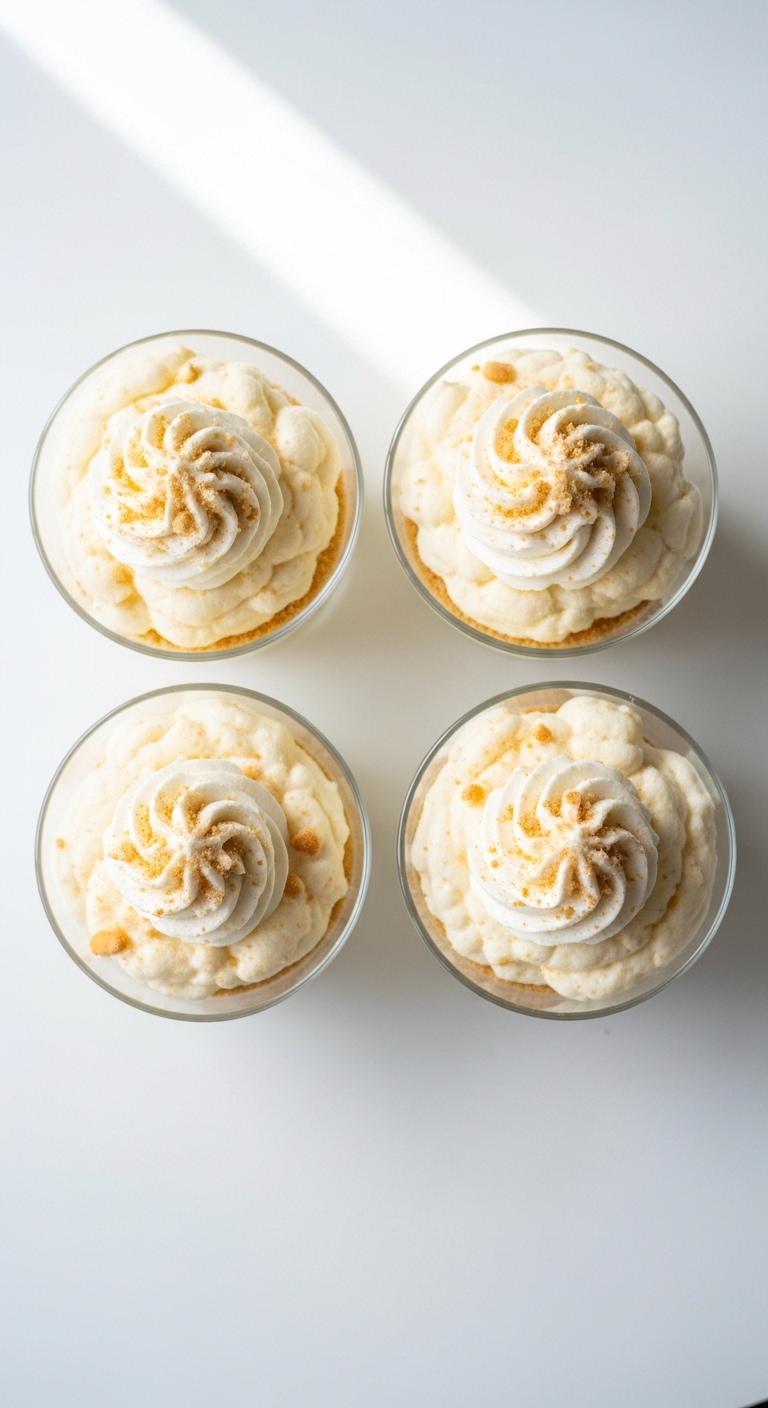
Vanilla Cloud Cheesecake Cups
There is something almost magical about a dessert that feels rich and indulgent while still tasting incredibly light. These Vanilla Cloud Cheesecake Cups deliver exactly that experience. Every spoonful melts into a silky, creamy bite filled with sweet vanilla flavor and a delicate cheesecake tang. The texture is soft, airy, and dreamy, almost like eating a sweet vanilla cloud.
What makes these little dessert cups even more special is how simple they are to prepare. There is no need to bake a full cheesecake or wait for complicated layers to set. Instead, you get individual portions that look elegant, taste incredible, and come together with surprisingly little effort. Trust me, you’re going to love this.
A Dessert That Feels Like Pure Comfort
Few desserts strike the perfect balance between richness and lightness quite like these creamy cheesecake cups. The whipped filling creates a luxurious texture while the vanilla flavor keeps every bite smooth and comforting.
Whether you’re serving them at a family gathering, bringing them to a party, or simply treating yourself after dinner, these cups fit the occasion beautifully. Their individual portions make serving effortless, and their elegant appearance always earns compliments.
The Sweet Story Behind Cheesecake Desserts
Cheesecake has a surprisingly long history that dates back thousands of years. Versions of cheesecake were enjoyed in ancient Greece before evolving across Europe and eventually becoming one of America’s most beloved desserts.
These modern cheesecake cups take inspiration from classic no-bake cheesecakes while adding an extra airy texture. The result feels lighter than traditional cheesecake while still delivering that familiar creamy satisfaction people adore.
Why These Cheesecake Cups Never Disappoint
Before we start mixing and whipping, let’s look at what makes this dessert such a reliable favorite.
Versatile: Perfect for holidays, birthdays, dinner parties, or casual weeknight desserts.
Budget-Friendly: Most ingredients are affordable pantry and refrigerator staples.
Quick and Easy: Minimal preparation and no baking required.
Customizable: Toppings and flavors can be changed to suit your preferences.
Crowd-Pleasing: The creamy texture and vanilla flavor appeal to nearly everyone.
Make-Ahead Friendly: They can be prepared well before serving.
Great for Leftovers: The cups store beautifully in the refrigerator for several days.
Pro Tips Before You Start Mixing
A few small techniques can make a noticeable difference in the final texture.
- Use softened cream cheese for the smoothest filling.
- Whip the heavy cream until medium peaks form for maximum fluffiness.
- Sift powdered sugar to prevent lumps.
- Chill the cups thoroughly before serving.
- Use pure vanilla extract for the richest flavor.
Helpful Tools for Success
Having the right equipment makes preparation simple and enjoyable.
Mixing Bowl: Needed for combining the cheesecake filling.
Electric Mixer: Helps create the light, airy texture.
Rubber Spatula: Perfect for folding ingredients together gently.
Dessert Cups: Individual serving cups create a beautiful presentation.
Measuring Cups and Spoons: Ensure consistent results.
Ingredients That Create the Magic
Each ingredient contributes something important to the final dessert.
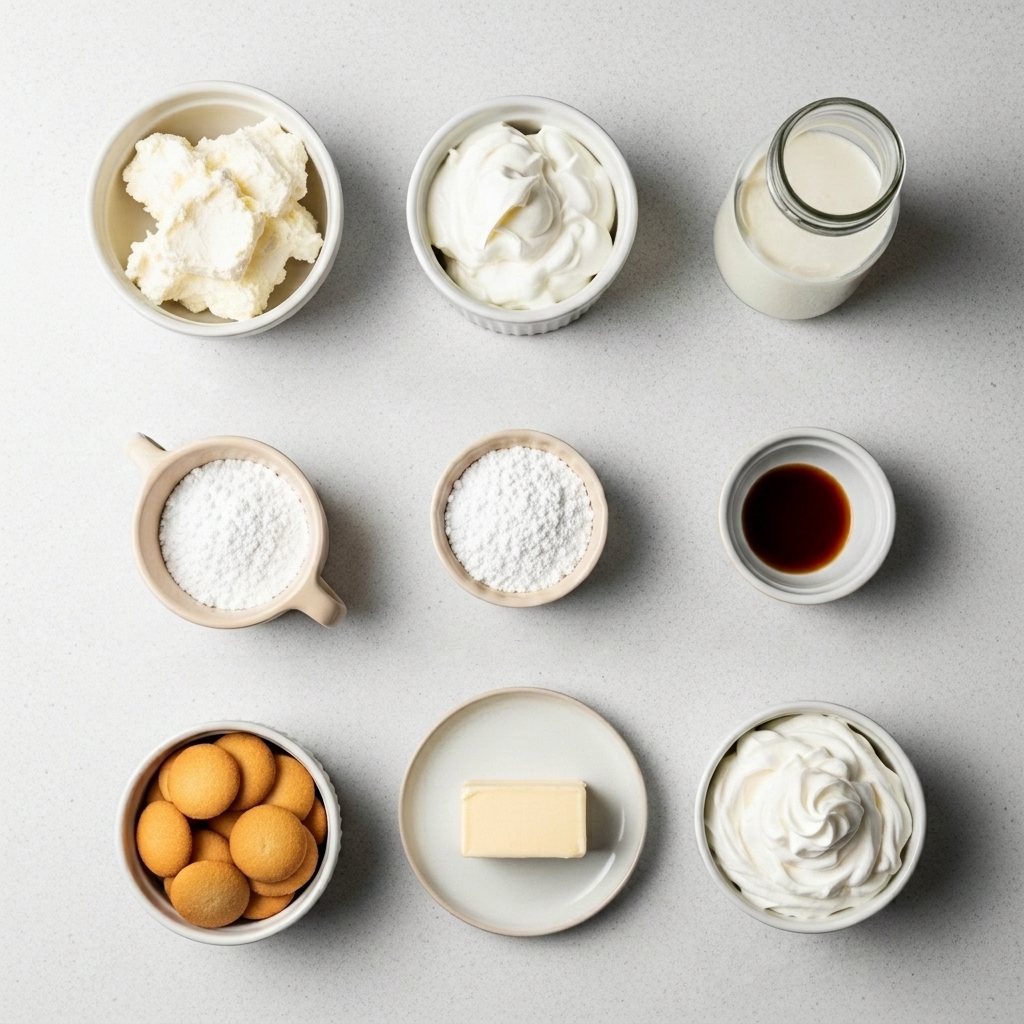
- Cream Cheese: 8 ounces, softened. Creates the classic cheesecake flavor and creamy texture.
- Heavy Whipping Cream: 1 cup, cold. Provides the cloud-like lightness.
- Powdered Sugar: 1/2 cup. Sweetens the filling while keeping it smooth.
- Pure Vanilla Extract: 2 teaspoons. Delivers rich vanilla flavor.
- Vanilla Wafer Crumbs: 1 cup. Forms the delicious base layer.
- Unsalted Butter: 3 tablespoons, melted. Helps bind the crumb layer.
- Whipped Cream: 1 cup, for topping. Adds extra softness and visual appeal.
Easy Ingredient Swaps
If you need flexibility, these substitutions work wonderfully.
Cream Cheese: Mascarpone cheese.
Heavy Whipping Cream: Whipping cream.
Vanilla Wafer Crumbs: Graham cracker crumbs.
Powdered Sugar: Fine confectioners’ sugar.
Vanilla Extract: Vanilla bean paste.
Spotlight on the Star Ingredients
A couple of ingredients truly make this dessert shine.
Cream Cheese: The foundation of the filling, providing rich tangy flavor and silky texture.
Vanilla Extract: Adds warmth, aroma, and depth that ties everything together beautifully.
Let’s Make These Dreamy Dessert Cups
Now comes the fun part. Here are the steps you’re going to follow.
1. Preheat Your Equipment:
No oven is needed, but gather all ingredients and allow the cream cheese to soften.
2. Combine Ingredients:
Beat the softened cream cheese, powdered sugar, and vanilla extract until smooth.
3. Prepare Your Cooking Vessel:
Mix vanilla wafer crumbs with melted butter and divide evenly among serving cups.
4. Assemble the Dish:
In a separate bowl, whip the heavy cream to medium peaks. Gently fold it into the cream cheese mixture until light and fluffy.
5. Cook to Perfection:
There is no cooking required. Spoon the filling over the crumb base and smooth the tops.
6. Finishing Touches:
Refrigerate for at least 2 hours. Top with whipped cream before serving.
7. Serve and Enjoy:
Serve chilled and enjoy every creamy, cloud-like spoonful.
A Texture Worth Talking About
One of the most exciting things about these cheesecake cups is the contrast between the layers. The buttery crumb base provides a gentle crunch while the whipped cheesecake filling remains incredibly smooth and airy.
As the dessert chills, the flavors meld together beautifully. The vanilla becomes more pronounced, the cheesecake develops extra creaminess, and every bite feels balanced and satisfying.
Helpful Tricks for the Best Results
A few extra tips can help guarantee success.
- Chill your mixing bowl before whipping cream.
- Fold gently to preserve the airy texture.
- Use clear dessert cups for a beautiful layered presentation.
- Refrigerate overnight for even better flavor.
Common Mistakes and How to Avoid Them
Even simple desserts benefit from a little extra care.
- Avoid using cold cream cheese because it can create lumps.
- Do not overwhip the cream or the texture may become grainy.
- Avoid skipping the chilling time.
- Do not add too much liquid flavoring.
Nutritional Snapshot
Servings: 6
Calories per serving: 340
Note: These are approximate values.
Timing at a Glance
Prep Time: 20 minutes
Cook Time: 0 minutes
Total Time: 20 minutes plus chilling time
Make-Ahead and Storage Guide
One reason these cups are so popular is their convenience. They can be prepared up to 24 hours in advance and stored covered in the refrigerator.
For longer storage, keep them refrigerated for up to 3 days. Freezing is possible, though the texture may become slightly denser after thawing. Allow frozen cups to thaw overnight in the refrigerator before serving.
Serving Ideas You’ll Love
These creamy cups pair beautifully with many accompaniments.
Serve with fresh berries for brightness. Add a drizzle of caramel sauce for extra indulgence. Pair with coffee, tea, or hot chocolate for a cozy dessert experience.
Delicious Ways to Use Leftovers
Leftovers rarely last long, but here are some fun ideas.
Turn the filling into a fruit dip. Layer it into parfaits. Use it as a topping for pancakes or waffles. Spoon it between cookies for a quick dessert sandwich.
Extra Tips for Dessert Success
Use high-quality vanilla for the best flavor. Chill serving glasses before assembling. Taste the filling before portioning and adjust sweetness if desired.
Presentation Tips That Impress
Presentation makes these cups feel extra special. Pipe the whipped cream topping neatly and finish with a light sprinkle of vanilla wafer crumbs. A few vanilla bean specks add an elegant touch and make the dessert look bakery-worthy.
Fun Variations to Explore
- Chocolate Vanilla Cloud Cups with chocolate cookie crumbs.
- Berry Cheesecake Cups topped with fresh strawberries and blueberries.
- Lemon Vanilla Cups with lemon zest folded into the filling.
- Caramel Cheesecake Cups with caramel sauce between layers.
- Coconut Cheesecake Cups with toasted coconut flakes.
FAQ’s
Q1: Can I make these a day ahead?
Yes. They actually taste even better after chilling overnight.
Q2: Can I freeze them?
Yes, although the texture may become slightly denser.
Q3: Can I use low-fat cream cheese?
Yes, but the texture will be slightly less rich.
Q4: How long do they last?
Up to 3 days in the refrigerator.
Q5: Can I use homemade whipped cream?
Absolutely. Fresh whipped cream works wonderfully.
Q6: Can I add fruit?
Yes. Fresh berries pair beautifully with the vanilla flavor.
Q7: Do I need an electric mixer?
It is highly recommended for the fluffiest texture.
Q8: Can I use graham crackers instead of vanilla wafers?
Yes, they make an excellent substitute.
Q9: What cups work best?
Small glass dessert cups create the most attractive presentation.
Q10: Can I double the recipe?
Yes. Simply double all ingredients proportionally.
Conclusion
These Vanilla Cloud Cheesecake Cups are proof that a simple dessert can still feel wonderfully special. Between the buttery crumb base, the silky vanilla filling, and the fluffy topping, every bite feels light, creamy, and completely irresistible. Let me tell you, it’s worth every bite. Whether you’re making them for guests or enjoying a quiet treat at home, this one’s a total game-changer.
Print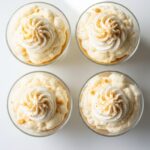
Vanilla Cloud Cheesecake Cups
Description
Light, fluffy no-bake cheesecake cups with rich vanilla flavor, a buttery vanilla wafer base, and a cloud-like creamy texture.
Ingredients
- 8 ounces cream cheese, softened
- 1 cup heavy whipping cream, cold
- 1/2 cup powdered sugar
- 2 teaspoons pure vanilla extract
- 1 cup vanilla wafer crumbs
- 3 tablespoons unsalted butter, melted
- 1 cup whipped cream, for topping
Instructions
- Beat softened cream cheese, powdered sugar, and vanilla extract until smooth.
- Mix vanilla wafer crumbs with melted butter.
- Divide crumb mixture evenly among 6 dessert cups.
- Whip heavy cream to medium peaks in a separate bowl.
- Gently fold whipped cream into the cream cheese mixture.
- Spoon filling into dessert cups over the crumb layer.
- Refrigerate for at least 2 hours.
- Top with whipped cream and serve chilled.
Notes
- Use softened cream cheese for a smooth filling.
- Chill thoroughly before serving.
- Fresh berries make an excellent topping.
- Can be prepared one day ahead.