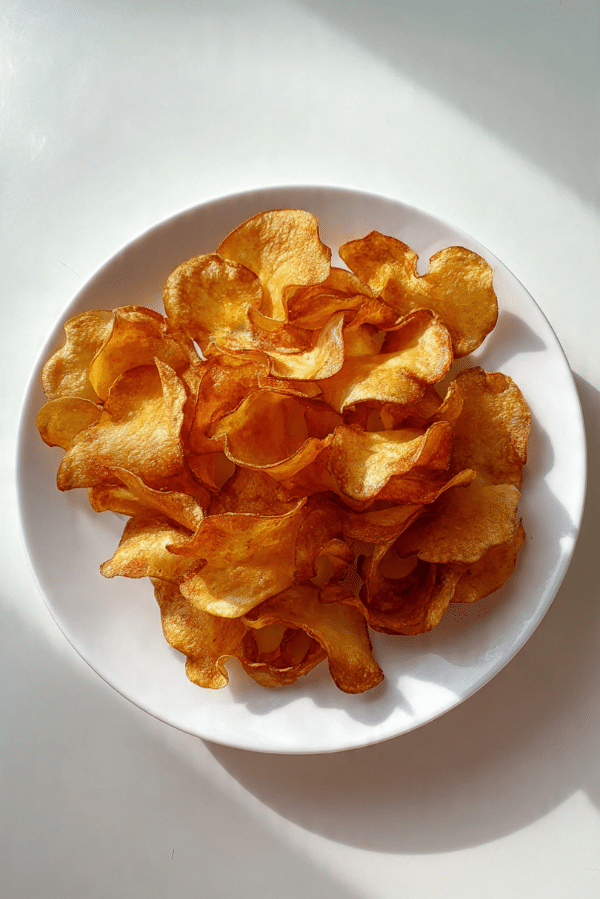
One-Ingredient Chicken Chips
Sometimes the simplest ideas turn out to be the most surprising. Imagine transforming a single ingredient into something crispy, savory, and completely snack-worthy. That is exactly what happens here. These chicken chips are light, crunchy, and packed with natural flavor, and honestly, they feel like a little kitchen magic trick.
A crispy snack that feels almost too easy
As you take that first bite, the texture is what stands out right away. It is crisp, slightly airy, and full of rich chicken flavor without needing anything extra. It is the kind of snack that feels indulgent but is actually incredibly simple.
How this clever idea came to life
This concept comes from the idea of simplifying snacks down to their core. By removing everything except the main ingredient, you let the natural flavor shine. It is a modern take on clean eating, where less really does become more.
Why this recipe is surprisingly satisfying
Before we dive into making it, here is why it works so well.
Versatile: Perfect as a snack or even a crunchy topping for salads.
Budget-Friendly: Uses just one ingredient, which keeps it simple and affordable.
Quick and Easy: Minimal prep and straightforward steps.
Customizable: You can adjust thickness for different textures.
Crowd-Pleasing: Crispy snacks are always a hit.
Make-Ahead Friendly: Stays crisp when stored properly.
Great for Leftovers: A smart way to use extra chicken.
Tips to get that perfect crisp every time
To make sure you get the best result, keep these in mind.
- Slice the chicken as thinly as possible.
- Pat the slices dry to remove moisture.
- Space them out so they crisp evenly.
- Bake low and slow for best texture.
Tools that make it easier
Before moving on, here are the essentials.
Sharp knife: Helps slice the chicken thinly and evenly.
Baking tray: Provides space for even cooking.
Parchment paper: Prevents sticking and helps crisping.
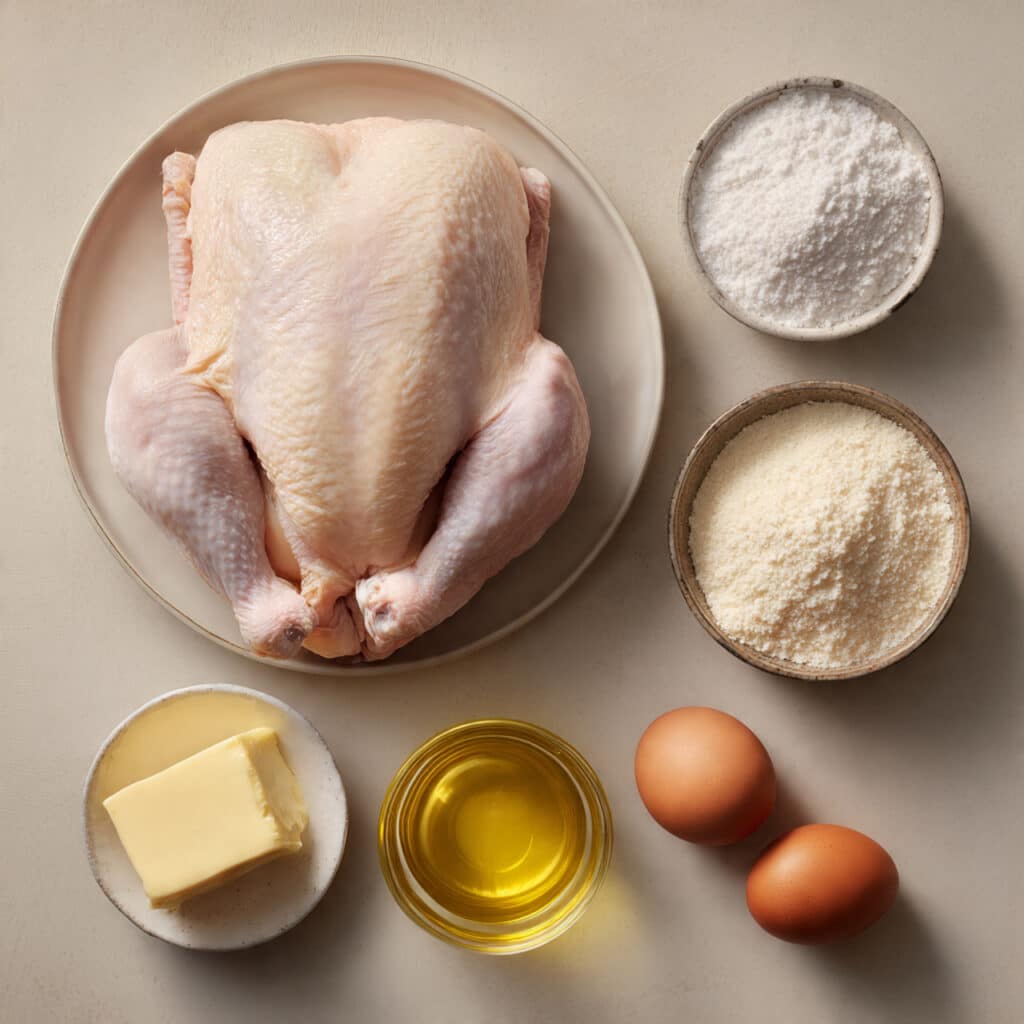
The single ingredient that does all the work
Now let’s talk about what you need.
- Chicken breast: 2 large pieces, thinly sliced, becomes crispy and flavorful when baked.
Simple variations if you want to experiment
Even though it is one ingredient, you can still play with it.
Chicken thickness: Thinner slices for crispier chips, thicker for a slightly chewy bite.
The key to making it work perfectly
There is really one star here.
Chicken breast: When sliced thin and baked properly, it transforms into a crunchy, savory chip.
Let’s turn chicken into crispy chips
And now let’s dive into the process.
- Preheat Your Equipment: Preheat oven to 120°C.
- Combine Ingredients: No combining needed, keep it simple.
- Prepare Your Cooking Vessel: Line a baking tray with parchment paper.
- Assemble the Dish: Lay thin chicken slices flat on the tray.
- Cook to Perfection: Bake for 1.5 to 2 hours until fully dried and crispy.
- Finishing Touches: Let cool completely to crisp up further.
- Serve and Enjoy: Serve as a snack or crunchy topping.
The texture transformation you will love
What makes this so interesting is how the chicken changes. It goes from soft and raw to completely crisp and light, almost like a chip. The flavor becomes more concentrated, giving each bite a rich, savory punch.
Helpful tips for best results
Here are a few extra pointers.
- Use even slices for consistent cooking
- Flip halfway through for uniform crisping
- Let cool fully before serving
What to avoid while making it
A few things to watch out for.
- Slicing too thick, which prevents crisping
- Overcrowding the tray
- Using high heat, which can burn before drying
Nutrition snapshot
Servings: 4
Calories per serving: 120
Note: These are approximate values.
Time needed to prepare
Prep Time: 15 minutes
Cook Time: 1 hour 45 minutes
Total Time: 2 hours
Make ahead and storage tips
Store in an airtight container at room temperature for up to two days. For longer storage, keep in the fridge and reheat briefly to restore crispiness.
Serving ideas you will enjoy
Enjoy them as a snack, pair with dips, or crumble over salads for added crunch.
Creative ways to use leftovers
Crush them into crumbs and use as a topping for soups or bowls.
Extra tips for even better results
Try freezing the chicken slightly before slicing to make it easier to cut thin pieces.
Make it look as good as it tastes
Arrange the chips neatly in a bowl or plate. Their golden color and crisp edges make them visually appealing.
Variations to try next time
Make thinner slices for extra crunch.
Try shaping into different sizes.
Bake slightly less for a softer texture.
FAQ’s
1. Can I use other cuts of chicken?
Yes, but lean cuts work best.
2. How thin should I slice it?
As thin as possible for crispiness.
3. Can I use an air fryer?
Yes, it can speed up the process.
4. How do I know they are done?
They should be dry and crispy.
5. Can I add seasoning?
Yes, but it becomes more than one ingredient.
6. Why are mine not crispy?
They may be too thick or not cooked long enough.
7. Can I store them?
Yes, in an airtight container.
8. Do they stay crispy?
They do if stored properly.
9. Can I reheat them?
Yes, briefly in the oven.
10. Are they healthy?
They are high in protein and simple in ingredients.
Conclusion
By now you can probably see how something so simple can turn into a crispy, satisfying snack. It is easy, creative, and surprisingly delicious. Let me tell you, it is worth every crunchy bite, and once you try it, you might never look at chicken the same way again.
Print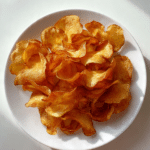
One-Ingredient Chicken Chips
Description
A simple and crispy snack made from thinly sliced chicken, baked until perfectly crunchy.
Ingredients
- 2 large chicken breast, thinly sliced
Instructions
- Preheat oven to 120°C.
- Line a baking tray with parchment paper.
- Lay thin chicken slices flat on the tray.
- Bake for 1.5 to 2 hours until fully dried and crispy.
- Flip halfway through cooking.
- Let cool completely.
- Serve as a snack or topping.
Notes
- Slice chicken very thin for best results.
- Do not overcrowd the tray.
- Let cool fully to crisp up.